
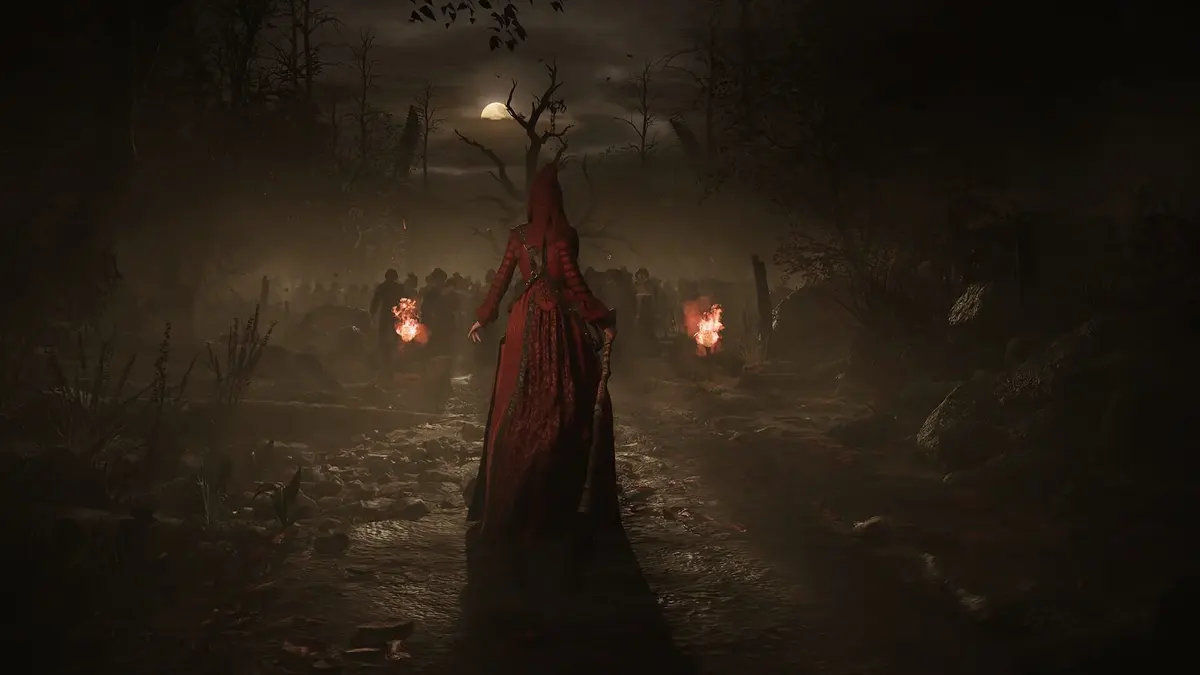
Three symbols in a jewelry box are all 1666: Amsterdam gives you before a run starts taking shape. One choice becomes a temporary perk, a mission death removes the abilities you found, and the next restart sends you back to a different set of offers. Treat every coffer as a draft decision: take the effect that keeps the run flexible, use Aaron’s access tools to find more boxes when a draw goes badly, and rebuild your plan after every death.
The trap is chasing a perfect combo from the first box. The current system is built around randomized three-choice coffers, with some ability meanings initially hidden behind symbols. A narrow payoff can look brilliant in isolation, then leave you exposed if the next coffer does not offer the one follow-up it needs. Early utility, reliable survival, and anything that helps Noa reach another coffer are the safer bets.
Table of Contents (12)
The Jewelry Box Lottery Resets Your Build on Death
Jewelry box coffers are 1666: Amsterdam‘s temporary ability system. Each one presents three possible buffs or perks. You select one, build around what you receive, and keep those found abilities for the active mission attempt. When Noa dies and the mission restarts, those acquired abilities are lost and future coffers offer a different set of choices.
That makes the loadout a run-specific identity rather than a permanent character build. A strong attempt may turn Noa into a durable explorer with enough tools to reach several homes and puzzle spaces; another may lean toward a more aggressive or specialized set of perks. The important part is adapting to the offer in front of you instead of expecting the same sequence on the next mission restart.
- Each coffer gives three choices. You are selecting from a limited offer, not browsing a full skill tree.
- Icons may conceal key details early. Learning what symbols mean becomes part of improving at the system.
- Death removes abilities found during that attempt. A restart changes both your build and the choices you may see later.
- A new attempt is a new draft. Reassess the first useful perk instead of trying to recreate the previous run exactly.
The reset has a useful upside: a dead-end build does not follow you forever. It also has a real cost. Death still burns mission progress and time, so a reroll is valuable only when you use the next attempt more intelligently.
How to Read the Three-Choice Coffer
The symbols are designed to make the first encounters with the system feel uncertain. Until the game gives a clearer codex or tooltip layer, the best response is to build your own understanding of the icon language. Every time an icon appears, pay attention to the effect it produces, the situations where it helped, and whether it required another perk before it became useful.
Prioritize effects you can evaluate immediately. A perk with obvious defensive value, safer positioning, dependable damage, or broad exploration value gives you a stable foundation even if the next two coffers are awkward. A mysterious icon that only becomes powerful with a specific partner is a higher-risk bet, especially early in a mission.
Use a Personal Icon Tier List
You do not need exact numbers to make better choices. Sort the symbols you recognize into practical roles. The goal is to learn which options help a run survive poor luck and which ones need ideal follow-up rolls.
- Reliable: effects that help immediately, regardless of what comes next.
- Supportive: effects that cover a weakness in the current build or make exploration safer.
- Conditional: effects that need a particular future perk, encounter, or playstyle to pay off.
- Unknown: symbols with unclear results that are worth testing only when your run has enough room for experimentation.
That knowledge carries forward even when the perks themselves do not. A death can erase a powerful ability, but it cannot erase your understanding of why it was powerful or when it was a trap.

The Best Plan for Your First Three Coffers
The first coffer sets the direction of the attempt. The second should make that direction less fragile. The third is where a focused synergy becomes worth considering, provided the run already has a dependable base. This approach avoids the classic lottery failure: taking a flashy first pick, then discovering that every later offer fails to support it.
| Coffer stage | Best priority | Why it matters | Common bad decision |
|---|---|---|---|
| First coffer | Choose a broad, understood effect that helps in several situations. | Your first perk determines how safely you can reach later rewards. | Taking a highly specialized option because it looks powerful on its own. |
| Second coffer | Cover the first pick’s weakness or reinforce its most dependable strength. | A two-part core is more resilient than a single all-in gamble. | Doubling down on damage or a gimmick while ignoring survival and access. |
| Third coffer | Add synergy only after the run has a stable base. | You have enough information to decide whether a focused build is realistic. | Forcing a combo that depends on one exact future symbol appearing. |
In practical terms, an early coffer should answer one of two questions: does this make the next dangerous section more manageable, or does it make it easier to reach another coffer? If it does neither, it needs a very convincing payoff to justify the slot.
Why Flexible Picks Beat Perfect Synergies Early
Randomized offers reward builds that can function with several possible follow-ups. A perk that stays useful across many situations has more value than one that becomes excellent only if you hit a specific symbol later. The latter can still be the right choice once a run is already secure, but it is a poor foundation for a mission where death wipes the whole package.
Early combat shown for 1666: Amsterdam also makes this conservative approach sensible. Noa’s defense is centered on movement and dodging, with no parry mechanic to rescue an overcommitted attack. The early attack set is limited, so a run that improves safe positioning, gives you more room to recover, or strengthens a reliable tool can carry more practical value than a risky offensive plan.
- Take a survival-oriented or movement-oriented perk early when you know what it does.
- Choose dependable damage when the run already has a safe way to handle pressure.
- Save narrow build-around effects for a later coffer, when your existing perks already support the gamble.
- Keep one slot of your decision-making open for recovery. A strong build needs to survive an ugly draw, not only flourish on ideal rolls.
That last point matters most. The best lottery build is not the one with the highest theoretical ceiling; it is the one that can still reach the next reward when the game offers three inconvenient symbols.
Aaron Is Your Best Tool for Repairing a Weak Run
Aaron, Noa’s black-cat companion, changes the value of exploration. Coffers are often found in people’s homes, and some require puzzle-solving with Aaron’s feline movement and access. The cat’s role therefore reaches beyond story flavor: Aaron can open routes to more ability choices.
When your current perks are weak, awkward, or incomplete, prioritize areas where Aaron can help investigate an interior or solve a cat-sized access problem. More reachable coffers mean more chances to correct the build before the mission reaches a tougher stretch. Think of these cat-assisted detours as recovery routes.
Use Cat Access to Create More Draft Opportunities
- Check homes and puzzle spaces carefully instead of treating them as background scenery.
- Switch to Aaron when an opening, route, or interior puzzle looks too tight for Noa.
- Favor cat-assisted coffer routes when the current ability set lacks a clear combat answer.
- Do not skip a reachable jewelry box simply because the last one was disappointing; every new box is another three-choice chance to stabilize the run.
The cat’s value rises sharply after a bad roll. A strong build can often keep moving along its intended route. A weak build needs more options, and Aaron is the clearest route to those options in the material shown so far.

The Time-Travel Premise Does Not Mean You Can Bank a Build
1666: Amsterdam pairs Noa and Aaron across centuries and frames its story around witchcraft, Amsterdam, and an ancient threat. That premise gives the game its unusual tone, but the ability reset works on a much simpler rule: perks found in coffers belong to the current mission attempt and disappear when you die.
Plan around the confirmed loop rather than assuming the time-travel setup will preserve abilities, rewind individual coffer choices, or manipulate future lottery odds. Aaron’s puzzle access is useful because it can lead to more boxes. The restart is useful because it produces a fresh build. Those are separate advantages, and treating them separately keeps your decisions clean.
How Day, Night, and Esbats Affect Your Risk Tolerance
The wider structure of 1666: Amsterdam moves between daytime investigation and nighttime confrontations during full-moon Esbats. That rhythm should shape how aggressively you play a lottery build. Daytime exploration is the best moment to look for homes, puzzles, and coffer access. When the game’s pressure rises at night, a fragile build has fewer opportunities to recover from an overreach.
Flying and broom travel are also restricted to specific areas rather than freely available across Amsterdam, so you cannot count on aerial movement to erase every routing mistake. Take the safer route to a known reward when your build is unstable. With dodging as Noa’s primary defensive answer, arriving at a hard confrontation with an unfinished glass-cannon setup is a dangerous wager.
When Death Is Worth the Reroll
Death creates a new ability lottery, but deliberately throwing away an attempt remains a poor habit. The reset costs the current mission’s progress, removes the perks you spent time collecting, and may replace a merely mediocre build with an even less cooperative set of offers. Keep playing a flawed build when it still has a safe route to more coffers or when it has taught you what an unfamiliar icon does.
Use the restart as a chance to revise your drafting logic. If an aggressive first pick repeatedly leaves Noa exposed, open the next attempt with a sturdier choice. If a cat-accessible home reliably leads to another coffer, work it into the early route. If a symbol only shines after two very particular rolls, move it down your priority list until the core of the run is already secure.
Three Mistakes That Waste the Lottery Loop
- Treating coffers like a permanent RPG skill tree: every selection belongs to the current attempt, so draft for immediate reliability.
- Building around an unknown icon too early: test unclear effects when you can afford the risk, then use what you learn on later attempts.
- Playing recklessly because death rerolls abilities: a new lottery is helpful, but it does not refund lost progress or guarantee a better start.
The Strongest Run Mindset for 1666: Amsterdam
Approach each mission with a simple cycle: identify what the first coffer offers, take the most broadly useful known effect, seek Aaron-assisted routes to increase your choices, and let later coffers decide whether the build can safely specialize. Keep learning the symbols after every death, because player knowledge is the one resource the reset cannot take away.
Verdict: 1666: Amsterdam’s jewelry box system looks most rewarding when you play for resilience instead of chasing a scripted dream build. Take reliable early perks, use Aaron to reach more rolls, and treat each death as a fresh draft with better information. The player who adapts to three imperfect choices will get far more from the loop than the player waiting for one perfect one.
FinalBoss // Gear
Level up your setup
01Top-rated gaming headsetson Amazon→02High-refresh gaming monitorson Amazon→03Gaming chairson Amazon→04Discounted game keyson Kinguin→Affiliate links · As an Amazon Associate, FinalBoss earns from qualifying purchases.
Want to Level Up Your Gaming?
Get access to exclusive strategies, hidden tips, and pro-level insights that we don't share publicly.
Ultimate Guide Strategy Guide + Weekly Pro Tips