
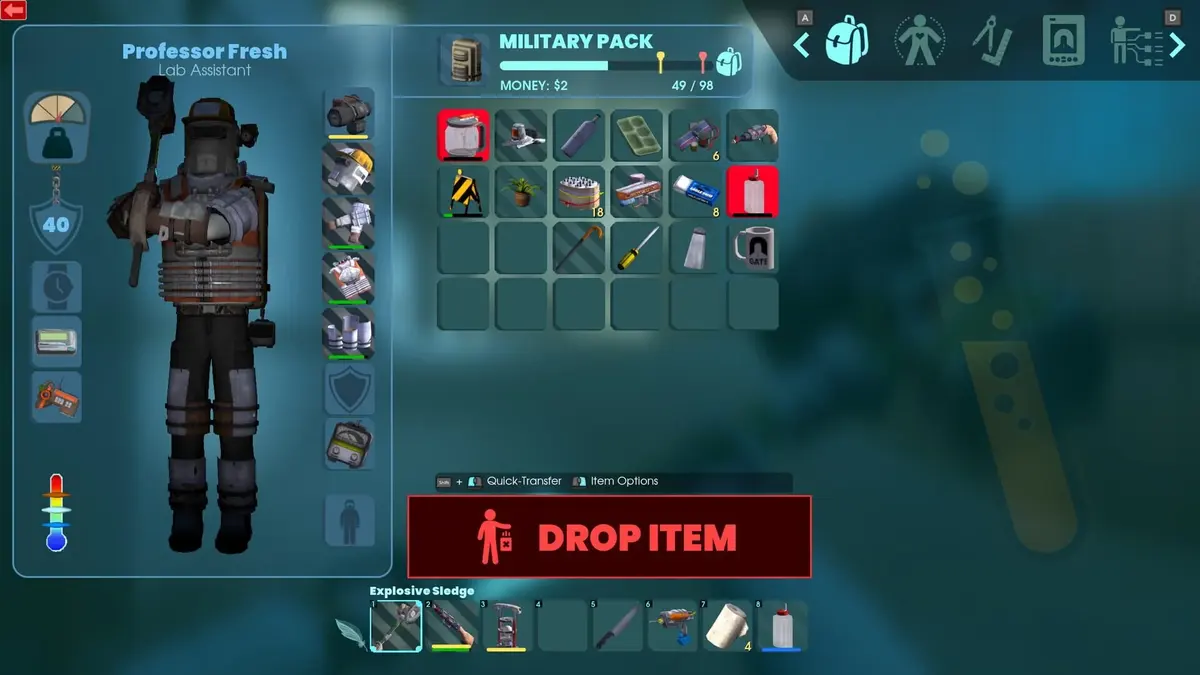
Carry a shield and a two-handed weapon for different jobs. In Abiotic Factor, a shield is strongest against non-energy pressure you must absorb — gunfire, charging enemies, and punishing melee trades — while a Heavy two-handed weapon is better when you can safely end the fight faster with reach and higher damage. The deciding factors are the enemy’s damage type, the room you are fighting in, and how forgiving your difficulty setting feels. Weapons and Ammo; Damage Types and Enemy Weaknesses.
Table of Contents (5)
Current PC Version Scope
This guide applies to the PC version of Abiotic Factor using combat references maintained through September 2026. The accessible reference material does not identify a specific current build number, so recheck your in-game patch notes after an update that changes shields, enemy damage classes, or weapon balance. The shield and weapon references were updated July 26, 2025, while the enemy damage-type guide was updated August 29, 2026. Weapons and Ammo; Armor and Gear; Damage Types and Enemy Weaknesses.
Choose by the Threat in Front of You
Shields occupy the off-hand slot and work with non-Heavy melee weapons such as a crowbar or spear. Hold the Alt Fire input — right mouse button by default on PC — to raise the shield. While it is raised, blocked non-energy damage is negated and transferred to shield durability instead of your health; if you attack, that blocking stance drops. Heavy melee weapons use both hands, so equipping one removes that defensive pairing in exchange for better damage-tier access and reach. Energy damage is the big exception: it bypasses shields completely even if you are blocking. Charge Shield; Weapons and Ammo.
| Enemy or situation | Recommended opener | Why it fits |
|---|---|---|
| Early Office Sector pests and other small unarmored enemies | Blunt weapon; shield optional | Blunt tools such as the Crowbar, Pickaxe, and Pipe Club handle these targets efficiently. If incoming damage is manageable, a two-hander or fast one-hander keeps the fight short and does not force you to spend durability. |
| Electro-Pests | Sharp or ranged option; shield secondary | This is a good example of a fight where the correct damage family matters more than the shield-versus-Heavy question. If the room is cramped and the enemy is still applying physical pressure, a shield can steady the encounter, but do not bring electric damage expecting it to solve everything here. Damage Types and Enemy Weaknesses. |
| Armored or shielded enemies | Sharp spear plus shield | Sharp damage and spear reach let you work around enemy shields. Your own shield cuts down the damage taken during close-range trades, which matters more here than swinging a Heavy weapon into their pressure and hoping the raw damage wins first. |
| Order Grunts in Manufacturing West | Spear plus shield | These enemies punish open melee trades. Blocking their physical attacks gives the spear room to use its reach in corridors and around cover, which is cleaner than committing to slow Heavy swings in a tight hallway. Damage Types and Enemy Weaknesses. |
| Order Medics and other mid-range humanoids | Shield plus reach weapon | Reach matters, but so does surviving the approach. A shield lets you cross the awkward middle distance against non-energy pressure, then a spear or other non-Heavy melee option can start working without giving up the off-hand defense. Damage Types and Enemy Weaknesses. |
| Order Captains, snipers, and gun-heavy encounters | Shield first; ranged or one-handed follow-up | Bullets count as non-energy damage, so a raised shield can safely cover a crossing or force an opening. Riot and Hardlight shields are particularly useful for bullet pressure, though visibility and weapon handling matter a lot once you start shooting back. Charge Shield; Armor and Gear. |
| Peccary and other charging threats | Shield plus spear | Shield blocking creates the safe opening needed to punish a charge. Peccary specifically rewards this defensive counterplay more than unblocked melee pressure, so a Heavy weapon is worse if you cannot reliably absorb the rush first. Damage Types and Enemy Weaknesses. |
| Breachers, Security Bots, and other targets where the right damage type matters more than raw melee damage | Bring the correct damage tool first; shield or Heavy second | Some enemies are not really asking “shield or two-hander?” at all. They are asking whether you brought the damage type they dislike. If you expect non-energy retaliation on the approach, shield play is safer; if the enemy is already controlled or exposed, a Heavy finisher makes more sense. Damage Types and Enemy Weaknesses. |
| Containment Robots and other armored mechanical fights | Reach weapon or correct damage-type tool; Heavy only if you have a safe window | These encounters punish lazy brawling. Treat the Heavy weapon as a commit option for clean windows, not a default answer. If the room forces repeated physical trades, a shielded setup is more forgiving. Damage Types and Enemy Weaknesses. |
| Teleporting Exors and Exor Monks | Damage-type tool, nets, then close in | Against teleporting enemies, control and the right counter matter more than block value. Electric weapons and nets are the important part before you commit to close combat. Shields offer limited value if the main threat is teleporting or energy-based pressure rather than straight physical trading. Damage Types and Enemy Weaknesses; Charge Shield. |
| Composer | Stealth and positioning, not a straight melee commitment | This is another case where forcing the shield-versus-Heavy decision misses the point. If the encounter is better solved by crouching, sneaking, or avoiding line of sight, extra block or extra melee damage is not your primary lever. Damage Types and Enemy Weaknesses. |
| Crystalisk | Use ordinary firearms if available; melee is not the point | When a target is already well answered by standard ranged tools, you do not need to make every fight a shield fight or a Heavy fight. Save those loadouts for enemies that actually pressure you in melee or with bullets. Damage Types and Enemy Weaknesses. |
| Leyak-type anomaly | Use X-Ray or energy damage; physical melee is not the answer | This is the cleanest reminder that some fights ignore the whole shield-versus-two-hander debate. If physical damage is ineffective, neither off-hand defense nor Heavy melee damage solves the real problem. Damage Types and Enemy Weaknesses. |
| Energy attacks, reactor hazards, and other shield-bypassing pressure | Damage-type tool, mobility, or two-hander | Energy damage bypasses shields completely. Use positioning and the correct counter damage type; if you get a clean window, a Heavy two-hander makes more sense here than leaning on a block that does nothing. Charge Shield; Damage Types and Enemy Weaknesses. |
The key trap is assuming every shield blocks every hit. Current references describe shield classes interacting with incoming damage classes — Light, Medium, Heavy, and Super — so do not assume “a shield is a shield” if the attack in front of you is above your shield’s class. Energy damage ignores the shield entirely. A high-durability shield gives you a larger durability reserve; it does not automatically solve a mismatch against a stronger incoming hit class. Damage Types and Enemy Weaknesses; Charge Shield.
That is also why older blanket advice about shields can age badly. Durability still matters, and special effects still matter, but your actual matchup is now tied to what is hitting you, not only to the fact that you remembered to equip a shield. Weapons and Ammo; Damage Types and Enemy Weaknesses.

What a Shield Gives You That a Two-Hander Cannot
A shield is a survivability resource. Every non-energy hit it blocks is damage that never reaches your health, and the cost comes out of shield durability. That makes shield repair or replacement part of your effective durability budget for a dangerous sector. Two-handed weapons improve kill speed, which reduces exposure time, but they do not give you a way to erase a bad trade after you commit to a swing. Charge Shield; Weapons and Ammo.
| Shield | Durability | Weight | Useful distinction |
|---|---|---|---|
| Plastic Shield | 24 | 4.0 | Light early option with a small durability reserve. |
| Heater Shield | 36 | 8.0 | A moderate durability step for standard physical encounters. |
| Lodestone Shield | 100 | 8.0 | A much larger durability pool without increasing listed weight over the Heater Shield. |
| Plasmatic Shield | 100 | 8.0 | Another high-durability option for fights where the shield will absorb repeated non-energy hits. |
| Charge Shield | 36 | 12.0 | Stuns enemies that strike it while it has battery charge; it still blocks after the charge runs out, but loses the stun effect. |
| Riot Shield | 35 | 15.0 | Useful against physical and bullet pressure, but its large model blocks a substantial part of the screen while raised. |
These numbers are durability and weight comparisons, not a simple “best shield” ranking. Pick the shield with enough durability for the encounter, then account for its effect and visibility cost. The Charge Shield is valuable when enemies must hit your block to be stunned; the Riot Shield is valuable when bullets matter more than screen space. Community shield notes also put the Hardlight Shield at the top end for bullet blocking, which is worth remembering if the problem is rifle fire rather than melee pressure. Weapons and Ammo; Armor and Gear; Charge Shield.
Difficulty Changes How Much You Should Value Blocking
Lower difficulties leave more room for dodge-heavy play, quick kills, and a permanent two-handed weapon setup. If you reliably avoid hits against unarmored enemies, the shield slot provides less immediate value than damage, reach, or a cleaner view of the fight. That is why some players simply skip shields for routine enemies and only miss them once projectile pressure or bad rooms start stacking mistakes. Fresh Player Question, Shield or No Shields?; Does Anyone Else Just Not Bother With Shields?.
As enemy projectile density and punishment rise, shields become more efficient because they turn incoming non-energy damage into repairable durability loss. This matters most when a fight has repeated bullets, narrow corridors, unpredictable melee bursts, or an objective that requires moving through exposed space rather than simply defeating everything quickly. On harder settings, the safer answer is often not “more damage” but “fewer bad trades.” Charge Shield; Damage Types and Enemy Weaknesses.
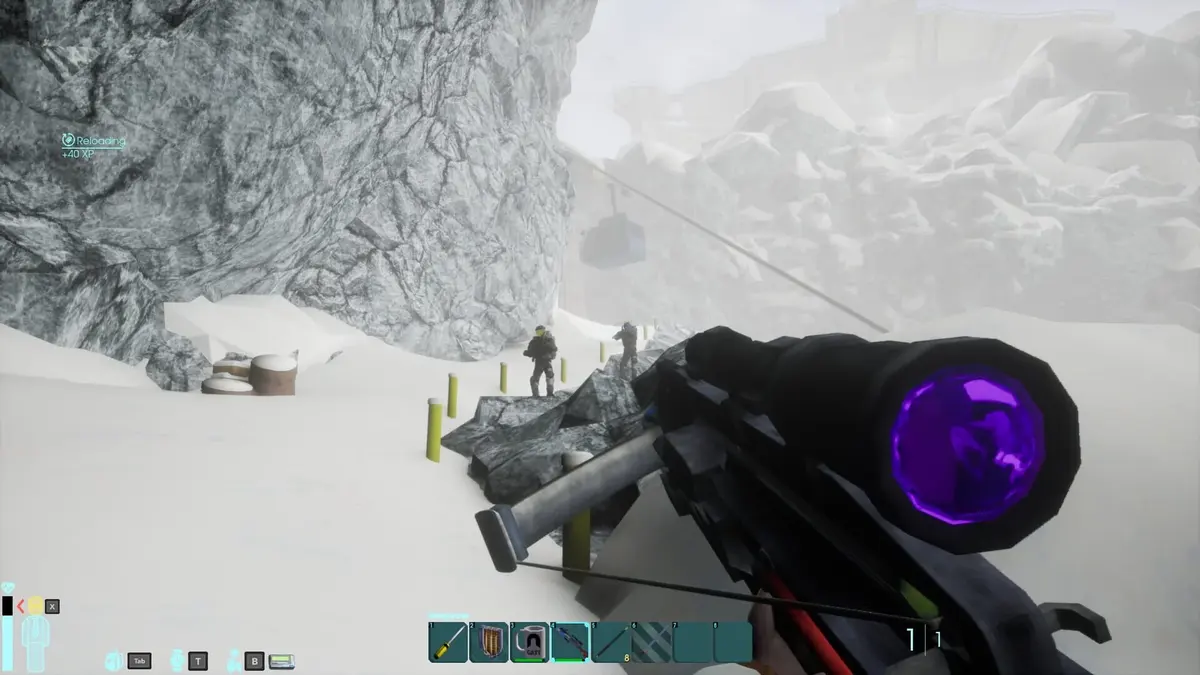
Shield weight belongs to armor weight rather than inventory weight while the shield is equipped. At 15 Strength, the heavy-armor mobility perk removes the heavy-armor movement penalty described by current player references, making heavier shield choices easier to carry in a late-progression defensive loadout. Keep an eye on your overall armor setup rather than treating the off-hand slot as free. A Question About Shields; Armor and Gear.
Switch Gear Instead of Committing to One Style
The strongest practical setup is usually a two-kit approach: keep one one-handed weapon and shield ready for physical pressure, then keep a Heavy weapon or alternate damage type for controlled fights and resistant targets. The enemy weakness guide recommends carrying multiple damage types by sector, which matters more than forcing every enemy into a shield-versus-two-hander decision. Damage Types and Enemy Weaknesses.
- Enter bullet or charge-heavy spaces with the shield equipped. Raise it with Alt Fire, block first, identify the threat, and use the one-handed weapon once you have an opening. Remember that the moment you swing, the blocking stance drops. Charge Shield; Damage Types and Enemy Weaknesses.
- Swap to a Heavy weapon in predictable melee encounters. Use its reach and damage when you have room to swing and no incoming threat demands a block. If the enemy is mostly testing your damage output instead of your survivability, that is the green light for the two-hander. Weapons and Ammo; Damage Types and Enemy Weaknesses.
- Use the Holster key to clear the shield quickly. Press
Hwhile holding a shield to holster the shield without holstering your current weapon or tool. This is the cleanest way to alternate between a defensive stance and full visibility. Charge Shield. - Do not give away your block window for a convenience input. Community discussion around shield use notes that pulling up the watch or otherwise leaving block at the wrong moment costs you the exact defensive value you brought the shield for. If the room is dangerous, keep the shield work simple. Does Anyone Else Just Not Bother With Shields?.
- Separate shield play from precision firearm play. Compatible firearms such as the Security Pistol and Quill Rifle become less accurate with a shield equipped, with the laser-dot reticle swaying roughly twice as fast. Shielded ranged play is possible, but precision shooting gets worse, so stow the shield before taking careful shots. Armor and Gear.
Before entering a new sector, check its dominant damage type first. Physical enemies and bullets favor the shield-plus-one-hander kit; energy threats and safe, predictable melee windows favor the two-handed weapon that matches the enemy’s weakness. Monitor shield durability before a long push, because an empty shield stops being a safety net at the exact moment the loadout was meant to protect you. Charge Shield; Damage Types and Enemy Weaknesses.
FinalBoss // Gear
Level up your setup
01Top-rated gaming headsetson Amazon→02High-refresh gaming monitorson Amazon→03Gaming chairson Amazon→04Discounted game keyson Kinguin→Affiliate links · As an Amazon Associate, FinalBoss earns from qualifying purchases.
Want to Level Up Your Gaming?
Get access to exclusive strategies, hidden tips, and pro-level insights that we don't share publicly.
Ultimate Guide Strategy Guide + Weekly Pro Tips