
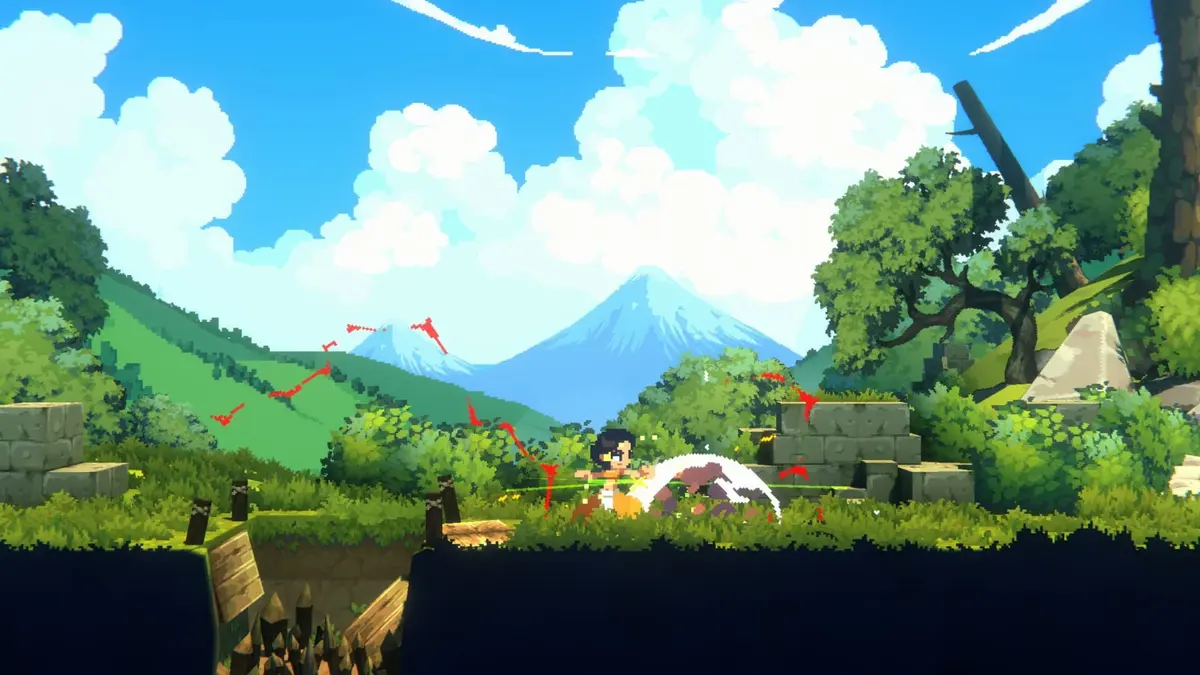
The stable Amber Mines route is to use the teleporter, progress right until the objective updates, handle the red-valve and flooded sections carefully, then return to the merchants and Guide Stone before opening the upper shortcut door. Take that upper route to the elevator before challenging Chancellor/Rin. This cuts down the runback and gives you a much safer reset point for the two-phase boss sequence.
Table of Contents (15)
Amber Mines route requirements
Bring the full movement kit into this section: a normal jump, dash, and second jump. The upper shortcut depends on chaining those moves cleanly, and missing it forces you back through the most punishing lava, red-crystal, and flooded rooms.
- Use the merchants for healing and inventory management before going deep into the hazards.
- Use a Guide Stone whenever your health is already low before a room with clustered enemies or red crystals.
- Open the locked shortcut door before treating the Chancellor/Rin encounter as your next serious attempt.
- Save room to retreat during the boss fight instead of standing directly beneath Rin or against an arena wall.
Amber Mines route: teleporter to the first objective
After taking the teleporter, pause at the entrance long enough to read the room. The early mine route leads deeper into the area and then right until the objective completes. Keep this first stretch simple: clear enough space to move safely, then continue right instead of spending health on unnecessary detours.
The first Guide Stone is useful when you arrive hurt, especially before a hazard room or a dense enemy group. If your health is comfortable, keep moving and preserve the stop for later. The mines punish rushed recovery attempts because the next platform can be an instant-death hazard rather than a safe landing.
Use the merchants as your turnaround marker
The two merchants below the later shortcut route are the practical midpoint of this section. Heal, check your consumables, and make sure your movement inputs are ready before committing to the flooded and crystal-heavy rooms. Once you have reached them, you know where to return after the lower mine objective is complete.
Do not push onward at low health simply because the route looks linear. The safest rhythm through Amber Mines is to wait for the room to settle, make one committed movement burst, then stop on solid ground before planning the next jump or dash.
Complete the red valve objective safely
In the open area to the right, collect the red valve and return it to the required location. Treat the trip back as a fresh traversal rather than a quick retrace: hazard geometry is far more dangerous when you try to dash through it without checking where Mako will land.
The broader Amber Mines progression uses red, green, and blue valves to restore the pump. The red-valve section in this route is where players commonly lose progress by attempting to sprint through hazards after picking it up. Carry the valve, clear each platform deliberately, and reset your footing after every jump.
How to clear lava, red crystals, and flooded rooms
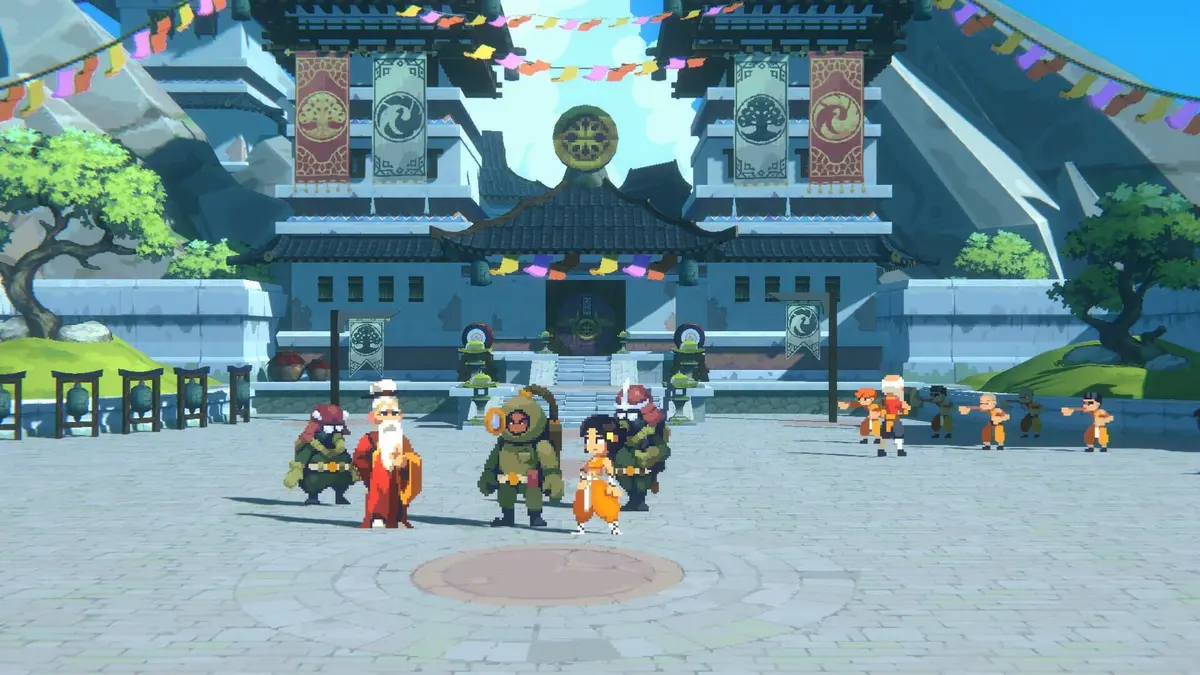
Amber Mines hazards become manageable once you stop treating every screen as a speed test. Each room asks for a short sequence: identify the safe platform, wait for a clean opening, use jump or dash only for that one gap, then stop. This keeps the second jump available for corrections instead of spending it early.
| Hazard room | Safe movement pattern | Failure to avoid |
|---|---|---|
| Lava platforms | Choose the next landing before leaving the current platform, then make one clean jump or dash. | Chasing a pickup across lava without a safe exit. |
| Red crystal passages | Advance in short bursts and pause on clear ground before the next commitment. | Dashing blindly into a crystal-lined edge or enemy cluster. |
| Flooded or underwater sections | Use the available platforms and edges methodically; reset your position after each crossing. | Trying to force a straight-line escape while the camera and hazards are still changing. |
Lava rooms: ignore the bait
A healing potion surrounded by lava rocks can kill Mako instantly if you touch the lava while reaching for it. Leave the potion alone unless you can identify both a safe approach and a safe landing afterward. Losing a full attempt for a heal that sits inside lethal terrain is never a favorable trade.
Use the second jump as insurance. Start from the middle of a stable platform where possible, make the first jump toward the intended landing, and keep the follow-up jump for a short correction. A dash is strongest when it closes one confirmed gap; using it as panic movement near lava removes your recovery option.
Red crystals: slow down before the last gap
Red crystal rooms are easiest when you break them into individual jumps. Land, let the screen settle, identify the next safe edge, then continue. The dangerous moment is usually the final rush through a room, when a dash carries you into a crystal or off a platform after you have already cleared most of the section.
Flooded section: finish it, then return
After dealing with the flooded section, return to the two merchants below and rest at the nearby Guide Stone. That reset is the point where the route becomes much more forgiving. You have completed the lower hazard work, and the next priority is opening the upper shortcut rather than continuing through repeated runback terrain.
Open the upper shortcut door and take the elevator
From the Guide Stone near the merchants, take the path above it. Use jump, dash, and the second jump to reach the locked door. Open it as soon as you arrive. This door is the key progression save for the end of Amber Mines because it removes repeated trips through the red crystal and flooded sections after a death.
- Return to the merchants after the flooded section.
- Heal or organize your inventory if needed.
- Rest at the Guide Stone.
- Take the path above the Guide Stone.
- Chain jump, dash, and second jump to reach the locked door.
- Open the door, follow the upper route, and enter the elevator.
The upper route is the faster destination path. Once the shortcut is open, future attempts can focus on the Chancellor/Rin fight instead of repeating the mine’s instant-fail rooms.
Chancellor/Rin preparation: enter with space to move
Enter the Chancellor/Rin sequence with healing handled and the shortcut unlocked. The fight rewards spacing discipline: stay slightly off-center so you have room to retreat in either direction, and avoid pinning yourself to a wall before Rin commits to an attack.

The opening narrative beat changes the terms of the encounter. Rin is bound to Akatori and steals Akatori before the real fight begins, leaving Mako with bare fists. Treat this section as a survival and positioning check. Preserve your health, learn the immediate pattern, and avoid forcing aggressive damage while your normal combat options are unavailable.
Chancellor/Rin boss strategy: phase one and the robot pattern
Rin fights from a face-shaped flying robot with three faces and laser attacks. Keep your attention on the boss’s movement and arena position rather than staring at the damage opportunity. The safest attacks come after you have avoided the current pattern and regained a clear lane across the arena.
| Rin attack cue | Response | What to do next |
|---|---|---|
| Rin circles the arena and fires lasers | Jump onto the walls to avoid the laser path. | Drop back into open space and restore your left-right escape room. |
| Rin gains a shield | Prepare to jump when Rin throws the staff. | Land away from the expected staff line instead of rushing toward Rin. |
| The staff floats overhead | Move away from your current position before the spawned staffs fall. | Keep moving until the rain of staffs has ended, then re-center. |
| Chains follow the first broken face | Dash if the chains catch Mako to break free. | Create distance immediately so the next pattern does not begin at point-blank range. |
Use the lava valves when Rin is close
Two lava valves in the arena can drop explosive lava. Their value comes from timing, not from activating them whenever they are available. Bring Rin close to a valve area, trigger the explosive lava when the boss is within range, then move back out rather than remaining in the blast zone.
Do not camp beside a valve waiting for the perfect setup. Staying there reduces your escape room against lasers, staff throws, and falling staffs. Circle through open ground, let Rin approach, use the valve, then reset your spacing.
Break the first face, then expect chains
When the first face breaks, the encounter changes immediately: Rin throws chains. Be ready to dash the moment Mako is caught. Waiting to see whether the chain follow-up ends on its own wastes the escape window and leaves you exposed to the next part of the pattern.
Phase two: reset after the story interruption
After the narrative interruption, reset your position as though a new fight has started. Move back toward open space, stay slightly off-center, and let the next pattern fully declare itself before committing to an attack. Carrying phase-one aggression into the transition is the most reliable way to get trapped without room to dodge.
- Re-center after the transition instead of chasing Rin immediately.
- Keep both directions open for retreat.
- Use wall jumps for the laser round.
- Jump for the shield-and-staff throw.
- Move out of your current position when the staff floats overhead.
- Dash immediately if chains catch Mako after the broken-face sequence.
- Activate lava valves only when Rin is close enough for the explosion to matter.
Common Amber Plant Part 5 mistakes
- Skipping the shortcut door: this turns every boss death into another full hazard run through the mines.
- Grabbing the lava-surrounded potion: the lava rocks can kill Mako instantly.
- Spending the second jump too early: save it for a correction after the first leap or dash.
- Dashing through red crystal rooms: stop on clear ground between each committed movement.
- Standing under the floating staff: reposition before the overhead staffs begin to fall.
- Ignoring the phase transition: rebuild spacing after the story beat instead of continuing the prior rhythm.
- Waiting while chained: dash to free Mako and immediately create distance.
With the upper shortcut unlocked, the Amber Mines route becomes a short, repeatable approach: elevator, boss arena, disciplined spacing, and clean responses to Rin’s lasers, staff patterns, chains, and lava-valve openings.
FinalBoss // Gear
Level up your setup
01Top-rated gaming headsetson Amazon→02High-refresh gaming monitorson Amazon→03Gaming chairson Amazon→04Discounted game keyson Kinguin→Affiliate links · As an Amazon Associate, FinalBoss earns from qualifying purchases.
Want to Level Up Your Gaming?
Get access to exclusive strategies, hidden tips, and pro-level insights that we don't share publicly.
Ultimate Guide Strategy Guide + Weekly Pro Tips