
Alien: Rogue Incursion Walkthrough – Chapter Guide and Stuck Fixes
If you are stuck in Alien: Rogue Incursion, the problem is almost never “search every room again.” It is one of three things: you missed a vent or maintenance route next to the objective, you triggered a Xenomorph rush before setting up a defensible position, or you have hit a door gated behind a higher PDT Keycard clearance you do not own yet. This walkthrough grounds you in where you actually are and how to keep moving.
The short version
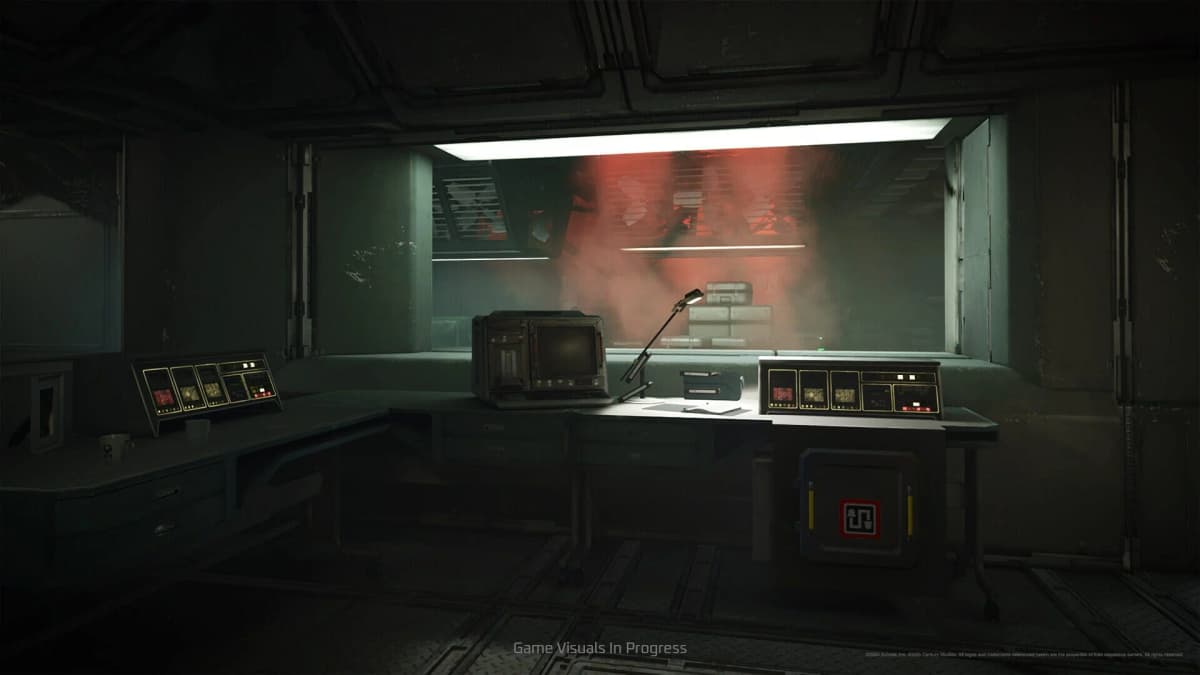
- Where you are: you play former Colonial Marine Zula Hendricks, sent into the Gemini Exoplanet Solutions (GES) blacksite on the planet Purdan, designated LV-354, to find her old squadmate Benjamin Carver.
- How long: the main story runs roughly 7 to 8.5 hours; experienced players who know the routes can finish in about 3 to 4.
- How you progress: it is a linear, objective-driven campaign. Locked areas open as you upgrade your PDT Keycard to higher clearance, so a “dead” route is often a clearance problem, not a hidden-path puzzle.
- How you survive: close doors, force the Xenomorph through one narrow entry at a time, and save when a terminal becomes available instead of pushing deeper on a clean run.
- It is Part One: Survios built this as Part One of a two-part story, and a second game is in development, so the campaign ends on a deliberate hook.
Read the facility before you read a map
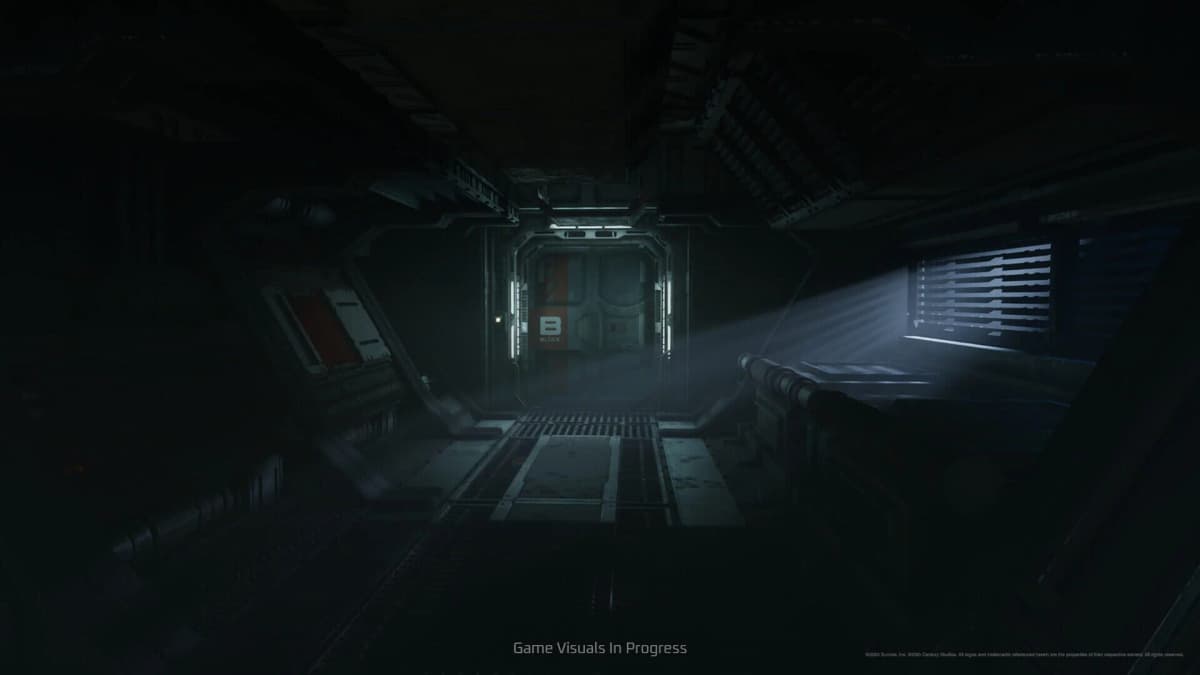
Almost every “I am lost” moment in the GES facility comes from treating it like an open survival sandbox. It is not. Progression is tighter than the industrial sprawl makes it look. Finish the immediate objective, then search the space closest to it for the next route forward — usually a vent beside a terminal, a maintenance opening next to a blocked door, or a side route you skipped because the main path looked more obvious. When you stall, return to your last objective device and scan the walls around it rather than re-circling cleared rooms.
Five rules that carry the whole run
- Move objective to objective. The facility funnels you through specific doors, vents, shafts, and elevator sequences. Disciplined routing beats sightseeing.
- Do not hit mission devices unprepared. Elevators, terminals, and major objective completions can trigger an attack. Reload and pick your fallback before you interact.
- Use doors as a weapon. Closing doors and forcing the Xenomorph through a narrow choke is the single most reliable tactic on harder settings.
- Protect shotgun ammo. Treat the shotgun as your panic button for breaking a bad rush, not your default for every contact.
- Save in safe windows. Do not assume an autosave lands right after a hard fight. When a save terminal opens, backtrack and use it.
Why the Xenomorph keeps catching you
The Xenomorph hunts through the facility’s vents, which is why it appears where you did not clear and disappears when you think you have it cornered. That movement through ducts is the design, not a glitch — do not build a plan around “luring it away,” because the AI does not reliably stay where you left it. The dependable answer is positional: pick a room with one usable entrance, close everything else, and let it commit to that single doorway. Open ground with multiple approach lines is where it kills you mid-transition.
PDT Keycard clearance is your real progression gate
The biggest navigation trap in the back half is assuming every locked route is a puzzle. It often is not. You carry a PDT Keycard that you upgrade to higher clearance levels (for example, yellow clearance), and large parts of the facility are deliberately sealed until your card outranks the lock. If a route looks correct but refuses to open, stop hunting for a hidden switch — check whether the game expects you to come back after raising your clearance.
That single mechanic explains most late-game backtracking. When a door rejects you, note it and keep advancing the main objective; the campaign routinely hands you the clearance, then sends you back through the area you could not enter earlier.
Want to Level Up Your Gaming?
Get access to exclusive strategies, hidden tips, and pro-level insights that we don't share publicly.
Ultimate Guide Strategy Guide + Weekly Pro Tips
Finding Carver and managing the search beats
Your throughline is Zula’s hunt for Benjamin Carver, and the “search” stretches feel more open than they are because the goal is broad. The route is still largely sequential — you simply revisit more recently traveled areas, which is exactly where players burn ammo and skip saves. Keep one defensible room in mind as an anchor. If you survive a wave and a save terminal becomes usable, take the save before pushing on. Follow the objective chain, check the nearest connected space, and only branch when a route is physically blocked. Your job is to reach the next interaction safely, not to sanitize the map.
FinalBoss // Gear
Level up your setup
01Meta Quest 3on Amazon→02PSVR2 accessorieson Amazon→03Gaming chairson Amazon→
Affiliate links · As an Amazon Associate, FinalBoss earns from qualifying purchases.
Combat that actually holds on harder difficulties
High-difficulty play here is old-school: close doors, force the enemy through narrow entries, and fight from one room instead of drifting into open spaces. The goal is controlled sequencing, not stylish movement.
- Use the shotgun to clear the first emergency target, not every target.
- Fall back to a single defensible room the moment a wave starts.
- Make the Xenomorph enter one doorway at a time whenever possible.
- After a heavy encounter, think “save terminal” before “next objective.”
Ammo management, room control, and save timing reinforce each other. Waste shells in open fights and you lose your escape tool; push on without saving and one bad trigger erases a clean section.
Common mistakes
- Treating a clearance door as a puzzle. If a route looks right but will not open, it is probably gated behind a higher PDT Keycard level — note it and come back.
- Hitting an elevator or terminal cold. Advancing a mission device can spawn a wave. Set a choke and ready the shotgun before you interact.
- Assuming the game just autosaved. Saves often open after a big fight. Backtrack to the terminal and take it.
- Trying to outsmart the Xenomorph AI. It moves through vents and will not reliably stay lured. Win on position, not on bait.
- Comparing against a different platform run. If a video diverges from your game, check whether it is a different VR build or edition before assuming you missed something.
Practical takeaway
Stay grounded: you are Zula Hendricks working through the GES blacksite on Purdan to reach Carver. Follow the objective chain tightly, expect trigger-based waves on every elevator and terminal, fight from doorways instead of open ground, and read locked routes as PDT Keycard clearance gates rather than puzzles. Save when terminals open, protect your shotgun shells, and remember the campaign closes as Part One — it is meant to end on a hook, not strand you. For pacing expectations before you dive in, see our look at how long Alien: Rogue Incursion takes to beat and what to expect from Part 2.