
Aphelion: Walkthrough for Chapter 1 & 2 – The Wreck and The Pulse
Game intel
Aphelion
Jump into a commander chair and strap in. Explore a vast and changing universe as a Federation combat pilot. Fight your enemies and expand the influence of the…
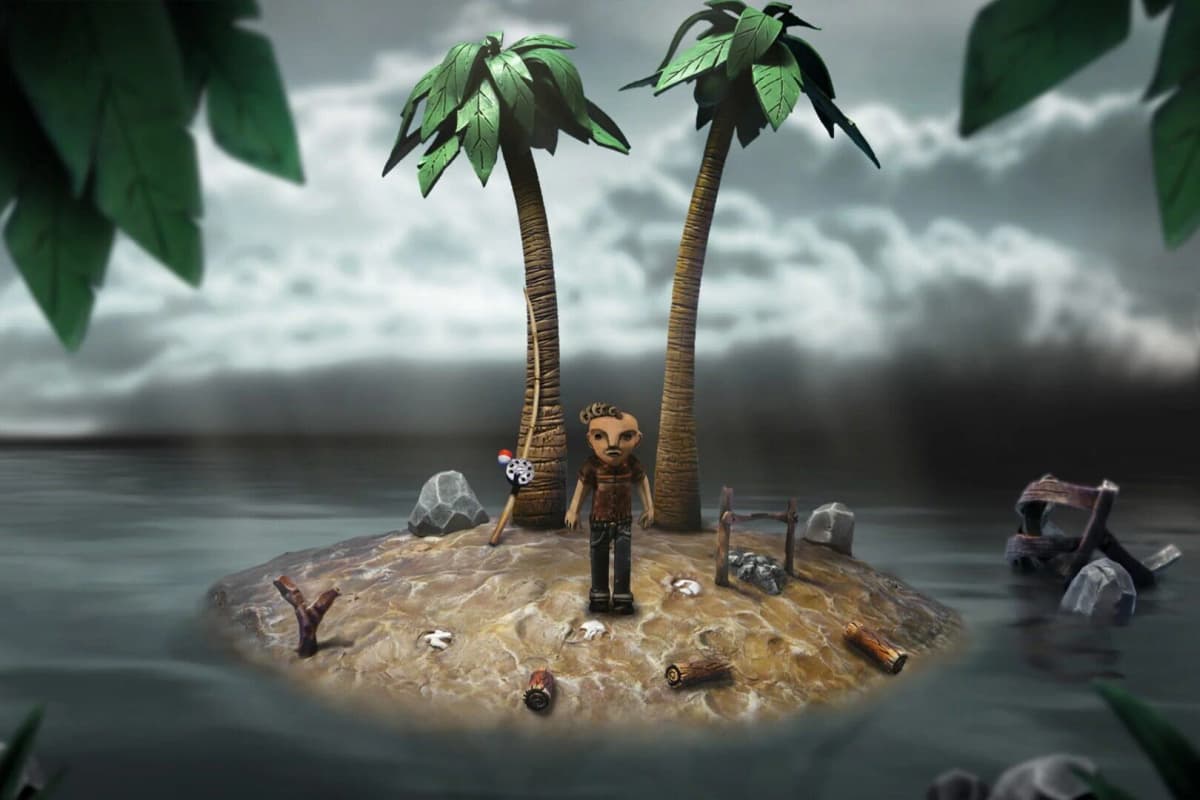
The first two chapters of Aphelion are not a combat or puzzle test. They teach the movement language the rest of the game runs on, and most early frustration comes from misreading that language rather than from precision. You play as Ariane Montclair, sole survivor of the Hope-01 crash on the planet Persephone, and your job in these chapters is to get out of the wreck and chase the signal to the EM Junction.
The short version
- You play Ariane the whole way. There is no character switch in Chapters 1 and 2 – the injured Thomas is not playable until Chapter 3, “The Escape Pod.”
- Chapter 1, “The Wreck”: escape the Hope-01 crash. Move left first, climb back up and right, and treat the broken ladder as a redirect – jump onto the nearby vehicle, then drop left.
- Chapter 2, “The Pulse”: follow the signal to the EM Junction, then push to a higher vantage point. Same toolkit, longer route.
- Use the winch for momentum, not panic. Build a clean left-right swing, then release toward the ledge – never tap at it.
- Watch the fire-pit jumps in Chapter 1. Wait for full footing before you leap; jumping out of a climb animation is the usual death.
Chapter 1 walkthrough: The Wreck
Chapter 1 opens with Ariane recovering from the Hope-01 crash on Persephone. The route is linear, but the wreckage is laid out to look less direct than it is. Your goal is simple: get out of the destroyed section, then push deeper through the ship while the game drip-feeds you its traversal rules.
Escape the first wreck section
From the opening area, move left first. This is the first place the game stops rewarding obvious forward progress – the escape route does not continue straight through the debris. Follow the ledges and ladders on the left, climb upward, then work your way back to the right.
Higher up, take the next climbable route across the narrow passage. Shortly after, you hit an early winch section that pulls Ariane up and forward. This is not a precision test yet; the point is to learn that the winch is an anchor-based traversal tool, not an emergency recovery move. Commit to the movement instead of tapping at it.
The next snag is the broken ladder. The path looks like it should keep going up, but it fails on purpose. Jump onto the nearby vehicle, use it as a platform, and drop left. This is one of the most common time sinks in Chapter 1 because the failure looks accidental – it is not. The game is steering you into the next lane.
After dropping left, continue into the winch-and-obstacle sequence. Keep moving while avoiding debris, but do not rush the release. Establish a readable swing, watch the obstacle pattern, then move through the opening. Overcommitting here sends Ariane into geometry or back into the same hazard loop.
Clear that segment and the chapter transitions through a cutscene. If you reached the cutscene, your route was correct even if the last few jumps felt messy.
Explore deeper into the wreck
After the transition, Chapter 1 shifts from pure escape to guided exploration. The route is still linear, but the visual clutter increases, so lean on the Pathfinder when the environment widens or when multiple pieces of broken fuselage suggest different lanes.
Progress by squeezing through narrow gaps, climbing short ledges, and crawling through damaged ship sections. Several jumps pass over fire pits. These are straightforward from stable footing – the avoidable mistake is jumping too early while Ariane is still climbing onto the platform. Let the climb animation settle, then jump.
Later, the winch returns in a more demanding form: swing left and right to build enough momentum to reach the next ledge. If you keep missing the landing, the fix is a larger, cleaner arc, not a later jump. Build the swing first, reach a full rhythm, then release toward the ledge instead of straight up.
Inside the wreck interior, follow the only viable platform chain. If a path ends in debris, backtrack only a few steps – the continuation is usually a low crawl gap, a ledge above eye level, or a short platform drop, not a hidden branch.
Finish the interior traversal and Chapter 1 closes, having taught you its three essential rules: climb anything readable, trust scripted collapses as route design, and use the winch as a movement system rather than a panic button.
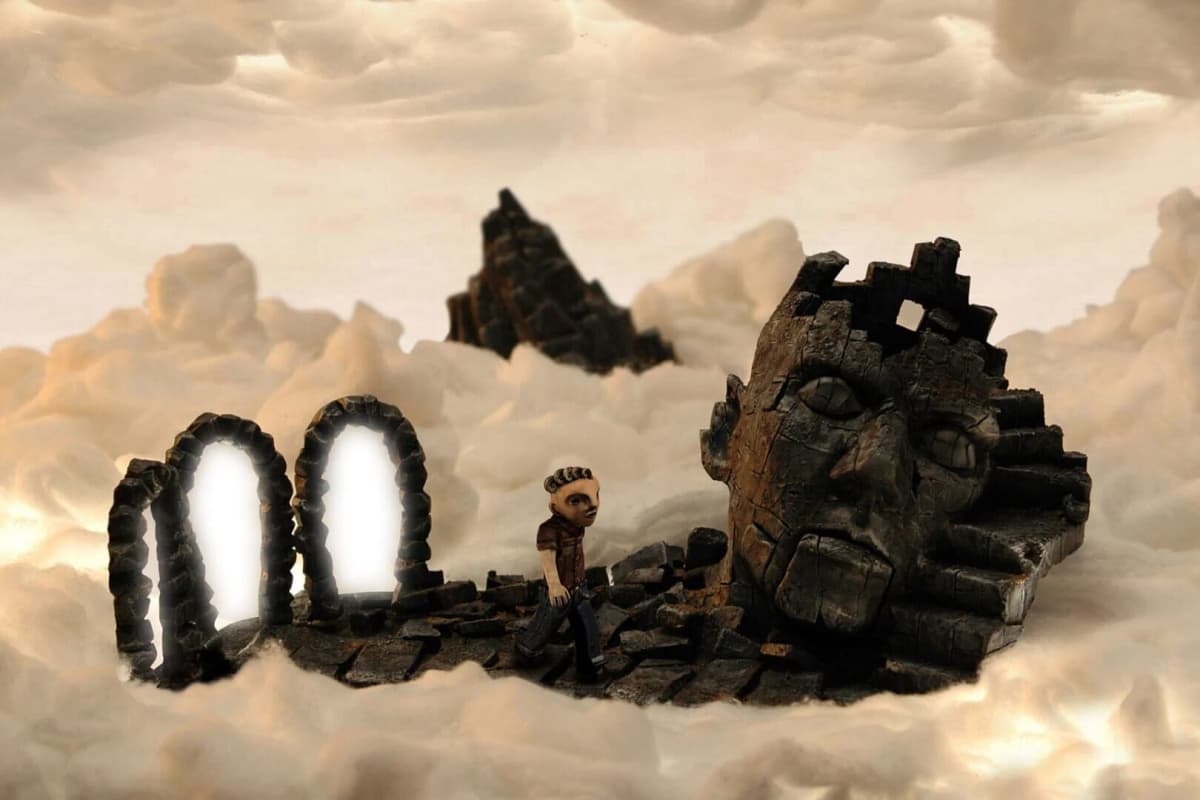
Chapter 2 walkthrough: The Pulse
Chapter 2, “The Pulse,” builds directly on the first chapter instead of changing genre or pace. You are still Ariane – the switch to the injured Thomas does not happen until Chapter 3 – moving through wreckage and frozen terrain on Persephone. The objective shifts toward tracking the signal, reaching the EM Junction, and then finding a higher vantage point. The route stays linear.
How to read the route in The Pulse
The practical rule in Chapter 2 is to stop over-searching open space. When the level expands, trigger the Pathfinder early. The game is not hiding a radically different route here; it wants you to chain the tools you already have – climbing, short jumps, squeezes, and winch-assisted progression.
Advance toward the EM Junction along the marked objective path. Expect alternating exterior and wreck-interior segments. Exterior stretches make the destination look farther and more open than it is, but the correct lane always resolves into a controlled platforming sequence rather than free exploration.
Where Chapter 1 used the winch as a tutorial, Chapter 2 makes it a regular requirement. Approach each anchor with the same discipline: center Ariane before committing, build momentum deliberately, and aim for the next safe landing instead of trying to maximize distance. A stable landing keeps your rhythm; a desperate long release usually costs more time than it saves.
If a room ever reads as unclear, check for these in order: a climbable edge, a squeeze gap, a crawl space, a survivable drop, then a winch anchor. That order matches how these early chapters present progression.
Keep following the signal until you reach the EM Junction, then move on toward the higher viewpoint that closes the chapter. Stay on the pathfinder, apply the taught traversal rules, and you are on the correct line into Chapter 3, “The Escape Pod,” where the game finally hands you the injured Thomas to control.
FinalBoss // Gear
Level up your setup
01Top-rated gaming headsetson Amazon→02High-refresh gaming monitorson Amazon→03Gaming chairson Amazon→04Discounted game keyson Kinguin→Affiliate links · As an Amazon Associate, FinalBoss earns from qualifying purchases.
Want to Level Up Your Gaming?
Get access to exclusive strategies, hidden tips, and pro-level insights that we don't share publicly.
Ultimate Guide Strategy Guide + Weekly Pro Tips
Common mistakes in The Wreck and The Pulse
- Treating the broken ladder as a failure. In Chapter 1, that collapse is a redirect – jump onto the nearby vehicle, then drop left.
- Using the winch without momentum. Small corrective swings rarely reach the ledge. Commit to a readable arc, then release.
- Jumping out of climb animations early. Fire-pit and gap jumps are safe only from full footing.
- Ignoring the pathfinder in open areas. The clutter is by design; the objective tool stops you wandering.
- Expecting a character switch. Chapters 1 and 2 are Ariane-only. Thomas does not become playable until Chapter 3.
Practical takeaway
For Chapters 1 and 2, the plan is simple: stay Ariane, trust the linear route, use the pathfinder before over-searching, and treat winch sections as controlled momentum puzzles. Chapter 1 teaches those rules through the Hope-01 escape; Chapter 2 checks whether you can apply them at the EM Junction without hesitation. Clear these cleanly and you are ready for the platforming logic the rest of Aphelion builds on – including the Storm and Nexus finale in Chapters 7 and 8.