
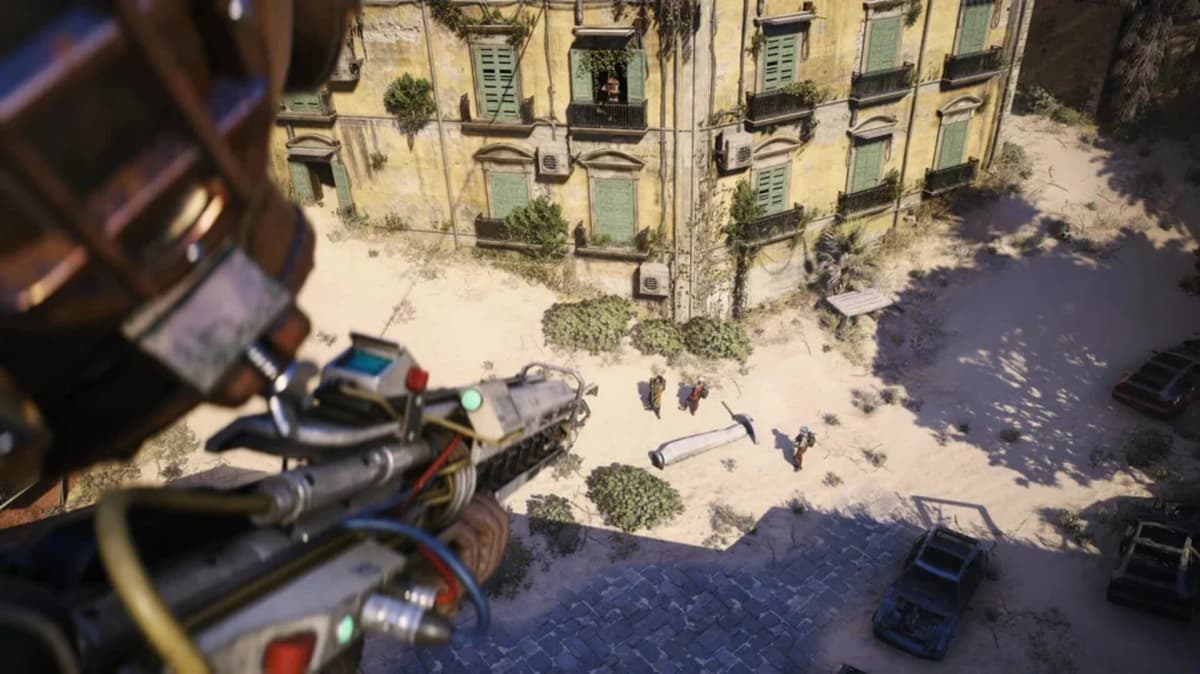
Clean Hands ends at the Nomadic Envoy, after you extract from Pendola Pass with the Equatorial Sundial. The church-tower interaction is a required stop along the way, so plan the full Railyard-to-Old Town route before deploying. For the other Frozen Trail quests, the main preparation checks are a Wire for the Railyard antenna, a key for Blue Gate’s Confiscation Room, and cover near the large ARC objectives.
Table of Contents (8)
Clean Hands: find the Nomad Camp under the Railyard
Head to the Railyard on the eastern side of Pendola Pass. The Nomad Camp is beneath the rail complex, toward its southwestern section. Look for the pipe between the Railyard and the Transit Tunnel to the west, then follow the underground passage into the camp. Searching the surface platforms will leave you above the objective.
Inside the camp, find the marked duffle bag near the green barrels, crates and blue tarps. This bag is the quest’s “polluted item.” Search it to collect the Equatorial Sundial, then place the sundial in a Safe Pocket if your augment provides one. Protect it before leaving the tunnels: the remaining objectives require carrying it across the map and through extraction.
Clean Hands: display the sundial at Old Town’s church
Travel west to Old Town and locate the church near the center of the area. Enter the building and climb the spiral staircase in its southeast corner. At the upper level, use the zipline to reach the top of the church tower.
Find the marked railing or interaction point and use the sundial there, raising it toward the indicated direction. Simply reaching the tower does not complete this stage; finish the interaction before leaving. Check that the church objective has advanced while you are still beside the prompt, rather than discovering the missed interaction after descending.
You must then extract from Pendola Pass with the sundial. After returning to Speranza, open the Traders area and deliver it to the Nomadic Envoy. A Safe Pocket protects the item, but it does not replace the quest’s extraction requirement.
Exploring Pendola Pass: all four objectives
Exploring Pendola Pass mixes combat with three location-specific tasks. Bring 1 Wire before deploying: reaching the Railyard’s tallest tower without it leaves the antenna objective unfinished.

- Destroy 20 ARC enemies. Work toward this during travel between the named locations, rather than adding a separate combat detour after every interaction is finished.
- Search the Cielo Sereno Observatory control room. The objective names the control room specifically, so entering the observatory alone is insufficient.
- Use 1 Wire on the antenna at the Railyard’s tallest tower. Keep the Wire available until you complete that interaction.
- Search 3 containers in the Commissary Supermarket. Count actual container searches; visiting the supermarket does not satisfy the objective.
If Clean Hands is also active, use the Railyard visit to handle both the antenna and the underground Nomad Camp. They occupy different elevations, so treat them as separate stops. Pendola Pass’s Dynamic Loot Zone system changes the loot value of certain areas between raids; keep the named quest locations as your route priorities when carrying the sundial.
Pendola Pass: how gondola extraction works
Pendola Pass uses a gondola evacuation system. Identify a Gondola Transceiver or radio beacon before committing to the final stretch of your route. Activate it, wait for the signal, follow the indicated direction and enter a pod on the side of the large orange gondola.
The gondola has limited capacity, so check for other Raiders before exposing yourself at the boarding point. For Clean Hands, preserve enough healing and ammunition for this final approach rather than spending everything crossing Old Town. Avoid treating activation of the beacon as a completed extraction: you still need to reach and board the evacuation.
Home to Roost: Blue Gate objectives and the rare key
Home to Roost takes place on Blue Gate and has seven tasks. Its main preparation hurdle is the Blue Gate Confiscation Room Key, a rare random drop required to enter the Confiscation Room. Secure that key before planning a run around the locked-room objective; completing the earlier investigation steps does not remove the key requirement.
The investigation takes you through the Blue Gate tunnels and MANTIKOR facilities. Follow these named checkpoints as their objectives become active:
- Reach the back of the Blue Gate tunnels and scan the Android. Approaching the Android is only the positioning step; complete the scan interaction.
- Search the MANTIKOR locker room. Breach its door, then interact with the mural inside to search for clues. Opening the room alone leaves the investigation unfinished.
- Read the last vehicle’s weighing logs. Complete the records interaction rather than moving straight toward the locked room.
- Enter the Confiscation Room. This is the checkpoint that requires the Blue Gate Confiscation Room Key.
- Transmit MANTIKOR security’s last recordings to Shani. Entering the Confiscation Room is not the final transmission step.
If the locked room blocks your progress, distinguish that missing key from a missed investigation interaction. Revisiting the mural or Android cannot solve the key gate; acquiring the correct key is the dependency to address.
Sizing Things Up: inspect the Emperor’s leg
Sizing Things Up requires reaching the Emperor’s lower leg or ankle component and completing its analysis interaction. Locate the quest-marked component, approach closely enough for the prompt and hold the interaction until the analysis finishes.
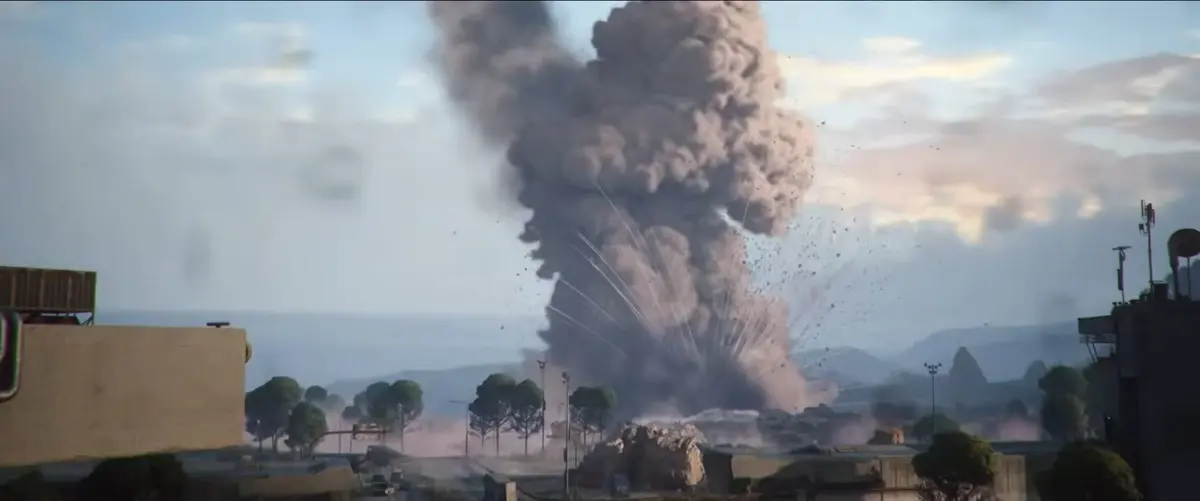
Before moving into the leg area, identify nearby cover and a route back out. Other ARC units or an active Emperor can make the approach dangerous, particularly while you are occupied with the interaction. Deal with enemies that prevent you from reaching or holding the prompt, then return to the component.
Prioritize the scan over attacking the machine. Destroying ARC armor does not substitute for the analysis prompt, and a prolonged fight adds exposure without completing that interaction. Once the objective advances, leave the leg area unless another active objective requires combat there.
Tracks of the Beast: fire when the central turret emerges
For Tracks of the Beast’s large-ARC encounter, take cover before opening fire and watch the turret that emerges from the center of the machine’s body. Concentrate your shots on that turret when it deploys, then return to cover between attack cycles.
Constant fire into armored sections wastes ammunition and keeps you exposed while waiting for the useful firing window. Observe a cycle from cover, attack when the central turret appears, and relocate if the machine’s return fire makes your position unsafe.
In a squad, coordinate fire on the same deployed turret so everyone uses the opening. Solo, prioritize surviving each cycle over extending a burst into incoming fire. Clear nearby ARC only when they interfere with your firing position or escape route; additional fights consume the ammunition needed for the quest encounter.
Before your next deployment
For Pendola Pass, bring the antenna’s Wire and Safe Pocket capacity for the sundial. For Home to Roost, resolve the Confiscation Room Key requirement before committing to that checkpoint. At the Emperor, finish the analysis prompt; against the Tracks of the Beast target, save your ammunition for the deployed central turret.
FinalBoss // Gear
Level up your setup
01Top-rated gaming headsetson Amazon→02High-refresh gaming monitorson Amazon→03Gaming chairson Amazon→04Discounted game keyson Kinguin→Affiliate links · As an Amazon Associate, FinalBoss earns from qualifying purchases.
Want to Level Up Your Gaming?
Get access to exclusive strategies, hidden tips, and pro-level insights that we don't share publicly.
Ultimate Guide Strategy Guide + Weekly Pro Tips