
The Codex of Wind is where Ariana and the Elder Codex stops being a combat game and starts being a movement game. The fights are not the wall here; the vertical rooms, the wind columns, and the easy-to-miss repair points are. This is the full walkthrough for clearing it, hitting completion, and beating the Eerie Bird of Headwinds.
Table of Contents (12)
The short version
- Water is the tutorial codex and is always first. After that the game opens up: you can take Wind, Earth, and Fire in any order, so Wind is a choice, not a forced step two.
- Treat every room as a fight and a traversal puzzle. Clear flying enemies before you commit to a jump.
- Repair points are the completion mechanic in Wind. Activate every one the moment you see it.
- You clear this dungeon using wind columns, not a double jump. The double jump is the Wind traversal ability you unlock after the boss, so some out-of-reach ledges are meant for a second visit.
- The boss is the Eerie Bird of Headwinds. Stay centered, punish its recovery, and use ranged damage when it is airborne.
Where Wind fits in the progression
The Water Codex is the tutorial and is always the first one you clear. Once Water is done, the game opens up Mega Man style: Wind, Earth, and Fire are all available, and you can clear them in whatever order you like. Wind is a popular early pick because its lessons carry into everything else, but nothing forces it into a fixed “second codex” slot. Pick it when you want to learn the movement systems early.
Before you go in, stop by the library hub and spend with Divina if you have unlocked her after Water. Small upgrades there are worth more than rushing in raw, because Wind punishes thin survivability.
What to bring into the Codex of Wind
Wind is not a build check. It is an execution check. Go in with a practical loadout, not a flashy one:
- A reliable ranged spell for airborne enemies. They hover near ledges and over landing zones, and you do not want to chase them into a pit.
- A melee option that recovers quickly. Long recovery animations get you clipped mid-air.
- Combat Crests that lean toward survivability and stable air control rather than pure burst. Combat Crests are the game’s equippable combat modifiers, and a small consistency bonus is worth more here than a risky damage spike that gets you knocked off line.
- A full stock of healing. The environment kills you as readily as the spirits do.
If your current setup relies on standing still to channel damage, swap it for this dungeon. Wind columns, narrow ledges, and flying enemies all reward low-commitment tools.
Main Codex of Wind route
Opening rooms: learn the wind columns before you rush
The first stretch teaches the dungeon’s language. Wind columns are timing lines, not trampolines. Enter from the middle when you can, let the lift carry Ariana, and make your jump near the top of the current instead of mashing out of it instantly. The classic first mistake is treating every gust like a launchpad, which sends you into spikes, enemies, or a bad landing angle.
In these early chambers, clear enemies before platforming unless they are trivial. Most misses in Wind happen because a spirit clips you in the air, or because you try to land on a platform that is also an active combat zone. If a ledge looks tight and an enemy is hovering over it, remove the enemy first with a safe ranged spell.
Repair points start appearing along side branches and near transition rooms. Activate them the moment you see them. Even a tiny detour is worth taking. Wind has several rooms where a branch looks like it only leads to a chest and actually holds a required repair.
Mid-dungeon platforming: chain the columns, read the room
As the dungeon opens up, rooms start asking you to chain wind columns together. You do not have a double jump yet, so commit to the columns: ride one current fully, line up your landing, and use the next gust rather than trying to muscle the gap. Drifting past a platform usually means you left a column too early.
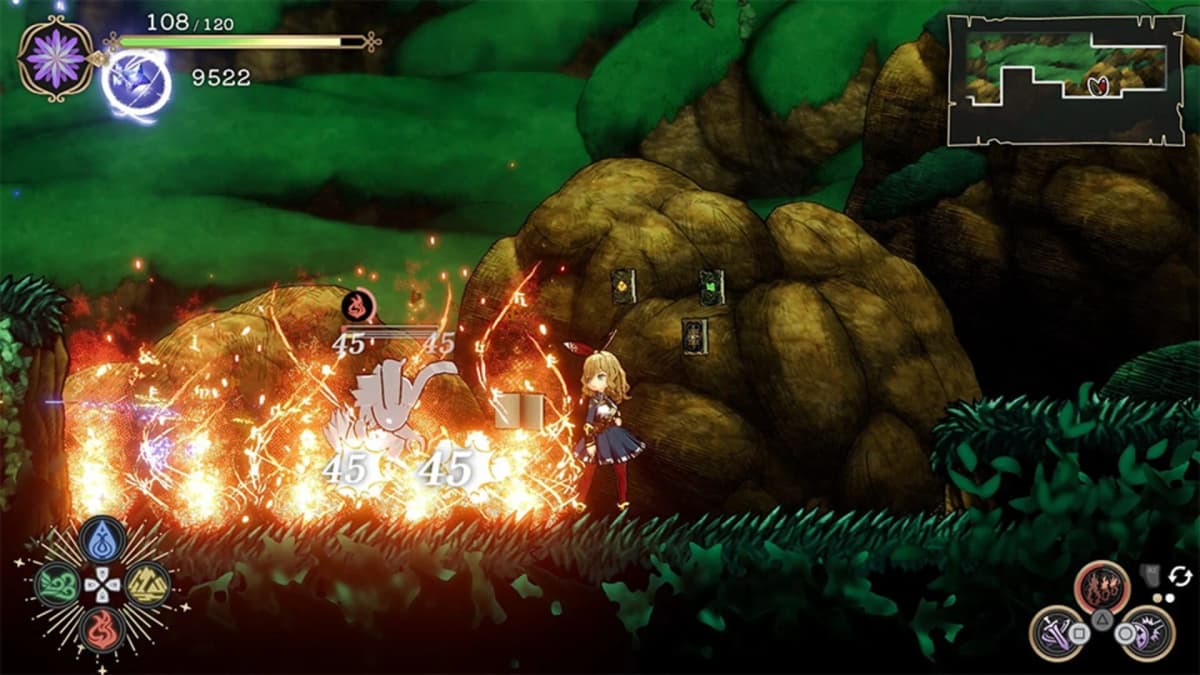
Air combat matters in these cramped layouts. You are not trying to style on enemies; you are trying to control space. Short aerial pressure removes hovering targets without dropping you into a hazard, and a charged attack is the cleaner answer when an enemy is guarding a landing zone.
When you enter a tall vertical room, read it top to bottom before you commit. Look for three things:
- The obvious story exit, usually on the cleanest forward path.
- A higher side ledge above the exit line, a frequent hiding spot for a repair point or chest.
- A lower branch that looks optional but loops back upward after a fight.
If you are chasing completion, clear the side ledges before you take the topmost route out. Once you leave a vertical puzzle room it is easy to forget whether you already checked the upper-left or upper-right branch.
Late Wind rooms: trick paths and fake dead ends
The back half mixes combat pressure with trickier traversal, and this is where players miss the most content. If a room looks too clean, scan for a ledge that only becomes visible once you ride a current higher than feels necessary. Some lines genuinely will not open until you come back with the double jump, so do not burn ten minutes brute-forcing a gap that is meant for later.
Do not force a jump if the angle looks wrong. Reset on a safe platform and try again. One controlled attempt is faster than eating damage, respawning, and refighting the room.
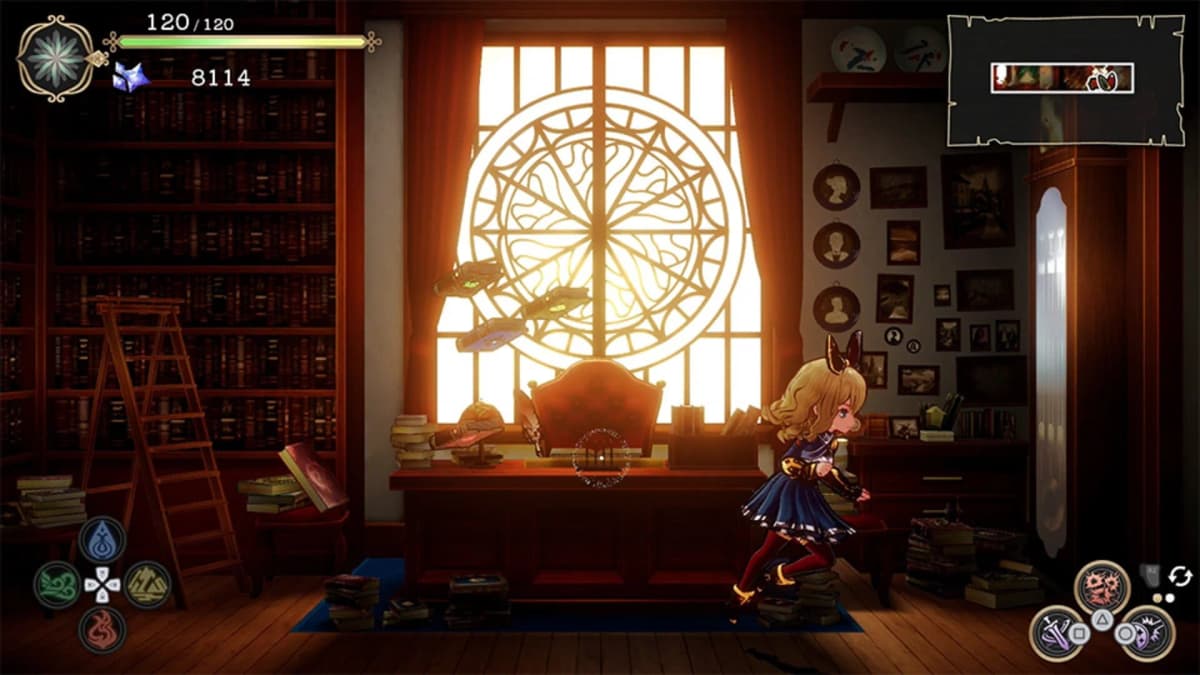
Repair points and full completion
Repair points are the completion mechanic in the Codex of Wind, so the completionist rule is simple: do not leave a visible repair interaction for later unless the route is clearly gated behind movement you do not have yet. Three kinds are easy to miss:
- Repairs above the intended story route in vertical rooms.
- Repairs tucked behind short combat detours that look optional.
- Repairs on awkward traversal lines that only open up once you can double jump.
That last point is the key to not driving yourself crazy. The double jump is the Wind-element traversal ability, and gameplay sources confirm you only receive it after you beat the Eerie Bird of Headwinds. So if a chest or repair looks just out of reach during your first pass, it may simply be a post-boss pickup. Mark it mentally and come back once you have the double jump, instead of treating it as a missed item.
Combat Crests and spell choice for Wind
Wind favors practical loadouts. The best Combat Crests here keep Ariana stable in the air, improve survivability, or let you maintain damage without locking into long animations. For spells, run one safe ranged option for flying targets and one close-range answer that recovers quickly. Enemy placement constantly forces you to hit diagonally or while landing, so anything that fires fast and lets you move immediately afterward outperforms slower, stronger casts. The same logic carries into the boss: reliable damage windows beat greedy burst.
Eerie Bird of Headwinds boss guide
The Eerie Bird of Headwinds is where the dungeon’s platforming lessons turn into a pattern check. This is not a boss you outmuscle by standing under it and swinging nonstop. You win by staying centered, reading its line of attack, and cashing in only when it gives you a real opening.
Keep your movement compact and stay around mid-range so you can react to dives and sweeps without cornering yourself. When the Bird commits to an attack and finishes the animation, that recovery is your punish window: get in, take your hits, and leave. One clean punish beats trying to extend into a counterattack.
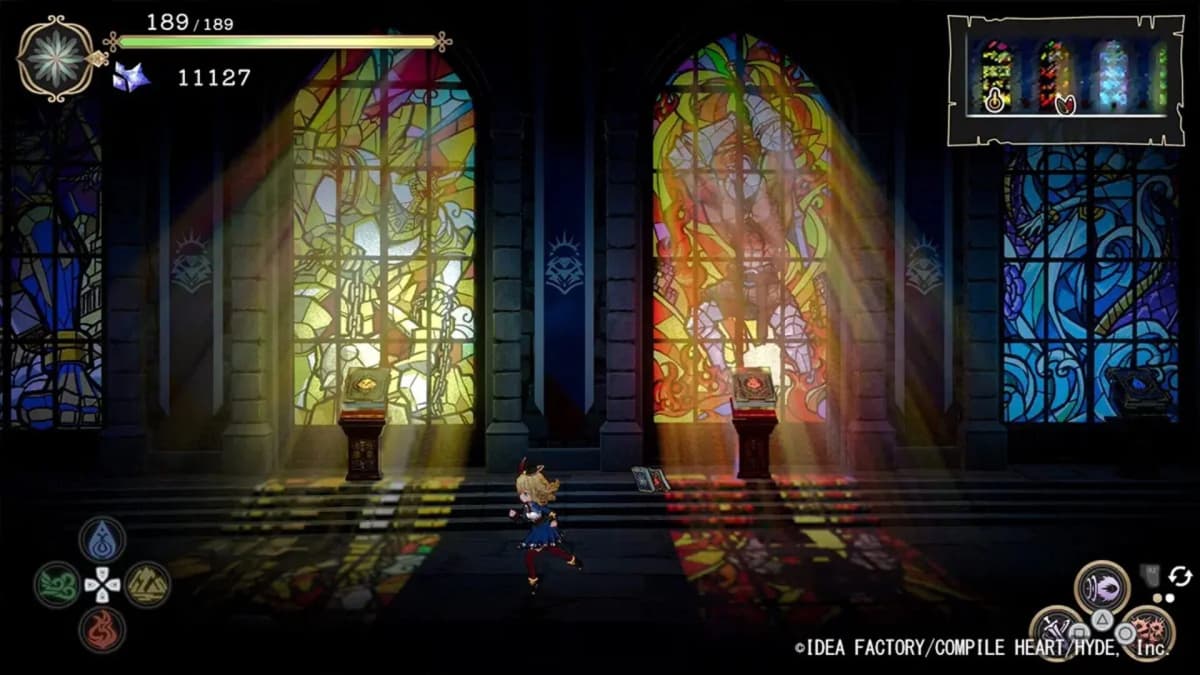
Use ranged damage whenever the boss is mobile or hovering somewhere awkward. The temptation is to chase it into the air, and that is exactly how a safe sequence becomes a scramble. Chip from a stable position between melee windows instead of forcing air pursuit. A few rules that keep the fight clean:
- Do not heal right after a narrow dodge unless the boss is clearly in recovery.
- Do not jump toward the boss just because it is airborne. Wait for a committed pattern.
- Fill dead time with ranged damage instead of gambling on unsafe melee.
- If you get clipped, fix your spacing first and attack second.
The fight gets much easier the moment you accept that the boss wants you to overreact. Clean spacing and short punish windows are the whole answer. Beat it and you walk away with the double jump, which is what makes returning for missed Wind pickups straightforward.
Common mistakes
- Skipping side branches: Wind hides repair points off the main line more aggressively than Water.
- Expecting a double jump during the dungeon: you clear Wind with columns. The double jump comes after the boss.
- Fighting on bad platforms: remove flying enemies from a safe spot before landing where space is tight.
- Running a greedy build: long recovery spells and heavy commitment attacks feel good until a gust or hitbox knocks you off line.
- Brute-forcing every gap on the first pass: if a ledge looks gated, it is probably a post-boss double-jump pickup. Come back later.
Practical takeaway
The Codex of Wind rewards patience over speed. Clear before you jump, scan a room top to bottom before you leave it, grab every repair point you can reach, and let the wind columns do the work during the run. Beat the Eerie Bird of Headwinds by punishing its recovery rather than chasing it, and use the double jump it leaves you to mop up anything that was out of reach the first time.
FinalBoss // Gear
Level up your setup
01Top-rated gaming headsetson Amazon→02High-refresh gaming monitorson Amazon→03Gaming chairson Amazon→04Discounted game keyson Kinguin→Affiliate links · As an Amazon Associate, FinalBoss earns from qualifying purchases.
Want to Level Up Your Gaming?
Get access to exclusive strategies, hidden tips, and pro-level insights that we don't share publicly.
Ultimate Guide Strategy Guide + Weekly Pro Tips