

Table of Contents (9)
Arknights: Endfield Version 1.4 Needs a Motion Test, Not a Screenshot Victory Lap
Arknights: Endfield Version 1.4 brings a targeted PS5 Pro image-quality upgrade through improved PSSR. The right way to judge it is straightforward: test thin geometry while the camera moves, inspect complex scenery at distance, then confirm the interface remains stable and readable. A pristine still image can hide the exact temporal artifacts that become irritating during a long session.
The upgrade arrives alongside a larger Half-Anniversary content drop featuring Mega Arena, Yinglung Pass, Arts Infliction, The Rooted Realm, Heat Rage, La Fantoma, and Morning Star. That makes this a useful point to check the PS5 Pro presentation before settling into the new material. PSSR should improve the overall image without turning rails, foliage, metallic highlights, or HUD lettering into a faintly vibrating mess.
PS5 Pro PSSR Test Configuration for Arknights: Endfield
Specifications
Set Up a Fair Before-and-After Comparison
If a pre-Version 1.4 clip or screenshot is available, recreate it as closely as possible after updating: same location, same time of day where practical, same camera height, same field of view, and the same output settings. A comparison falls apart quickly if one image is captured from a different angle or with a different TV picture preset.
Players without archived footage can still run a useful validation pass. Capture the same scene twice after Version 1.4: once as a stationary image and once during a slow, controlled horizontal pan. Hold the camera on a high-detail view for a few seconds, pan at an even speed, stop, then hold again. That simple sequence separates ordinary fine-detail aliasing from instability that only emerges while the image is in motion.
- Use the same display, HDMI input, HDR setting, and console capture settings for every comparison.
- Capture at least one quiet vista and one visually busy gameplay moment rather than judging the upgrade from a single clean wall.
- Record a short clip instead of relying on a rapid phone video of the screen; handheld recording introduces its own motion blur and moiré.
- Inspect the footage first at normal viewing distance, then pause on frames where an artifact catches the eye.
Where to Look for Shimmering and Flicker
Shimmering is the first artifact worth hunting because it ruins image solidity. Thin rails, fence lines, antennas, overhead cables, sign edges, and distant building silhouettes are the pressure points. In a stable presentation, these details should remain coherent while the camera pans. They may soften slightly at long range, but they should not break into a glittering chain of pixels or alternate between two edge positions.
Yinglung Pass and Mega Arena are useful repeatable stops for the test. Find a fixed view containing several layers of scenery, then pan across it slowly. Prioritize any frame that combines thin foreground objects with distant structures. That overlap is where temporal reconstruction has the hardest job: preserving crisp nearby detail while avoiding flicker in the background.
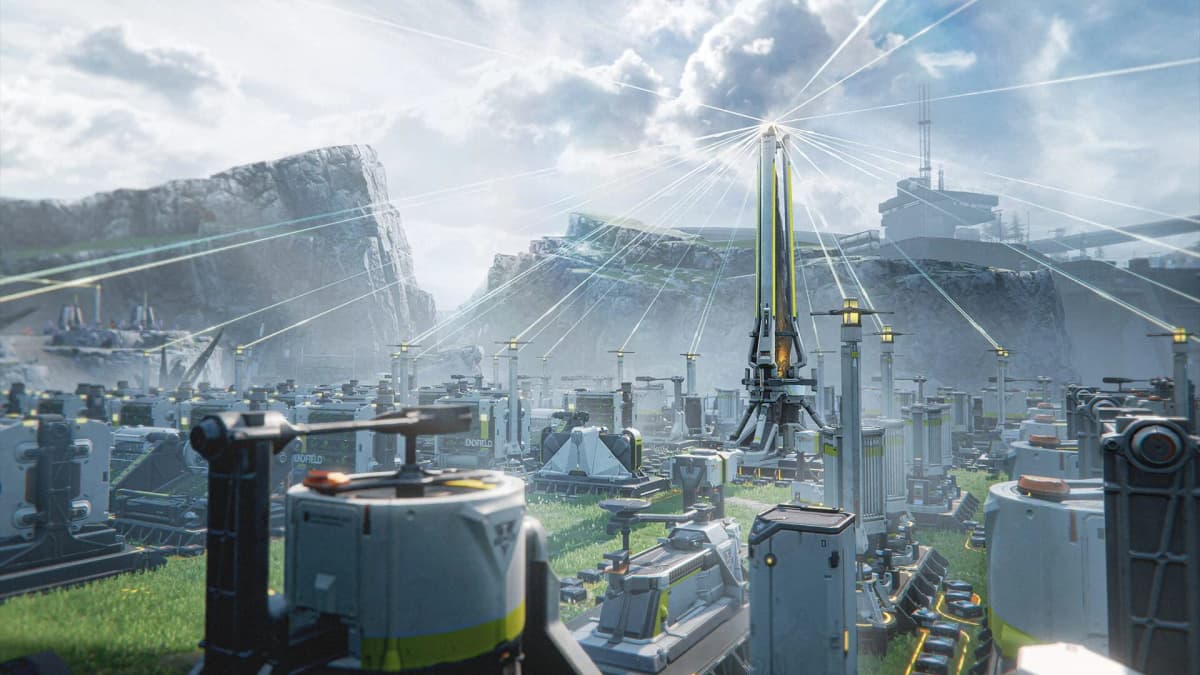
- Pass: Thin geometry remains mostly locked in place during a camera pan and settles cleanly once the camera stops.
- Watch closely: A few pixels of distant detail can soften or shift, especially on densely packed scenery.
- Fail: Rails, cables, or building edges continuously sparkle, buzz, or crawl across multiple pans in the same view.
Distant foliage, grass, and repeated material patterns deserve their own pass. Leaves and fine grass naturally carry lots of high-frequency detail, while tiled panels and sci-fi surfaces can create repeating visual rhythms that make flicker painfully obvious. The test is less about demanding absolute razor sharpness than checking whether the scene holds together as a stable whole.
How to Catch Ghosting and Trailing
Ghosting shows up as a faint duplicate outline or trailing residue behind a moving edge. It can be subtle in a screenshot and obvious in motion, which is why the video clip matters. Sweep the camera past a high-contrast building edge, antenna, sign, or bright object against a darker background. Then repeat the pan in the opposite direction.
Focus on whether dark or bright outlines linger for a moment after the object has moved across the screen. A clean image preserves the object’s current position. A problematic image leaves a shadow of where that edge used to be. Small bright highlights on metallic structures and sci-fi props are especially useful here because a bright pixel against darker surroundings makes a trail easy to spot.
- Pass: Bright metallic details stay attached to the object as it moves through the frame.
- Watch closely: Brief softness during very fast movement can be less distracting than a persistent visible trail.
- Fail: Repeated camera movement leaves a clear duplicate contour, smudged highlight, or colored afterimage behind the same object.
Do not judge this from one paused frame alone. Pause can catch a transition frame that looks worse than it did in motion. The artifact counts when it remains visible during normal play and repeats under the same camera movement.
UI Clarity Is a Separate Check
A visually stable environment does little good if small interface text and icon edges look soft or unstable. Open an in-game menu, leave the HUD visible during traversal, and inspect fine lettering from the distance normally used for play. Then move the camera behind the interface and watch whether the text remains steady against detailed scenery.
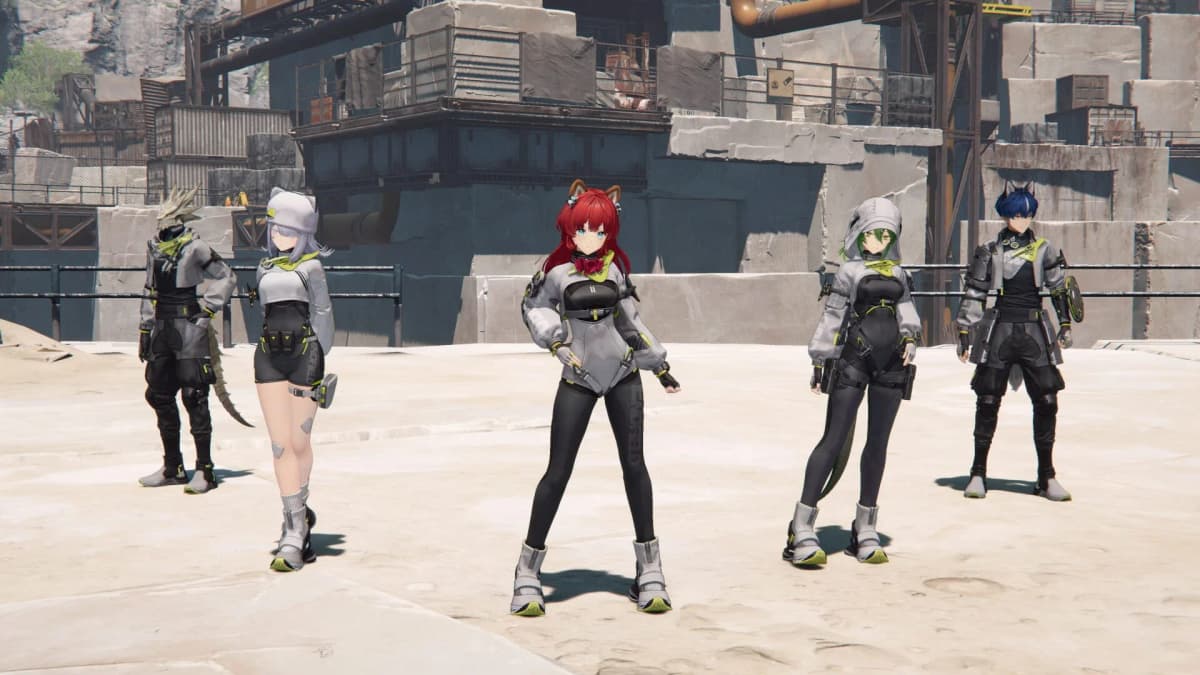
The key failure signs are edge crawl, unstable letter strokes, bright outlines around UI elements, and text that looks clean on a dark background but starts vibrating over foliage or patterned scenery. UI clarity matters even more on a large 4K television at close seating distance, where small artifacts are far easier to see than they are in a compressed screenshot.
- Pass: Small text remains legible, thin glyph strokes stay consistent, and icons do not develop crawling outlines during camera movement.
- Watch closely: Very small text can show mild softness without becoming difficult to read.
- Fail: Interface edges visibly flicker, letters break apart, or text clarity changes from one frame to the next while the UI itself remains fixed.
Quick Pass/Fail Checklist
Run this checklist after testing a quiet scene, a busy scene, and an interface-heavy screen. It keeps the verdict grounded in what is visible during play instead of what looks best in a single promotional-style frame.
- Thin rails, fences, cables, and antennas remain stable through slow camera movement.
- Distant foliage and grass avoid persistent sparkle or flicker.
- Repeated surface patterns hold together without obvious crawling edges.
- Bright metallic points remain compact rather than smearing into a trail.
- Building silhouettes and signage do not jump between edge positions.
- HUD text, icons, and menu lettering remain readable over detailed scenery.
- Any artifact seen in a clip is repeatable on the display itself, rather than being caused by capture playback.
What Counts as “Worth It” for PS5 Pro Players
The upgrade earns its place if the game’s difficult visual elements stay stable during normal camera movement. That means less distraction from shimmering architecture, cleaner distant environmental detail, no recurring ghost trails on bright props, and UI that remains easy to read when the screen gets busy.
Players using a large display at close range should take the full test seriously. Fine reconstruction artifacts are far more visible there, especially across high-contrast sci-fi scenery and dense background detail. Players on a smaller screen or at a longer viewing distance can make the call more simply: if the effect stays invisible during regular gameplay, it has passed the practical test.
FinalBoss // Gear
Level up your setup
01Best-selling PS5 gameson Amazon→02DualSense controllerson Amazon→03PS5 SSD upgrades (M.2 NVMe)on Amazon→04Discounted game keyson Kinguin→Affiliate links · As an Amazon Associate, FinalBoss earns from qualifying purchases.
Want to Level Up Your Gaming?
Get access to exclusive strategies, hidden tips, and pro-level insights that we don't share publicly.
Ultimate Tech Strategy Guide + Weekly Pro Tips