
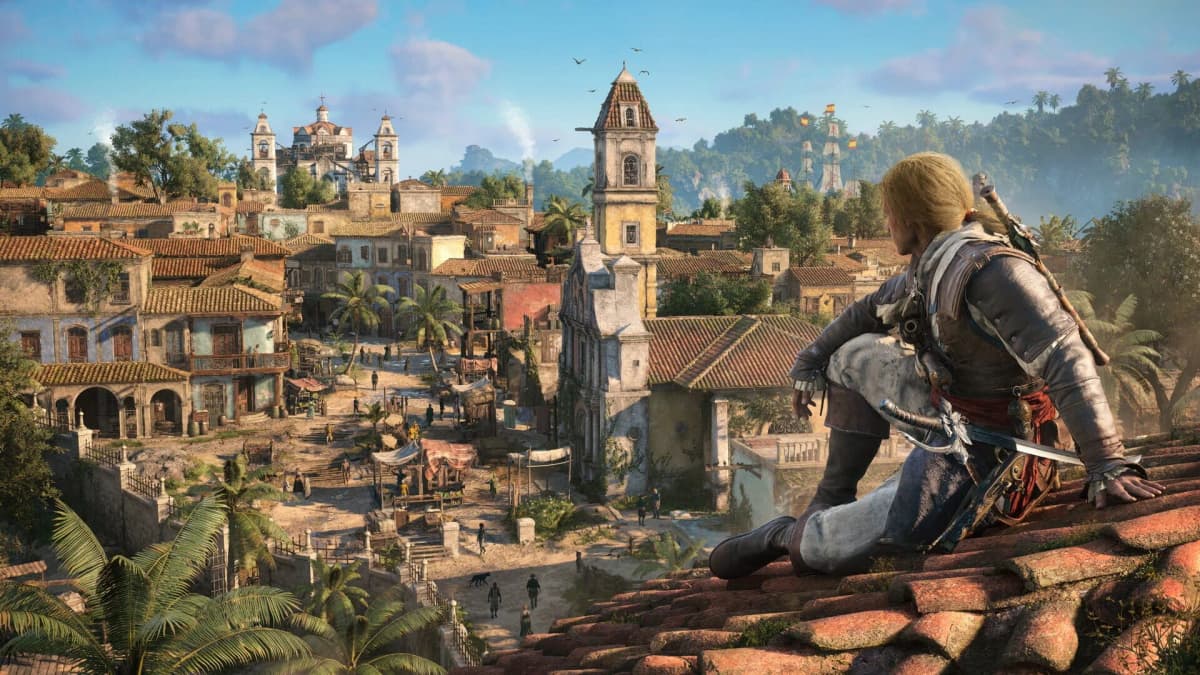
Start Assassin’s Creed Black Flag Resynced by fixing your settings and building a discovery route before chasing collectibles. Set your accessibility preset, confirm the Observe and dodge inputs, push your field of view close to 115°, then prioritize synchronization points, forts, and newly discovered sailing routes. That setup removes most early exploration friction and keeps Edward Kenway moving instead of repeatedly backtracking.
Table of Contents (13)
1. Set an Accessibility Preset Before You Learn the Controls
Open Settings → Accessibility Presets before committing the first few hours to muscle memory. This is the quickest way to establish a control and visibility baseline that suits how you play, whether you are on PC, PlayStation 5, or Xbox Series X|S.
After selecting a preset, immediately check the bindings for observation and evasive movement. Those two actions affect almost every part of the game: spotting objectives, reading terrain, escaping danger, and staying alive when combat gets crowded.
- Confirm your Observe input before leaving the settings screen.
- Confirm your roll or dodge input at the same time.
- Re-check both inputs after changing presets so the on-screen prompt matches the button you expect to press.
2. Raise the Field of View for Better Awareness
A field of view close to 115° gives you a wider read on rooftops, ledges, enemies, and nearby objective markers. That extra peripheral view is especially useful while free-running through dense settlements or trying to track a target who has moved below a roofline.
The practical benefit is fewer blind turns. With a narrow view, it is easy to run past a ladder, misread a roof edge, or lose sight of a threat as the camera swings. A wider FOV makes traversal inputs feel more deliberate because you can see the next landing point earlier.
If the wider view makes small markers or text uncomfortable to read, lower it slightly until the image remains clear. The goal is to see more of the route without making important UI information harder to recognize.
3. Learn Observe as Your Main Navigation Tool
Use Observe whenever an objective area feels vague. On controller, this may be mapped to L2; on mouse and keyboard, it may use right-click or your assigned input. The important part is treating the command as a frequent navigation check rather than an emergency-only ability.
Observation helps turn a cluttered town, beach, or fort into a readable route. Use it before climbing, before entering a guarded space, and whenever the objective marker appears to point through terrain. It gives you a cleaner sense of what needs attention before Edward is already standing in the wrong place.
- Use Observe from a high point before planning a descent.
- Use it at the edge of a mission area to identify the correct direction.
- Use it again after an objective changes, since the next target may be nearby but vertically separated.
4. Synchronize Early, Even When the Main Mission Is Elsewhere
Synchronization points are worth prioritizing because they improve your understanding of the surrounding area before you begin sweeping it for loot, objectives, or treasure clues. Climbing one first gives your next few minutes of exploration a clear structure instead of turning the island into a series of improvised detours.
Make synchronization part of your arrival routine. When you land in a new region, locate the nearest useful high point, synchronize, then decide whether the next stop should be a fort, a clue location, or a mission objective. This keeps map progress moving alongside the story instead of leaving a large cleanup pass for later.
5. Clear Forts Before You Start a Long Regional Loot Sweep
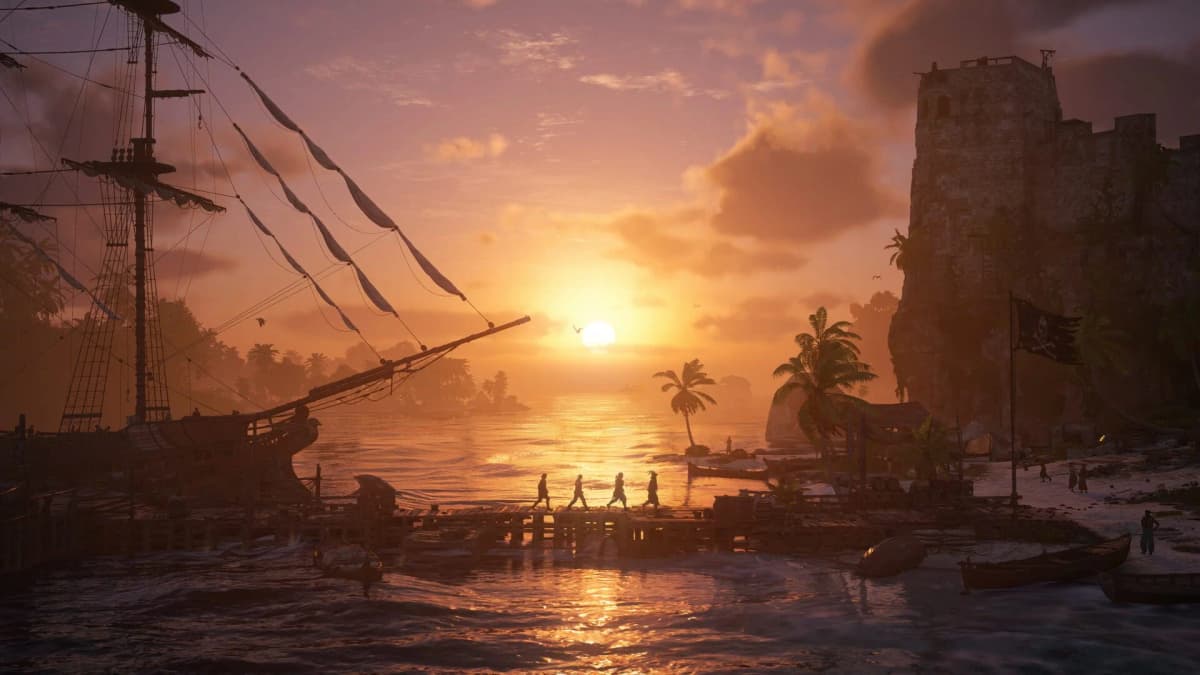
A fort-first route makes exploration cleaner. Forts are a strong opening objective because they establish a meaningful regional target before you scatter across beaches, buildings, and inland paths looking for smaller rewards. Once that major stop is handled, you can work outward through the rest of the area with fewer reasons to retrace the same sailing route.
Approach forts with a plan: use Observe from a safe vantage point, identify the route into the area, and keep your dodge input ready before committing to close-range pressure. The wider FOV setting also helps here, since confined approaches become much easier to read when enemies or exits sit near the edge of the screen.
6. Turn Every Sailing Trip Into a Discovery Pass
Do not treat the ship as dead time between land objectives. Whenever you sail toward a main mission, keep an eye on the coastline and nearby points of interest so the journey also expands your usable travel network. Discovering locations as you move creates more convenient return options for later treasure, outfits, animals, and chest cleanup.
This matters most when your next task lies near a region you have barely explored. A short detour during the first visit is usually more efficient than returning later solely because the relevant travel point was never discovered.
7. Use Fast Travel to Finish Regions, Not to Skip Their First Visit
Fast travel is strongest after you have done the initial discovery work. Sail into a new area, synchronize, identify the fort and nearby routes, then use fast travel later to finish any remaining tasks. This order preserves the useful information gained from first-hand exploration while cutting down return journeys.
A common time loss comes from bouncing between partially explored islands for one missed chest or clue. Build each region into a compact loop first: synchronize, handle the fort, gather nearby objectives, and discover useful travel points before moving on.
8. Re-Read Buried Treasure Clues on Each Island
Buried treasure is where old Black Flag knowledge can send you the wrong way. Resynced changes island layouts and clue interpretation enough that familiar landmarks should be treated as starting references, not automatic final destinations. Read the clue again when you reach the relevant island, then use the local terrain and observation tools to narrow the search.
This approach is especially useful around Great Inagua, Dry Tortuga, Black Island, and Mystery Island. Begin from the location named by the clue, establish your bearings from a synchronization point or elevated ground, and follow the current terrain rather than relying on a remembered route from the original game.
- Check the island name on the clue before setting sail.
- Use an elevated viewpoint to establish the coastline and inland paths.
- Compare the clue’s landmarks against the Resynced layout rather than assuming an old route still lines up.
- Finish nearby chests and objectives during the same visit to avoid a second trip.
9. Treat Every Drop as a Traversal Decision
Fall damage punishes rushed movement more than most players expect during early exploration. Before dropping from a roof, cliff, tower, or ship-side structure, pause long enough to confirm the landing surface. Look for a controlled route down through lower ledges, paths, or accessible ground instead of assuming the direct line is safe.
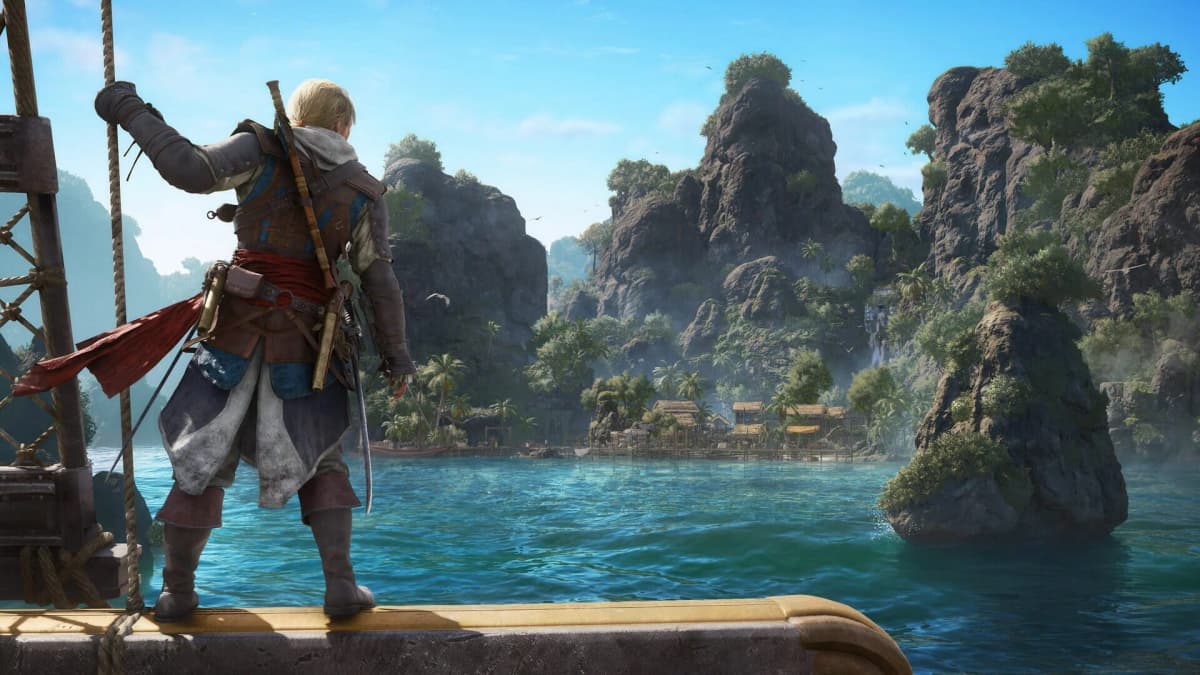
This habit pays off because failed drops create unnecessary recovery time and can place Edward at the bottom of the wrong side of an area. A clean descent keeps you near the objective and prevents a small traversal mistake from becoming a full climb back to the route.
10. Keep Dodge Ready During Any Close-Range Fight
Know the roll or dodge input before combat starts. On controller, it is commonly mapped to Circle or B; PC uses its assigned dedicated key. Check your own binding in settings, then use it as your reliable reset when the fight becomes crowded or your camera loses a clear view of the immediate threat.
The trap is assuming you will remember the input once several enemies are pressing in. Put it into practice during low-pressure encounters. That way, when an enemy closes from the side or an approach goes badly, evasive movement is already part of your response instead of a button you need to search for.
11. Use Vision to Separate the Objective From the Noise
Mission spaces can contain several distractions at once: vertical routes, enemies, loot, terrain obstacles, and competing markers. Use Observe to highlight the immediate objective, then plan the route around it. This prevents the usual mistake of fighting or climbing through an entire area before realizing the target was accessible from a simpler direction.
Vision-based highlighting is particularly effective after you have gained height. From a rooftop, tower, or raised coastal path, observe first and choose the safest route second. The sequence matters: information before movement keeps combat, stealth, and traversal from becoming one messy improvisation.
12. Use Area Loot Before Leaving a Fight Site
Enable and use Area Loot whenever you finish a cluster of enemies. Instead of interacting with every individual body, you can collect the whole nearby pile through a single interaction. This cuts post-combat downtime and greatly reduces the chance that useful materials are left behind because one body was hidden by grass, debris, or the camera angle.
Make it the final step of every cleared encounter: secure the area, use Area Loot, check Observe for the next objective, and move on. That small routine keeps combat rewards flowing without turning every victory into a slow search of the ground.
Best Early-Game Routine
The most efficient early route in Assassin’s Creed Black Flag Resynced is simple: set your controls and FOV, synchronize when you enter a region, clear the fort, discover useful sailing locations, then handle nearby clues and loot before leaving. Use Observe whenever the route becomes unclear, dodge instead of forcing a bad combat position, and collect enemy drops with Area Loot before heading to the next objective.
Following that loop makes Great Inagua, Dry Tortuga, Black Island, Mystery Island, and later regions far easier to manage. You will spend less time recovering from falls, repeating sailing routes, or searching for missed materials, while keeping Edward Kenway’s exploration progress moving forward in one clean pass.
FinalBoss // Gear
Level up your setup
01Top-rated gaming headsetson Amazon→02High-refresh gaming monitorson Amazon→03Gaming chairson Amazon→04Discounted game keyson Kinguin→Affiliate links · As an Amazon Associate, FinalBoss earns from qualifying purchases.
Want to Level Up Your Gaming?
Get access to exclusive strategies, hidden tips, and pro-level insights that we don't share publicly.
Ultimate Guide Strategy Guide + Weekly Pro Tips