
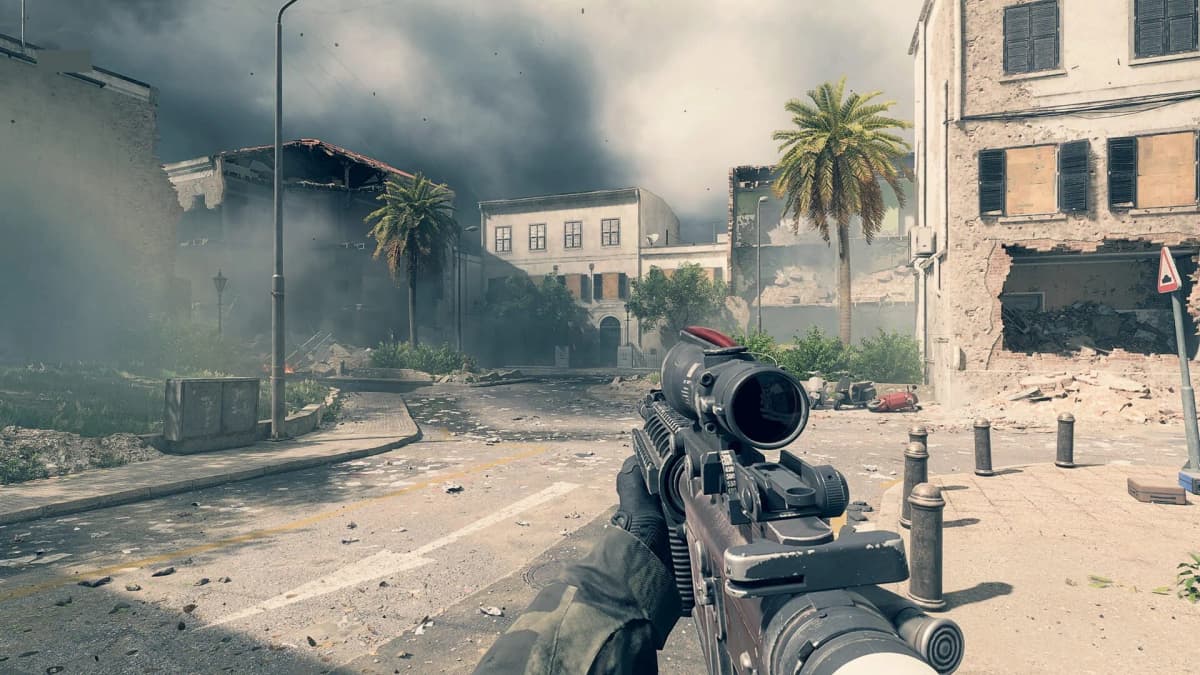
Battlefield has always rewarded players who choose a weapon for the job their class is meant to do on the current map. In Battlefield 6, the B36A4 is the standout all-purpose Assault rifle: it fits the mid-range fights that decide flags, lanes, and approach routes without forcing you into a single narrow engagement distance. The strongest class picks follow the same principle-use a flexible rifle to push, a close-range automatic to clear, an LMG to own a lane, and a precision weapon to control open ground.
This tier list ranks weapon roles by how consistently they help a class win a multiplayer match. That matters more than chasing a theoretical damage race. A weapon can feel dominant in a short duel and still become a liability when the next fight begins across a street, through smoke, or from a carrier deck.
Table of Contents (14)
Battlefield 6 Weapon Tier List at a Glance
- S Tier Assault: B36A4 – the best default choice for a flex rifleman playing objectives and medium-range lanes.
- S Tier Engineer: Close-quarters automatic weapons – the strongest fit for room clearing, vehicle-side fights, and rapid objective breaks.
- S Tier Support: Stable LMGs — the best tools for suppression, sustained lane control, and protecting teammates during a push.
- S Tier Recon: Precision rifles — strongest when the map gives you long sightlines and clear opportunities to spot, pick, and reposition.
- S Tier Utility: Shotgun and sidearm-focused setups — specialist tools for tight interiors, stairwells, and last-ditch flag defense.
The trap: treating every class as a pure slayer role. Battlefield 6 rewards damage, but a class earns its value through the space it creates. The best Engineer gun is the one that lets you survive the close fight beside a vehicle. The best Support gun is the one that keeps a firing lane closed long enough for your squad to cross it.
S Tier Assault Weapon: B36A4
The B36A4 is the best starting point for Assault because it covers the range band that appears most often around objectives. Assault players spend matches moving between cover, challenging defenders on a point, and stopping enemy reinforcements before they reach the fight. A rifle that remains composed in medium-range exchanges gives you more useful fights per life than a weapon built entirely around one distance.
Why the B36A4 earns the top Assault spot
- Flexible engagement range: It suits the medium-distance duels that develop around capture zones, road crossings, rooftops, and defensive lanes.
- Objective pressure: Assault needs to enter fights first, then remain capable when defenders back away or attackers arrive from a second angle.
- Reliable recoil tradeoff: A controllable rifle gives you a practical advantage over more specialized choices when the fight extends beyond close range.
- Strong squad fit: The B36A4 complements Support and Engineer teammates because it can cover their advance rather than duplicating their close-range or sustained-fire jobs.
Matching B36A4 build role: Flex Rifleman
Build around consistency rather than maximum specialization. The B36A4 belongs in a loadout intended to move with the first wave, contest the edge of an objective, and hold the route after the capture begins. Prioritize handling that keeps the rifle dependable through repeated medium-range bursts, then retain enough close-range responsiveness to finish the fight once you enter the point.
The important attachment breakpoint is role-based: once a rifle becomes harder to control during sustained medium-range fire, it starts losing the main reason to bring it over a close-range automatic. Once it becomes too slow to bring into action around cover, it loses the ability to lead an Assault push. Keep the B36A4 in the middle ground where it does both jobs cleanly.
When to swap away from the B36A4
Move to a closer-range option when the match has compressed into interiors, narrow corridors, or repeated point-blank flag fights. Move toward a more distance-focused rifle only when your team already has reliable close-range players on the objective and the map is being decided by long approach lanes. The B36A4 remains the better blind-pick choice because it asks you to make fewer sacrifices before the match reveals its rhythm.
Engineer Weapon Tier: Close-Quarters Automatics Lead
Engineer is Battlefield 6’s close-quarters problem solver. This class clears defenders from tight areas, works around vehicles, and turns vehicle pressure into a chance for the team to take ground. That makes close-quarters automatic weapons the S-tier Engineer choice. They give you the fastest path to winning the messy fights that happen beside armor, inside structures, and around contested chokepoints.
- S Tier: Close-quarters automatic weapons for room clearing and vehicle-side defense.
- A Tier: Compact, controllable weapons that reach into medium-range routes while retaining quick handling.
- B Tier: Long-range-focused weapons that leave the Engineer exposed during the close fights their class role repeatedly creates.
Matching Engineer build role: CQB Specialist
An Engineer build should be ready to win the first fight after reaching the vehicle or objective, rather than arriving with a weapon designed for a distant lane. Favor a close-range profile with enough stability to engage a second opponent from nearby cover. Your primary job is to remove the defender blocking the team’s advance, then stay alive long enough to make vehicle harassment matter.
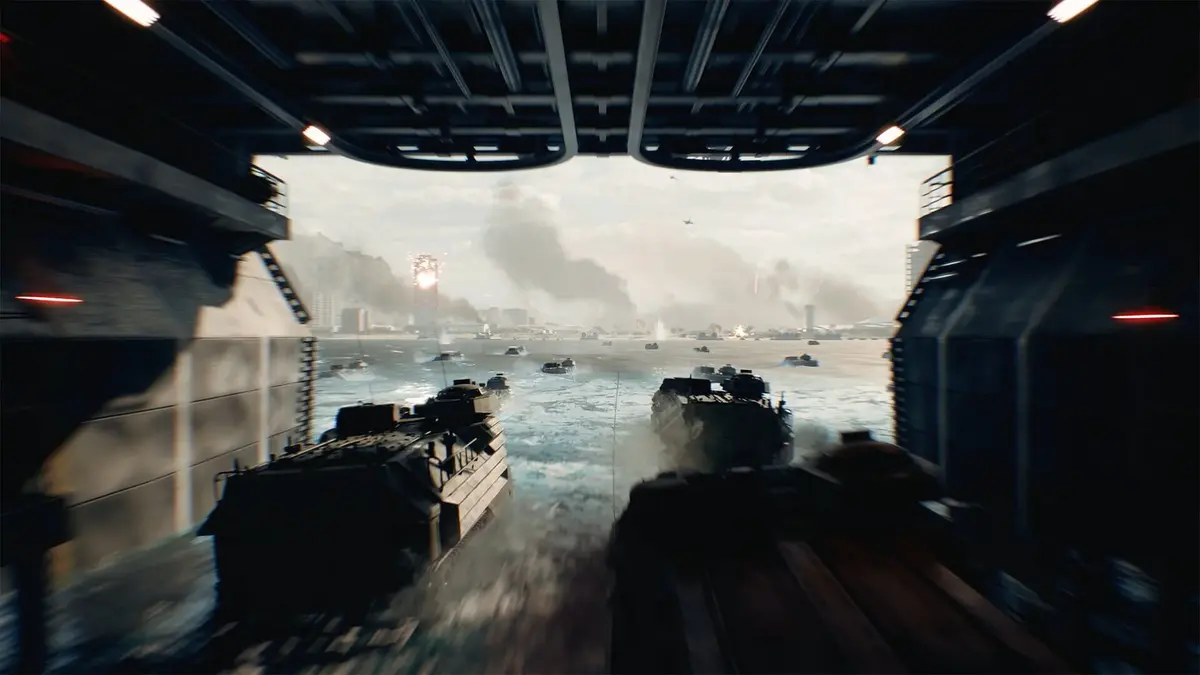
Do not overbuild for long-range precision at the cost of close handling. Engineers regularly fight from awkward positions: behind a vehicle, beside cover, at a doorway, or while an objective is already under pressure. A gun that is merely adequate at range remains useful. A gun that loses the first close-range duel wastes the class’s best moments.
Support Weapon Tier: Stable LMGs Win the Long Fight
Support becomes most valuable when a team needs a route held for longer than a single duel. LMGs are the S-tier category here because their sustained fire supports suppression, denies predictable lanes, and gives teammates cover to revive, reload, advance, or set up on an objective. Support should not chase every kill around the map; the class is strongest when it makes a dangerous area expensive for the enemy to use.
- S Tier: Stable LMGs with sustained-fire value for lane control and defensive holds.
- A Tier: More mobile LMG styles for players following an aggressive squad push.
- B Tier: Weapons with limited sustained pressure that leave Support unable to anchor a route during a prolonged fight.
Matching Support build role: LMG Anchor
Build Support around a lane, a sightline, or a likely enemy route. Your weapon should remain manageable as you fire long enough to stop a push instead of merely winning one isolated gunfight. The useful recoil breakpoint is simple: if extended fire pulls you off the route you are trying to deny, you lose the core advantage of carrying an LMG.
Support players get better results by choosing a firing position with an exit path. Anchor a lane, pressure the enemy into cover, resupply the squad, then shift before concentrated return fire arrives. The class has the ammunition and sustained threat to dictate tempo, but remaining in the same exposed position turns that advantage into an easy counterplay opportunity.
Recon Weapon Tier: Precision First, Position Second
Recon weapons reach S tier when the map gives them space to operate. Precision rifles are the strongest Recon choice across long sightlines because they create picks, provide information, and force enemies to respect routes they would otherwise sprint through freely. Their strength rises when the team can convert those picks into an objective push.
- S Tier: Precision rifles on open maps and extended approach lanes.
- A Tier: Marksman-style choices for players working closer to the objective and rotating often.
- B Tier: Static long-range setups used on dense maps where sightlines vanish and objectives are decided indoors.
Matching Recon build role: Marksman and Information Player
Recon works best when you choose a sightline that matters to the next objective rather than the safest place to farm distant targets. Cover the approach your squad must cross, identify flank routes, and reposition after the enemy learns your angle. A precision weapon carries more value when it protects an active push than when it stays removed from the battle.
For players who prefer to operate nearer to flags, a marksman-oriented approach is the better A-tier alternative. It gives up some extreme-range dominance in exchange for a quicker response when the fight shifts from an open beach, road, or ridge into the objective itself.
Utility Weapons: Shotguns and Sidearms Have a Specific Job
Shotguns and sidearm-focused setups are powerful when the map funnels players into close rooms, narrow entrances, decks, and stairwells. They do not replace the B36A4 as the best all-purpose Assault recommendation, nor do they replace an Engineer’s close-range automatic as the safer default for vehicle-side fights. Their value comes from committing fully to a tight-space role and making every enemy entry dangerous.
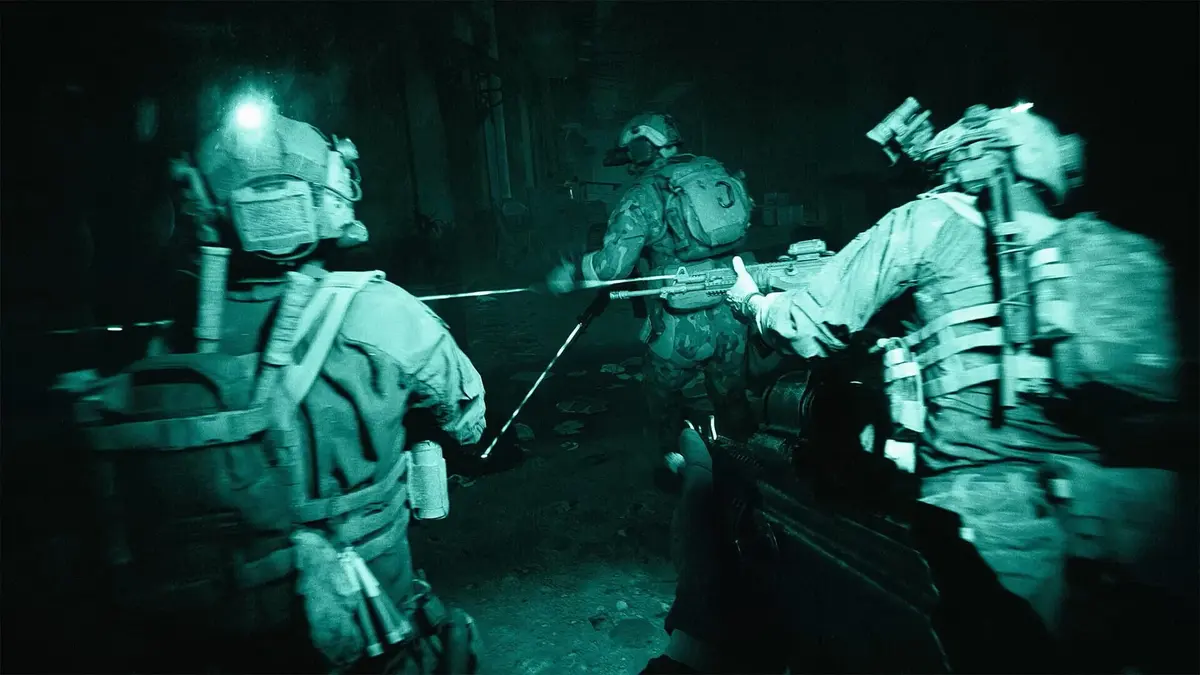
Use utility weapons for a defensive objective, a narrow interior push, or a compact route where a rifle’s versatility no longer pays off. Avoid carrying them into open-map rotations without a reliable plan to cross exposed ground. Their ceiling is high, while their effective range is deliberately narrow.
Season 4 Changes the Value of Each Class Role
Battlefield 6 Season 4 begins on July 21, 2026 with the Pacific Front phase. Wake Island, Tsuru Reef, and Carrier Strike place greater emphasis on shifting sightlines, exposed rotations, water approaches, and contested coastal objectives. That makes role discipline more important than ever: a squad that brings only close-range weapons can get locked out of an approach, while a squad built entirely for distance can lose the moment the battle reaches the objective.
Two naval vehicles arrive at the start of Season 4: the RCB-90 Patrol Boat and the RHIB (7.7m). Their presence strengthens the Engineer’s value around vehicle pressure and gives Support more reason to control shoreline lanes rather than endlessly rotating into the center of the fight. Assault remains the safest class for players who need to adapt between beach approaches, open routes, and the medium-range fights around capture zones.
Season 4 Phase 2 also includes a collaboration with Top Gun. The larger lesson for weapon selection stays the same across the season: choose the gun that supports your role on the current objective, then alter your range profile when the map or mode demands it.
How to Adjust When Balance Updates Arrive
Balance changes usually matter because they move a weapon across a role breakpoint. A recoil adjustment can turn a reliable mid-range rifle into a closer-range option. A handling adjustment can make an Engineer weapon less dependable during room clears. A sustained-fire change can reduce an LMG’s ability to anchor a lane. Watching those role changes is more useful than reacting to a tier label alone.
- If the B36A4 loses medium-range consistency, keep the Assault role but shift toward the rifle that best preserves controllable fire at objective distance.
- If a close-range automatic becomes less responsive, Engineers should favor the option that still wins the first fight around vehicles and tight cover.
- If an LMG loses sustained lane control, Support should prioritize the choice that remains steady during extended defensive fire.
- If open-map sightlines become less influential, Recon players should move closer to the squad and favor a more flexible marksman role.
- If interiors become the decisive battleground, utility weapons rise sharply for players defending entrances and clearing rooms.
FinalBoss // Gear
Level up your setup
01Top-rated gaming headsetson Amazon→02High-refresh gaming monitorson Amazon→03Gaming chairson Amazon→04Discounted game keyson Kinguin→
Affiliate links · As an Amazon Associate, FinalBoss earns from qualifying purchases.
Want to Level Up Your Gaming?
Get access to exclusive strategies, hidden tips, and pro-level insights that we don't share publicly.
Ultimate Guide Strategy Guide + Weekly Pro Tips