
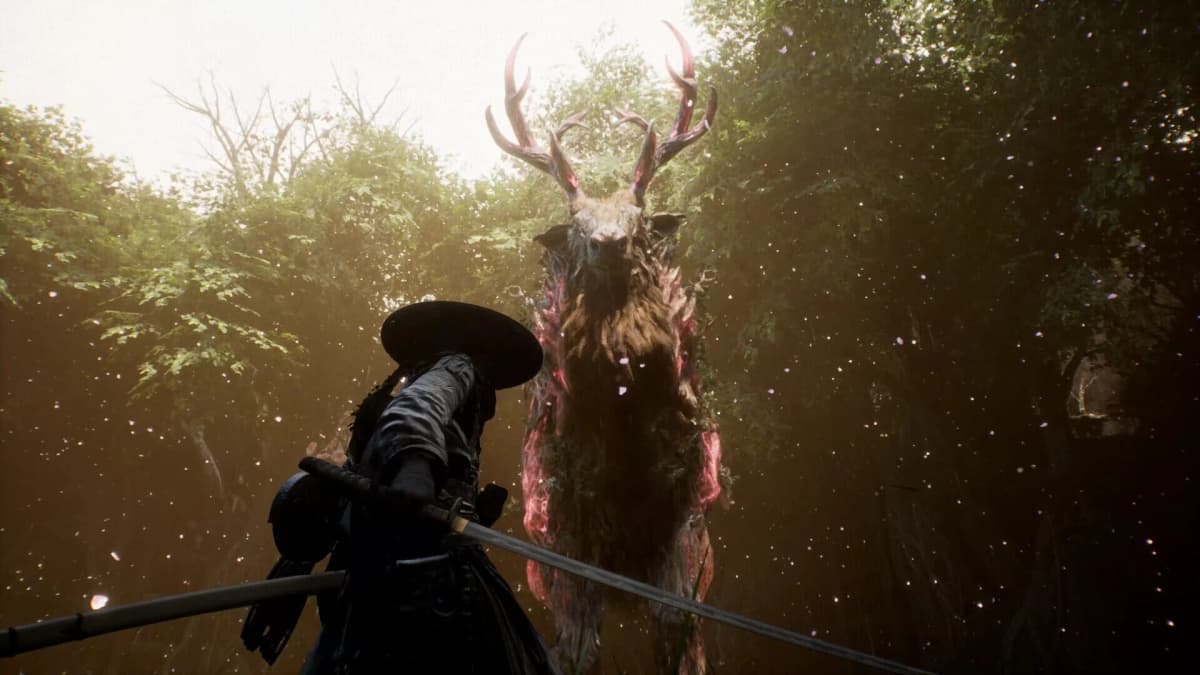
Chapter 1: Seedling becomes much easier once you treat parries as your main FP source. Hold LB/L1 to survive unfamiliar attacks, tap it immediately before a hit lands for a perfect guard, then spend the FP on Koo’s time-slow with Y/Triangle. Follow the Outskirts and Subcity side paths before the Foreman gauntlet so you reach Nushi Rangifer with manuals, all three keys, and a reliable combat loop.
Table of Contents (16)
Chapter 1: Seedling route at a glance
The early progression order is fixed even when the Outskirts starts to feel open: clear the Seedling tutorial, learn the Malefact parry, unlock Koo’s time-slow, search the Outskirts for manuals, move through Subcity, defeat the golem sequence and Door Golem, speak to the Foreman, then follow Rangifer’s trail. The first Rangifer encounter is a level 9 learning fight in the crater; the complete boss battle waits in its sealed lair after the Red, Blue, and Yellow Tailwater keys are collected.
- Seedling corridor: movement, attacks, locking on, and basic stagger.
- Guard tutorial: learn to block a scripted heavy hit.
- Bear-like Malefact ambush: perfect guard twice to build FP and progress.
- Koo tutorial: activate time-slow after filling enough FP.
- Outskirts: clear the right tunnel first, then sweep houses and backyards for manuals.
- Subcity: continue toward the golem gauntlet and the Door Golem.
- Foreman area: unlock the Rangifer chase and follow the boss route.
- Nushi lair: collect the Red, Blue, and Yellow Tailwater keys before opening the sealed arena.
Set your two essential inputs before leaving the Seedling
The tutorial wording can differ between controller layouts, particularly for Koo. Before moving into the Outskirts, open Settings → Controls and confirm the bindings for Guard and Partner Technique/Koo. Those are the two actions Chapter 1 repeatedly tests.
- Light attack: RB/R1.
- Heavy attack or skill: RT/R2, once available.
- Guard and perfect guard: LB/L1.
- Dodge/dash: B/Circle.
- Lock-on: R3/right-stick click.
- Koo time-slow: Y/Triangle or the mapped Partner Skill button.
On PC, keyboard bindings can vary, so follow the action label rather than assuming a default key. Koo’s ability needs FP; if the activation prompt does nothing, the bar is not full enough or the Partner Technique binding has been changed.
Learn the combat loop in the Seedling
The intended Chapter 1 rhythm is guard → perfect guard → FP → Koo time-slow → punish. Trying to win every encounter by attacking through enemy swings leaves you short on FP and makes the first boss much more punishing than it needs to be.
Clear the opening corridor without rushing the timing lesson
The salamander-like enemies in the Seedling corridor are there to establish movement, lock-on, and light attacks. Use them to get comfortable moving around a locked target, but save your attention for the tougher enemy with the obvious wind-up. Watch the moment its arm or weapon moves forward; that forward commitment is the useful timing cue, rather than the start of the wind-up animation.
Use regular guard here if you are still learning the animation. A blocked hit costs guard stamina or gauge, but it prevents the knockdown pressure that can turn a small mistake into several free hits for the enemy.
Hold guard for the scripted defensive check
When the on-screen Guard prompt appears, hold LB/L1 before the attack connects. This teaches the safe version of defense: you take reduced damage and avoid being interrupted, but regular blocking does not provide the same FP return as a perfectly timed guard.
Do not keep holding guard after every hit by default. Long blocks drain your defensive resource and can lead to a guard break. Use held guard for an attack whose rhythm you do not know, then convert to a parry once you have seen the swing once or twice.
Perfect guard the bear-like Malefact twice
Outside the Seedling, the bear-like Malefact ambush is the first mandatory parry lesson. Tap LB/L1 just before its strike connects rather than holding the button through its whole attack. A successful perfect guard negates the hit, briefly unbalances the Malefact, adds FP for Koo, and contributes toward its stagger pressure.
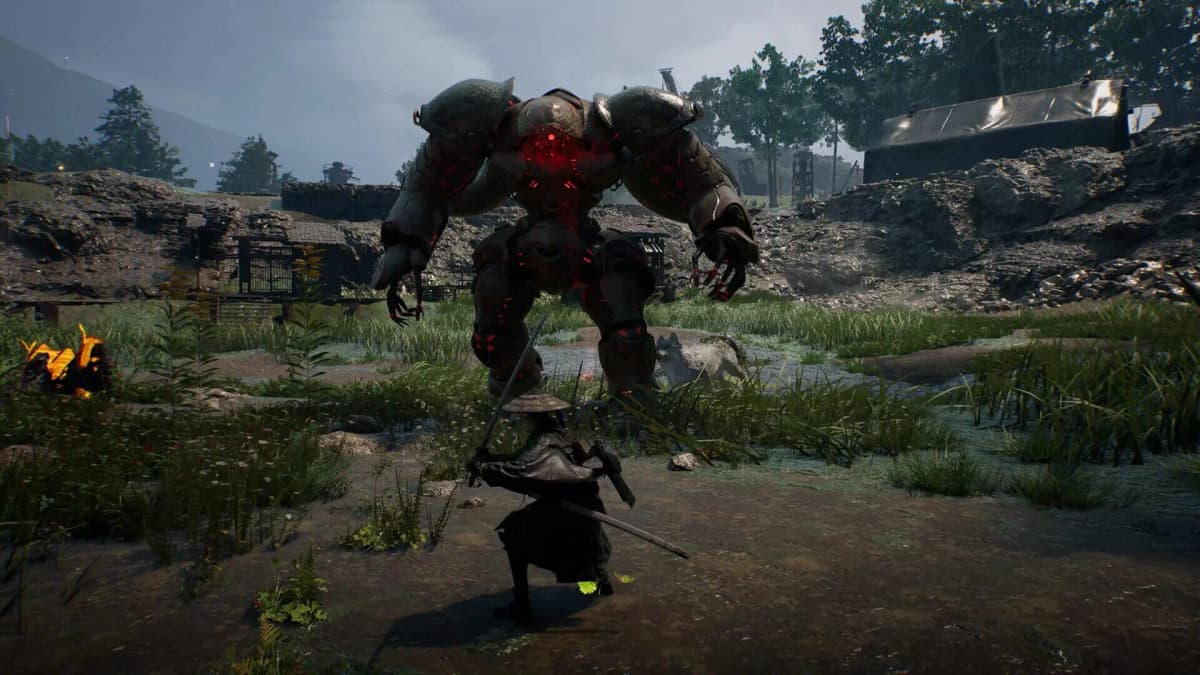
The clean timing is late: wait through the raised claw or body pull-back, then press Guard when the creature commits forward. Pressing during the wind-up usually gives you an ordinary block. The tutorial requires two successful perfect guards, so do not try to brute-force the ambush with light attacks.
- Pressed too early: you block normally. Stay defensive and watch the forward swing more closely.
- Pressed too late: you take the full hit. Dodge away, reset the distance, and wait for the next clear attack.
- Trying to heal in its face: create space first. The Malefact’s lunge closes distance quickly.
- Ignoring lock-on: the side ambush becomes harder to read when the camera is loose.
Use Koo’s time-slow as a damage window, not an emergency button
After the Malefact parry sequence, Koo’s primary technique becomes part of the combat loop. Press Y/Triangle, or the mapped Partner Skill input, once enough FP has been generated. Time-slow gives you room to escape a dangerous sequence or land attacks while an enemy’s response is delayed.
The stronger use is immediately after a parry. The enemy is already off-balance, your FP has just increased, and time-slow stretches the safest opening into enough time for a measured counterattack. Use light attacks first if you are unsure how long the slowdown will last; a greedy heavy attempt can leave you recovering when the effect ends.
Parries do more than refill Koo’s meter. They also build enemy stagger, which creates finisher or lethal-attack opportunities when the stagger meter fills. That is why the game pushes perfect guards so early: they improve defense, resource generation, and offense at the same time.
Outskirts route: take the right tunnel before pushing ahead
Once the Outskirts opens, resist the urge to follow the most direct route to Subcity. The first priority is the right tunnel. This route can provide a manual that improves FP gain through parries and counters, directly strengthening the Koo loop you have just learned.
Fight the golem in this area with a disciplined rotation: block its first attack if its timing is unfamiliar, parry the next readable swing, activate Koo after the FP gain, then punish during slow time. Large enemies can punish long attack strings, so take the opening provided by a successful parry instead of forcing one.
Sweep the left-side houses and backyards
After the right tunnel, check the left-side houses and their backyards before leaving the village section. Chests and interactables off the main lane can contain early defensive and FP-related manuals. A useful Chapter 1 setup has at least one manual improving guard, parry, FP generation, or counterplay before the tougher golem stretch.
Koo can also sense nearby points of interest and mark them on the map, including camps, hidden treasure, and food. Use that sense before assuming an alley is empty. It is especially useful in the Outskirts, where the critical path is clear but valuable side pickups sit just beyond it.
Subcity, the Foreman, and the Rangifer chase
From the Outskirts, continue into Subcity and work toward the Foreman area. The next progression gate is a six-golem sequence followed by the Door Golem. This is the point where missing manuals and poor FP management become noticeable, because repeated blocking alone can exhaust your guard gauge before the group is cleared.
- Lock on to one golem at a time rather than attacking into the middle of the group.
- Use guard against off-screen pressure, then reposition before attempting another parry.
- Spend Koo’s time-slow to finish a safe target or escape a crowded attack pattern.
- Check your healing and resources before committing to the Door Golem encounter.
- After the Door Golem, speak with the Foreman and follow the newly opened Rangifer path.
The crater encounter with Rangifer is a soft tutorial rather than the final version of the fight. It introduces the boss’s size, movement, and pressure before the lair battle. Do not judge your readiness from a quick first encounter; the sealed lair contains the stronger, two-stage version.

Get the three keys before opening Nushi Rangifer’s lair
The sealed arena requires three separate progression items: the Red Key, Blue Key, and Yellow Tailwater Key. Keep following the Rangifer chain and clear the accessible side routes until all three are in your inventory. Attempting to force progress at the sealed door before completing this key hunt only sends you back through the area.
Use each detour as preparation rather than a delay. Search for manuals, recover supplies, and practice parrying the enemies on the route. Rangifer is built to test the same systems introduced outside the Seedling: defensive reads generate FP, FP enables Koo, and Koo creates the safest counter windows.
How to beat Nushi Rangifer
Nushi Rangifer is the first major Nushi and fights as an enormous stag-and-plant Malefact. The sealed-lair version has two phases, so pacing matters more than trying to unload all your damage in the opening seconds. Keep enough space to read its body movement, lock on when it starts a committed attack, and use perfect guards to keep Koo available.
Phase 1: build FP and stagger safely
Stay near mid-range. Far enough away to see the start of Rangifer’s charges and sweeps, but close enough to capitalize after a parry. Guard unknown attacks early in the attempt. Once you recognize a repeated swing or rush, turn that move into a perfect guard instead of continuing to absorb it.
- Perfect guard a readable attack to gain FP and stagger progress.
- Activate Koo time-slow after the parry, when Rangifer is already committed or off-balance.
- Use a short attack string, then move out before Rangifer recovers.
- Take finisher or lethal-attack opportunities when its stagger meter is filled.
- Reset to mid-range instead of chasing every retreat.
Use fire if it is available
Rangifer is weak to fire, making burn buildup an efficient addition to the fight. Koo’s Higanbana: Seeds fires projectiles that build burn status, while Fire Arrows provide another fire option when available. Use them during time-slow or after Rangifer finishes a committed attack; firing while the boss is actively closing distance risks losing the opening you created.
Fire damage helps, but it does not replace the parry loop. Rangifer can power through careless pressure, particularly once the fight escalates. Keep the fight structured around defense and stagger, then add fire during the windows that perfect guards and Koo create.
Phase 2: play for clean openings
The second stage is more dangerous because Rangifer has stronger pressure and less room for panic healing. Do not change to a reckless strategy because the boss is low. Continue to block attacks you cannot confidently read, parry the clearest committed strikes, and use Koo to make room for a heal or a short punish.
If an attempt falls apart, the usual cause is resource starvation: too many held blocks, too few perfect guards, and no FP left when a dangerous sequence starts. Rebuild the loop on the next attempt. One clean parry can supply the time-slow window needed to recover control.
Chapter 1 preparation checklist
- Confirm Guard and Koo/Partner Skill bindings in
Settings → Controls. - Complete the two required Malefact perfect guards outside the Seedling.
- Practice activating Koo immediately after gaining FP from a parry.
- Clear the Outskirts right tunnel before advancing to Subcity.
- Search left-side houses and backyards for manuals and supplies.
- Use Koo’s sensing ability to mark nearby camps, food, and hidden treasure.
- Defeat the six golems and Door Golem, then continue through the Foreman route.
- Collect the Red, Blue, and Yellow Tailwater keys before returning to the sealed lair.
- Bring fire-based damage, including Higanbana: Seeds or Fire Arrows, if already unlocked.
The practical takeaway is simple: leave the Seedling able to perfect guard on purpose, take the Outskirts manuals before the golem gate, and enter Rangifer’s lair with all three keys and a full understanding of Koo’s FP loop. That preparation turns Chapter 1’s first major wall into a controlled stagger-and-punish fight.
FinalBoss // Gear
Level up your setup
01Top-rated gaming headsetson Amazon→02High-refresh gaming monitorson Amazon→03Gaming chairson Amazon→04Discounted game keyson Kinguin→Affiliate links · As an Amazon Associate, FinalBoss earns from qualifying purchases.
Want to Level Up Your Gaming?
Get access to exclusive strategies, hidden tips, and pro-level insights that we don't share publicly.
Ultimate Guide Strategy Guide + Weekly Pro Tips