

The reliable early-game loop in Beast of Reincarnation is simple: eat and prepare at every safe point, identify an enemy’s weakness before committing, then use status ailments to create a safe damage window. Cooking protects a run before combat starts; weakness and ailment management keep a difficult encounter from turning into a stamina-draining brawl.
Table of Contents (7)
Build Your Run Around Hunger, Cooking, and Safe Points
Check the hunger gauge whenever Emma reaches a camp, hub, or walker-style preparation point. Hunger is a visible resource, and entering a long exploration route or boss area without refilling it removes your survival buffer before the dangerous part begins.
On controller, food can be used from the satchel through the D-pad. Keep meals in the satchel as field supplies rather than treating every item as something to save for the hub. The point is to keep a run stable when you are far from a rest point, not to wait until an empty gauge forces an emergency decision.
Cooking also gives the system a progression role. Recipes and ingredients create meals for hunger recovery and stat buffs, while recipe-driven cooking progression can provide permanent stat bonuses. A newly found recipe is so worth checking before the next major push, even when your current inventory still looks healthy.
- Return to a camp or preparation point.
- Check the hunger gauge in the lower-left HUD.
- Cook available recipes and stock useful meals in the satchel.
- Eat before resting and before leaving on a longer route.
- Apply available upgrades, then leave with hunger and recovery already handled.
This order matters because food works best as preparation, not panic healing. If you leave hungry, take avoidable damage while exploring, and only then remember your supplies, the next miniboss becomes an attrition problem instead of a fight you can learn cleanly.
Preserve Food and Stamina Before the Fight Starts
Early on, stealth is one of the best ways to protect the food and recovery resources you just prepared. Full-speed movement draws attention, while crouching and moving carefully make it easier to separate enemies instead of triggering a group fight. On an analog stick, lighter movement also helps Emma approach more quietly.
- Crouch when approaching patrols or clustered enemies.
- Wait for spacing instead of attacking the first target in a group.
- Use terrain to keep a second enemy from joining the first engagement.
- Let a patrol walk into a cleaner position when the route ahead is crowded.
- Save loud, aggressive openings for enemies you have already isolated.
These small choices reduce the number of fights that cost healing, food, and stamina before you reach the encounter that actually matters. Early difficulty spikes feel much harsher when a boss attempt begins after three messy trash fights.

Read Enemy Weaknesses Before Using Your Main Damage Tool
When you lock onto an enemy, check the left side of its health bar before attacking. That weakness indicator should determine your first damage choice. Matching the displayed weakness gives you a plan immediately; defaulting to the same attack pattern against every target turns elemental combat into guesswork and usually extends the fight.
- Approach without pulling extra enemies.
- Lock onto the target.
- Read the weakness icon beside its health bar.
- Select the matching elemental option or the tool that answers that weakness.
- Defend until the enemy has committed to an attack.
- Attack during a recovery, stagger, successful parry, or clean dodge window.
- Back away before stamina, hunger, or positioning becomes unsafe.
The key habit is to make the weakness check the first combat decision, not something you notice after spending half your stamina bar. Weakness is your damage plan. It tells you how to start the exchange efficiently, especially against enemies that punish repeated frontal attacks.
Use Status Ailments as Control, Not as Your Opening Guess
Elemental weakness and elemental ailments do different jobs. A weakness tells you what to use for effective damage. Ailments build toward a threshold and give you control once the enemy is already under pressure. The four elemental afflictions are poison, acid, flame, and lightning.
| Affliction | How it builds | Early-game use |
|---|---|---|
| Poison | Builds through repeated elemental application until the circle by the enemy health bar fills. | Use it after confirming the enemy’s weakness and creating a safe opening. |
| Acid | Uses the same buildup system and triggers once the threshold is reached. | Layer it into an encounter only when you can continue applying it without taking retaliation. |
| Flame | Contributes to elemental status buildup and can inflict damage over time when triggered. | Best treated as added pressure after your weakness-based opener has connected. |
| Lightning | Builds status like the other afflictions and can temporarily stun an enemy. | A stun creates one of the cleanest opportunities to punish, heal, reposition, or reset the fight. |
Watch the circular buildup indicator next to the enemy’s life bar. Once it reaches its threshold, the ailment triggers and deals damage over time. Lightning is especially valuable when its secondary stun effect appears, because it interrupts the enemy’s pressure and gives Emma room to act without forcing a risky parry attempt.
Do not lead every encounter by trying to force an ailment. Early on, the safer order is to exploit weakness first, survive the response, and add ailment buildup only when you have enough control to keep applying it. Status effects become powerful when they shorten the dangerous part of a fight; they are inefficient when chasing buildup leaves you exposed.
Follow the Weakness, Control, Punish, Reset Sequence
Use the same four-part sequence against basic enemies, minibosses, and early bosses. It works because it separates information gathering, crowd control, damage, and recovery instead of demanding perfect aggression from the start.
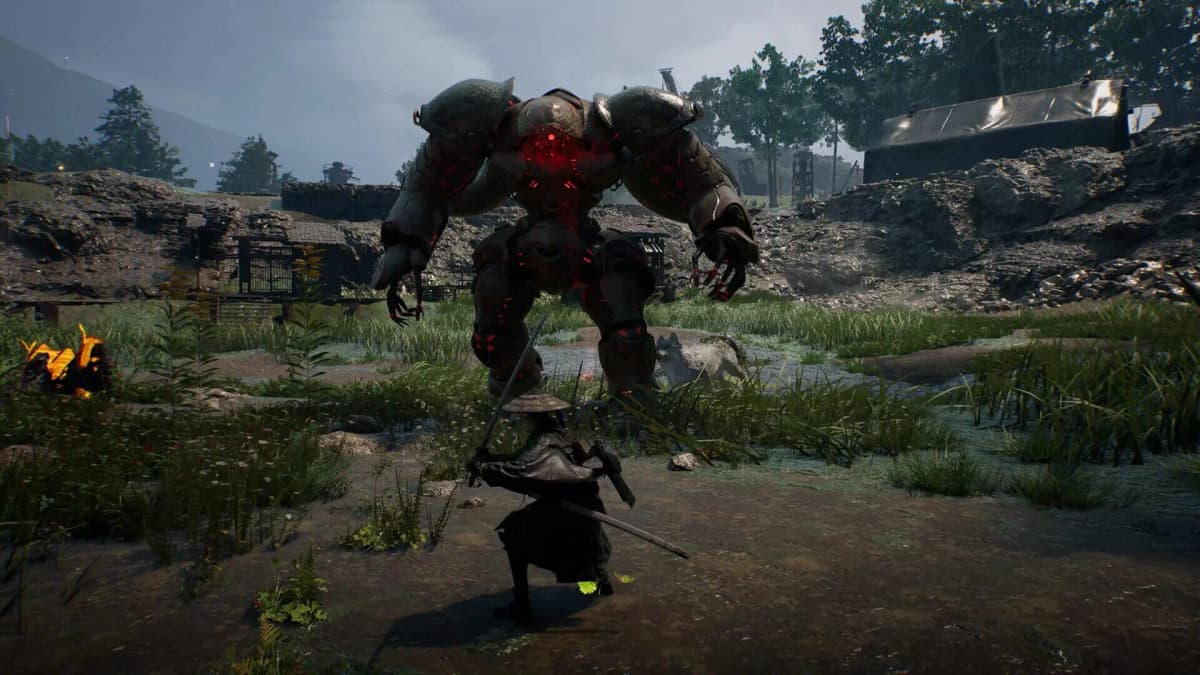
- Weakness: Read the enemy’s icon and equip or select the correct elemental answer.
- Control: Build an ailment only when the target is isolated, recovering, staggered, or otherwise contained.
- Punish: Use the window created by a parry, dodge, stagger, lightning stun, or enemy recovery to deal damage.
- Reset: Break away once stamina is low, the enemy regains pressure, or another foe enters the area.
Coup’s resource-based time-slowdown abilities fit naturally into the control step. Use them to turn a crowded or fast exchange into a readable one, then attack while the enemy is vulnerable. Spending that resource to create a guaranteed weakness or ailment window is more reliable than using it after the fight has already become chaotic.
Parries remain central to this loop, but the early game does not require every punish to come from a parry. A clean dodge that leaves an enemy recovering is enough. If parry timing still feels inconsistent, focus on spacing, a single safe counterattack, and a reset rather than repeatedly trading hits for a larger combo.
Prepare Properly Before the First Boss and Major Beasts
Search the surrounding route for a campsite before entering a boss arena. Bosses commonly have a nearby checkpoint, though some camps are off the obvious path. Finding one first gives you a place to rest, save, prepare meals, and apply upgrades instead of forcing a long return after every failed attempt.
- Find the nearest camp before crossing into the boss area.
- Rest and save before the first serious attempt.
- Cook and eat before starting the fight.
- Use available upgrades while you are still at the safe point.
- Check the boss weakness as soon as the health bar appears.
- Prioritize one controlled punish at a time over extended attack strings.
Entering hungry is an avoidable handicap, but entering without a weakness answer is equally costly. The first attempt should be used to identify the boss’s element, major attack rhythm, and the safest recovery window. Once those three details are clear, the fight becomes a repeatable loop rather than a damage race.
Fix the Early Mistakes That Make Basic Enemies Feel Overwhelming
- Leaving a camp without eating: make hunger management part of every departure routine.
- Resting before handling food and upgrades: do preparation first so the next run begins fully set up.
- Sprinting into groups: crouch, isolate targets, and avoid spending recovery resources on preventable fights.
- Ignoring the weakness icon: read the left side of the health bar before selecting your attack plan.
- Forcing an ailment too early: establish safety with weakness damage, dodges, parries, or spacing before chasing buildup.
- Overextending after a good hit: take the punish, then reset before the enemy’s next attack catches you during recovery.
Once hunger checks, safe-point cooking, weakness reads, and controlled resets become automatic, the opening hours become far more manageable. Your supplies last longer, enemies reveal clearer openings, and status ailments become a deliberate way to control the fight instead of another system competing for attention.
FinalBoss // Gear
Level up your setup
01Top-rated gaming headsetson Amazon→02High-refresh gaming monitorson Amazon→03Gaming chairson Amazon→04Discounted game keyson Kinguin→
Affiliate links · As an Amazon Associate, FinalBoss earns from qualifying purchases.
Want to Level Up Your Gaming?
Get access to exclusive strategies, hidden tips, and pro-level insights that we don't share publicly.
Ultimate Guide Strategy Guide + Weekly Pro Tips