
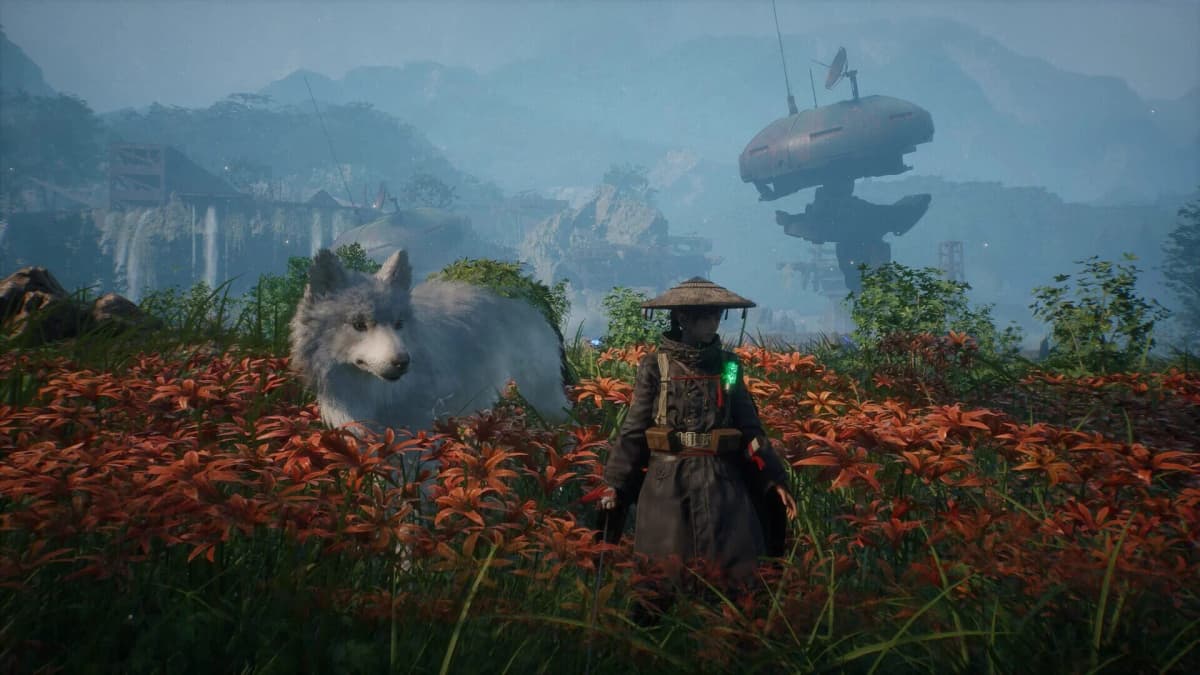
Rangifer is the first major progression check in Beast of Reincarnation because it tests two systems at once: weapon enhancement and disciplined combat. Amber alone will not carry a weapon through its upgrade tiers. Your ceiling is set by Bauera’s Power and Knowledge, while the materials for each tier are found through combat and exploration. Entering either Rangifer encounter with early-tier melee and ranged equipment creates a damage and survival deficit that the fight is designed to expose.
Table of Contents (13)
Rangifer preparation: the practical upgrade threshold
Prepare a melee weapon and a ranged weapon rather than investing every material into one slot. Rangifer gives you close-range parry opportunities, but its openings also allow ranged pressure. A sword handles the moments when the boss commits to melee; ranged damage lets you work safely during spacing and recovery windows.
- For the first Rangifer battle, move your starting melee and ranged weapons beyond their opening tiers. Level 3 is the important early breakpoint because Basic Bones cover the first enhancement band.
- Before the stronger lair rematch, bring the weapons you actively use into the mid-tier Level 4 to 6 range.
- Raise Bauera Power for melee weapon and parry-skill tiers.
- Raise Bauera Knowledge for ranged weapon tiers, ammunition capacity, and ranged utility.
- Keep enough ammunition available to use ranged attacks during Rangifer’s safer windows instead of treating the bow as an emergency tool.
Key warning: a weapon that refuses to enhance despite sufficient Amber is usually blocked by Bauera’s stat requirement or a missing material. Do not keep farming currency when the enhancement panel shows a Power or Knowledge requirement. The correct route is to find the matching Bauera spoil, return to the Cleanse Walker, and raise the required stat.
How Weapon Enhancement works
Weapon Enhancement is available in two places. The Cleanse Walker Workbench is the full progression station, while camps provide a field option for upgrading gear with the materials already in your inventory.
| Upgrade point | Location and access | What it is for |
|---|---|---|
| Cleanse Walker Workbench | Behind Brad’s pilot seat, beside the kitchen area in the hub. | Weapon and equipment enhancement, plus access to the separate Bauera upgrade path when you have spoils. |
| Field campsite | Camp icons across each zone; use the campfire or bedroll rest menu. | Enhance weapons or equipment during exploration using Amber and weapon materials. |
| Bauera upgrade menu | Available at the Cleanse Walker hub. | Spend exploration spoils to raise Power, Calculations, and Knowledge, unlocking further enhancement tiers. |
At a Workbench or campsite, open Enhance Weapons or Enhance Equipment, select the melee or ranged weapon, then inspect all three requirements shown for the next tier: Amber, upgrade materials, and Bauera stat level. Camps can enhance weapons, but they cannot convert Bauera spoils into Power, Calculations, or Knowledge. That distinction is the most common reason a field run ends at an apparent upgrade cap.
What each weapon tier improves
Melee enhancement raises base attack and improves the unique ability triggered by a successful parry. Higher sword tiers can increase the impact of that parry follow-up through stronger stagger, area damage, elemental damage, or related effects. Ranged enhancement raises projectile damage and ammunition capacity, which matters against Rangifer because several of the safest damage opportunities occur at distance.
Weapon effects also scale with enhancement. Status buildup, guard-breaking properties, damage-over-time effects, and other weapon-specific traits become more useful when the weapon itself is no longer stuck at an early tier. This makes a mixed melee-and-ranged loadout materially stronger than an unenhanced backup weapon carried only for convenience.
Raise Bauera before you reach the cap
Bauera is the Cleanse Walker’s programming core and the gatekeeper for weapon enhancement. Each stat controls a different part of progression. Power and Knowledge matter directly for the Rangifer route because they unlock the next tiers for your main melee and ranged options.

| Bauera stat | Primary function | Spoil used to increase it |
|---|---|---|
| Power | Unlocks melee weapon enhancement and stronger parry-skill tiers. | Generator Devices |
| Calculations | Supports advanced mechanics and certain technology-based equipment. | Electronic Brains |
| Knowledge | Unlocks ranged weapon enhancement and some utility abilities. | Memory Chips |
Generator Devices, Electronic Brains, and Memory Chips come from golem-type enemies, stronger constructs, valuable containers, and side routes away from the critical path. Koo’s alerts are useful here: follow the barks and map indicators when they point toward strongboxes or rare items. The early zones have vertical routes and detours that exist specifically to feed this progression layer.
Power should meet the requirement displayed on your active sword. Knowledge should meet the requirement on your active ranged weapon. Calculations has less immediate value for the first Rangifer gate unless a piece of equipment in your current setup explicitly requires it. This keeps valuable spoils focused on the stats that remove your immediate weapon cap.
Farm the material band you actually need
The enhancement material ladder changes after Level 3. Farming the wrong enemy type can leave you with a large Amber reserve and no way to advance the weapon that matters.
| Weapon levels | Core material | Reliable early source | Use before Rangifer |
|---|---|---|---|
| Level 0 to 3 | Basic Bones | Dog-type enemies and lesser beasts on early field runs. | Raise both main weapons out of the initial damage floor. |
| Level 3 to 6 | Enhancement Ores | Mine and cave areas, often guarded by tougher enemies. | Reach the mid-tier range needed for the lair rematch. |
| Level 6 to 10 | Soul Crystals | High-tier bosses and elite enemies. | Late-game enhancement; not the priority for the first Rangifer wall. |
Basic Bones are worth stockpiling because both the sword and ranged weapon use the opening material band. Once Level 3 enhancement becomes available, shift attention toward mine and cave routes for Enhancement Ores. The second Rangifer encounter is the point where ore-based upgrades matter most; returning with a primary weapon still sitting in the Basic Bones band prolongs the fight and increases the number of dangerous exchanges required.
First Rangifer encounter: crater fight plan
The first Rangifer fight occurs during the Prowling Nushi quest. Rangifer is level 9, and a character around level 6 or 7 has the baseline needed to compete. The arena contains a major advantage that is easy to miss: the tall central structure has a campsite and armor to collect. Unlocking the camp also improves the return point for repeated attempts.
Take the opening damage before the fight settles
Use the Hair bridge from the central camp to get above Rangifer, then drop onto the boss for an assassination. This removes a substantial portion of its health before the standard combat loop begins. It is the cleanest opening available in the crater and reduces the amount of time spent managing Rangifer at full health.
After the assassination, apply ranged pressure early. Rangifer is largely melee-oriented in this first encounter, so distance gives you room to observe its approach and use shots without forcing a close exchange. Ranged damage is especially valuable while you are still learning the spacing needed for its attacks.
Use fire as the status route
Rangifer is weak to fire. Higanbana: Seeds can exploit that weakness by building burn status, adding damage while you focus on positioning and defense. Apply the fire option during a safe window, then avoid turning the burn setup into a reason to overcommit at close range. The status damage has value only if the following exchange remains controlled.
Turn defensive timing into melee damage
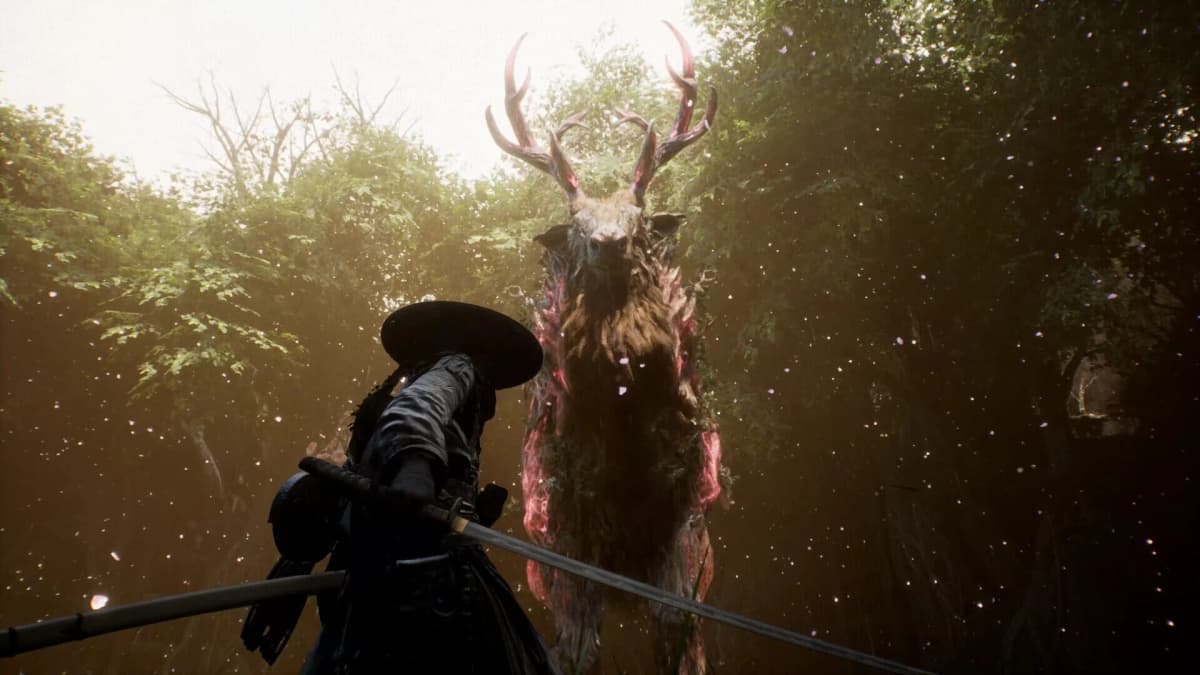
Rangifer’s first battle is a parry and dodge check. Use invulnerability-frame dodges to clear attacks that are poorly positioned for a parry. When the timing is clean, parry instead: a successful parry activates the sword’s unique parry ability and can create the stagger needed for a short melee punish. Limit the response to the opening created. Extending a punish after Rangifer resumes pressure trades reliable damage for avoidable hits.
- Unlock the central crater campsite and take the armor on the structure before committing to attempts.
- Use the Hair bridge assassination to begin with a major health advantage.
- Open with ranged attacks while Rangifer is still closing distance.
- Apply Higanbana: Seeds to build burn against Rangifer’s fire weakness.
- Use parries for deliberate punish windows and i-frame dodges when spacing is unsafe.
Second Rangifer encounter: lair rematch and second stage
The lair rematch is the real equipment check. Rangifer is stronger, takes more time to bring down, and adds a second stage with more complex pressure. The first fight teaches the basic rhythm; the second expects the same discipline while demanding better damage output and more reliable defensive timing.
Enter the lair with the main sword and ranged weapon in the Level 4 to 6 range where possible, with Power and Knowledge high enough to support those tiers. This is the point where enhancement ores from mine and cave routes should already be converted into damage. More weapon damage shortens each phase, and a larger ranged ammunition capacity gives you more opportunities to punish without stepping into melee range.
Keep the two damage routes separate
Use ranged attacks while Rangifer is repositioning, recovering, or outside safe melee reach. Save melee for the moments created by a successful parry or a clear end to an attack sequence. This separation prevents the usual rematch failure: approaching for sword damage during an unsafe stretch, taking damage, then losing the next ranged opportunity while recovering.
The second stage raises the cost of panic dodging. Dodge through attacks with i-frames when a parry is not available, but avoid spending every defensive option immediately. Rangifer’s increased pressure is designed to force rushed decisions. Maintaining distance after a dodge, then waiting for the next readable commitment, is more valuable than forcing a counterattack into an unclear sequence.
Use the first fight as the timing reference
The rematch retains the core demands of the crater battle: recognize an attack commitment, decide whether it is a parry or dodge situation, and take only the damage window earned by that decision. The extra stage does not change the value of this loop. It makes greedy melee strings and under-upgraded weapons more costly.
Fix the specific problem blocking progression
| Problem | Cause | Correction |
|---|---|---|
| Amber is available, but the next weapon level is locked. | Bauera Power or Knowledge is below the requirement shown on the enhancement screen. | Find the matching spoil, return to the Cleanse Walker, and raise the required Bauera stat. |
| A weapon reaches Level 3 but cannot progress toward the rematch target. | Basic Bones no longer cover the next enhancement band. | Farm Enhancement Ores in mine and cave regions before returning to Rangifer. |
| The first fight lasts too long despite acceptable dodges. | Melee and ranged equipment remain near their initial tiers. | Enhance both active weapons and use fire burn to add damage between safe attacks. |
| Ranged damage runs out before the boss is finished. | The ranged weapon’s enhancement level has left ammunition capacity too low. | Raise Knowledge and enhance the ranged weapon instead of relying only on extra Amber. |
| The lair rematch collapses in the second stage. | Attacks are being forced outside parry, dodge, or recovery windows. | Return to the ranged-spacing loop, reserve melee for confirmed openings, and avoid extending punishes. |
The intended Rangifer route is straightforward once the gates are addressed: collect Bauera spoils while exploring, upgrade Power and Knowledge to remove weapon caps, use Basic Bones for the early tiers, collect Enhancement Ores for the Level 4 to 6 band, then use the crater assassination and fire weakness to reduce the first fight before applying the same controlled parry-and-ranged loop in the lair rematch.
FinalBoss // Gear
Level up your setup
01Top-rated gaming headsetson Amazon→02High-refresh gaming monitorson Amazon→03Gaming chairson Amazon→04Discounted game keyson Kinguin→
Affiliate links · As an Amazon Associate, FinalBoss earns from qualifying purchases.
Want to Level Up Your Gaming?
Get access to exclusive strategies, hidden tips, and pro-level insights that we don't share publicly.
Ultimate Guide Strategy Guide + Weekly Pro Tips