
If you are walking fields in Bellwright looking for straw to pick up, you will never find it. Straw is not a wild resource. You make it by processing wheat at a Thresher, and you cannot run that process until a worker hits Farming level 3. Get those two things wrong and straw feels impossible; get them right and it becomes one of the easiest materials in your village to mass-produce.
Table of Contents (10)
The short version
- Straw is a processed output, not a gathered resource. You make it from wheat.
- You need three things: wheat, a built Thresher, and a worker at Farming level 3 to operate it.
- The fastest early wheat is the field south of Padstow, marked by a windmill icon on the map — but it is guarded, so treat it as a smash-and-grab.
- Threshing wheat gives you both grain and straw. Replant the grain to grow more wheat and the whole loop becomes self-sustaining.
- Straw’s main job is thatch: 5 straw makes 1 thatch at the Weaver Loom.
What straw actually is
Straw is a processed material. The input is wheat, the machine is the Thresher, and the output splits into grain and straw at the same time. That is the entire mechanic, and it is why new players get stuck: wheat is visible in the world and can be harvested, so it looks like the raw harvest should hand you straw directly. It does not. Wheat is only the upstream input. Straw appears after you thresh it.
So if a recipe is asking you for straw, stop hunting for a straw node. The question is never “where is the straw?” It is “do I have wheat, a Thresher, and a Farming 3 worker?”
What you need before you can make straw
Three requirements, in order:
- Wheat as the raw input.
- A Thresher, researched and built.
- Farming level 3 on the character or worker assigned to operate it.
The Farming 3 gate is what stalls most early settlements. You can build the Thresher and stockpile wheat and still produce zero straw if nobody assigned to it has reached Farming 3. When that happens, the fix is not another resource run — it is leveling a farmer or reassigning a villager who already qualifies.

Where to get wheat early
The fastest early wheat is the wheat field south of Padstow, sitting next to a windmill icon on the map — that icon is your locator. (Padstow is the village’s actual in-game name; “Padto” that you may see floating around is just shorthand, not a second place.)
The catch is that the area is guarded. Bandits patrol it, and an undergeared character can easily turn a quick harvest into a gear-recovery trip. Approach it accordingly.
How to loot the wheat field safely
- Travel light so retreat is easy.
- Approach from the field edge, not through the center.
- Grab the accessible wheat first instead of trying to strip the whole field in one pass.
- Break contact the moment enemies start closing your exit route.
- If your gear is weak, extract — do not try to clear the zone.
Treat this field as a bootstrap, not a permanent supply. Once you have enough wheat to start planting at home, you stop needing the run entirely.
How to turn wheat into straw
Once you have wheat, the workflow is simple: research the Thresher, build it, feed it wheat, and assign an operator at Farming 3. The Thresher separates wheat into grain and straw in the same step.

That dual output is why the Thresher matters so much. It is not just a straw machine — it also sits in your grain (food) loop, which makes it a shared choke point. If your village feels strangely slow around the farming stage, an overworked or unstaffed Thresher is often the reason.
The loop that makes straw sustainable
- Wheat goes into the Thresher.
- The Thresher outputs grain and straw.
- Grain gets replanted to grow more wheat.
- The new wheat goes back into the Thresher, scaling both future grain and future straw.
Run this once and straw stops being scarce. Before the loop exists, every straw requirement feels expensive because it is tied to a risky wheat run and a half-unlocked farm. After it exists, the only real constraint is how much field space and Thresher time you assign. For the upstream half of this loop, see our early wheat farming guide.
What straw is used for
Straw’s headline use is thatch, crafted at the Weaver Loom: 5 straw produces 1 thatch. Thatch feeds straight into construction, so a wheat shortage quietly becomes a building-material shortage — especially when the same farming line is also feeding your villagers. For the downstream side, read our thatch guide.
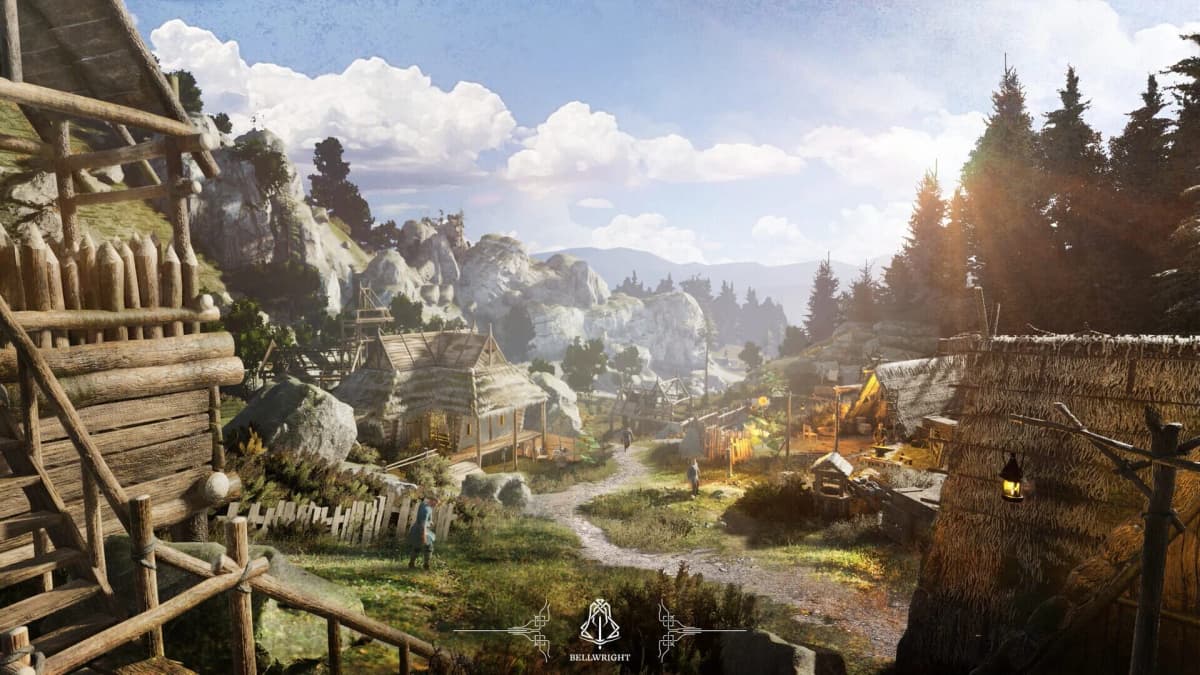
In short, straw looks like a throwaway side product right up until your settlement starts demanding thatch at scale — then it becomes a load-bearing material.
Common mistakes
- Hunting for a straw node. There isn’t one. If you need straw, you need wheat plus a staffed Thresher.
- Building the Thresher without a Farming 3 worker. The building does nothing if no assigned operator meets the skill gate. Level a farmer or reassign one who qualifies.
- Treating the Padstow wheat field as a farm. It is guarded. Run it light, grab what you can, and leave — don’t try to clear it with weak gear.
- Consuming every batch immediately. If you never replant the grain, straw stays scarce forever. Spend the first batches seeding the loop.
- Forgetting the Thresher is shared. It feeds both grain and straw, so one structure can bottleneck food and building materials at once. Plan its placement and staffing around that.
Practical takeaway
Straw in Bellwright is a farming product, not a find. Get wheat — bootstrap from the guarded field south of Padstow if you must — build a Thresher, put a Farming 3 worker on it, and replant the grain so the wheat keeps coming. Once that loop spins on its own, straw stops being a problem and thatch (5 straw each) becomes routine.
FinalBoss // Gear
Level up your setup
01Graphics cardson Amazon→02Gaming laptopson Amazon→03High-refresh gaming monitorson Amazon→04Discounted game keyson Kinguin→
Affiliate links · As an Amazon Associate, FinalBoss earns from qualifying purchases.
Want to Level Up Your Gaming?
Get access to exclusive strategies, hidden tips, and pro-level insights that we don't share publicly.
Ultimate Guide Strategy Guide + Weekly Pro Tips