
How I Overhauled My Destiny 2 Settings for Smoother FPS
Game intel
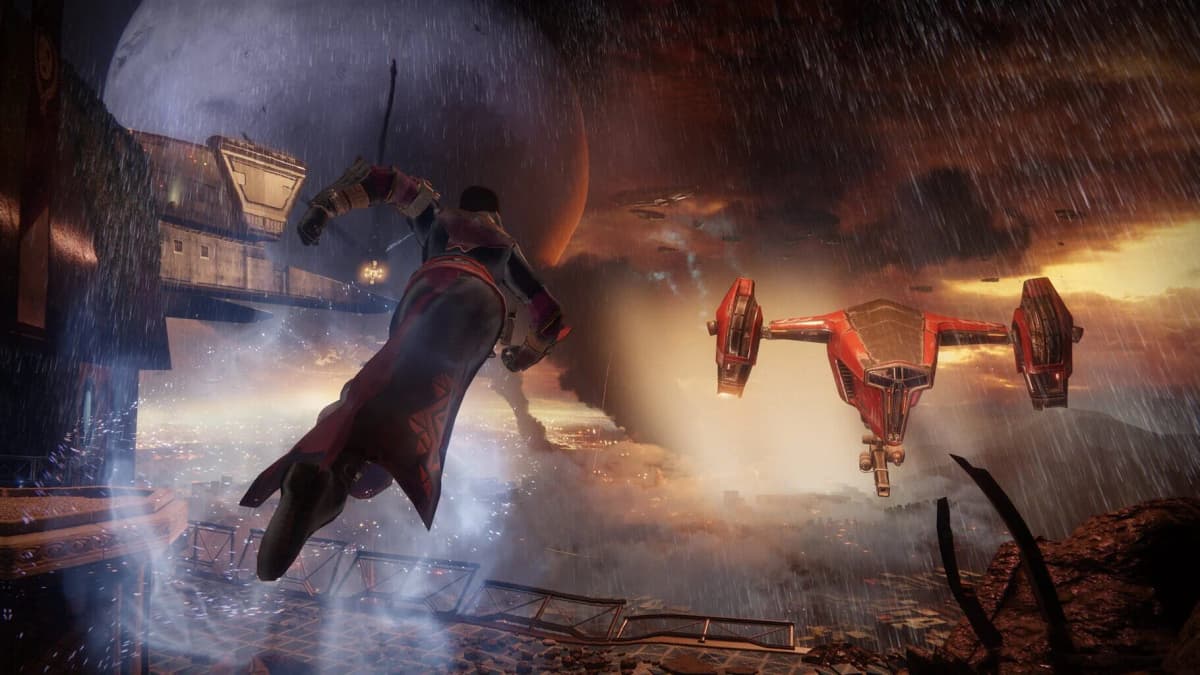
Destiny 2
The first chapter of a new Destiny saga is here. Guardians will venture into the unknown, where the mysteries of the cosmos – and The Nine – await.
Why I Reworked My Destiny 2 Settings (and Why You Should Too)
After hundreds of hours in Destiny 2—and right before the Edge of Fate expansion—I realized my trusty “High” preset was holding me back more than helping. Raids stuttered, Crucible fights felt jittery, and sudden FPS dips cost me clutch plays. If you want smoother performance and crisper visuals, here’s the overhaul I wish I’d done sooner.
The Build: My Setup & Expectations
I tested these tweaks on a mid-range PC (Ryzen 5 5600X, RTX 3060, 16 GB RAM, SSD) across Gambit, PvP, old raids, and new seasonal missions. Even on a 4070 Super or a higher-end rig, you’ll notice similar gains. Plan on about 10–15 minutes of changes and expect up to ~30% FPS uplift if you’re still on defaults or haven’t trimmed key sliders.
Prerequisites & Preparation
- GPU Drivers: Install the latest NVIDIA/AMD/Intel drivers before tweaking.
- Game Update: Make sure Destiny 2 is fully patched.
- Storage: Run the game from an SSD—Tower load times drop from ~90 seconds on HDD to under 30.
- Steam Deck: If you’re on SteamOS, update to the recommended Proton version (Proton GE or Experimental). Windows dual-boot may be required for anti-cheat compatibility.
Step 1: Start with the “High” Preset—Then Refine
Presets are a solid starting point, not the finish line. Destiny 2’s “High” preset balances effects and clarity, but a few settings quietly choke your framerate for minimal visual gain.
- Go to
Settings → Video → Presetand select High. - Click Apply—but don’t hit Save until you’ve adjusted the heavy hitters below.
Common Mistake: I chased “Highest” for cinematic flair and lost double-digit FPS with hardly any visible upgrade during firefights.
Step 2: Tweak the Heavy Hitters (Frame Trustees)
These sliders sway your FPS more than any others. Dialing them back pays off big.
- Shadow Quality: High (not Highest). Highest shadows can cost ~15–20% FPS for marginal gains.
- Foliage Detail Distance: Medium. Keeps close-up scenery lush without overloading your GPU in wide zones.
- Screen Space Ambient Occlusion: HDAO over 3D AO for rich shading with less frame hit.
- Motion Blur: Off. Removes blur so enemies pop into view faster—enable only if you crave the cinematic look.
Discovery Moment: Switching Foliage to Medium netted me +10 FPS outdoors with zero perceptible visual drop while moving.
Quick Reference: My “Best Bang for Buck” Settings
- Anti-aliasing: SMAA
- Texture Anisotropy: 16×
- Texture Quality: High (go Highest only if VRAM isn’t a bottleneck)
- Depth of Field: Off (unless you love cinematic blur)
- Environment/Character Detail: High
- Light Shafts & Foliage Shadows: High
- Film Grain, Chromatic Aberration, Wind Impulse: Toggle to taste
- Render Resolution: 100% (drop only on very old rigs)
FinalBoss // Gear
Level up your setup
01Graphics cardson Amazon→02Gaming laptopson Amazon→03High-refresh gaming monitorson Amazon→04Discounted game keyson Kinguin→Affiliate links · As an Amazon Associate, FinalBoss earns from qualifying purchases.
Step 3: Don’t Neglect Accessibility & Controls
Small UI tweaks won’t boost FPS, but they speed up callouts and reduce strain.
- Settings → Gameplay → Accessibility: Adjust subtitle size, color, and background.
- Use color-blind or high-contrast reticle modes to make enemies stand out.
- Remap controls for your dominant hand or preferred combos—especially helpful in GM Nightfalls.
Want to Level Up Your Gaming?
Get access to exclusive strategies, hidden tips, and pro-level insights that we don't share publicly.
Ultimate Guide Strategy Guide + Weekly Pro Tips
Troubleshooting: Stability & Faster Load Times
Loading from an SSD is the single biggest QoL jump next to a GPU upgrade. If you still use an HDD, consider upgrading—load times in the Tower fall from ~90 seconds to under 30.
Destiny 2 lacks a built-in FPS counter. Here’s my monitoring toolkit:
- NVIDIA: In-Game Overlay (
ALT + R) - AMD: Radeon Overlay (
CTRL + SHIFT + O) - Universal: CapFrameX or FrameView for deep benchmarks before raids or driver updates.
Pro Tip: Expect micro dips during world events—normal fluctuations, not hardware failures.
Pro Tips: Steam Deck & Lower-End PCs
On Steam Deck, I dual-boot Windows to satisfy anti-cheat, then apply these settings for a stable 40–60 FPS in strikes and Gambit:

- All major quality settings → Low
- Anti-aliasing: SMAA
- SSAO: HDAO
- Motion Blur & Chromatic Aberration → Off
- Render Resolution → 80% (massive FPS and battery win)
For ultra-low-end rigs, start Low and then raise Textures or Shadows one notch at a time until you hit your performance target.
Final Tweaks & Edge of Fate Tips
- Update GPU drivers before launching new expansions—fresh content can introduce new performance quirks.
- Back up your
cvars.xmlso you can restore your baseline if a tweak misfires. - Monitor community forums—if a new zone tanks FPS for everyone, Bungie usually patches it quickly.
TL;DR – Battle-Tested Destiny 2 Settings for 2025
- Start on High preset; trim Shadows, Foliage, SSAO.
- Install and run from an SSD for faster loads.
- Customize accessibility (subtitles, reticle, remaps).
- Steam Deck/low-end: all Low, Render Res 80%.
- Monitor FPS with NVIDIA/AMD overlays (ALT+R or CTRL+SHIFT+O).
Finding the sweet spot between eye candy and smooth gameplay takes about 15 minutes. Tweak, test, and enjoy Destiny 2 like never before. See you starside, Guardian!