
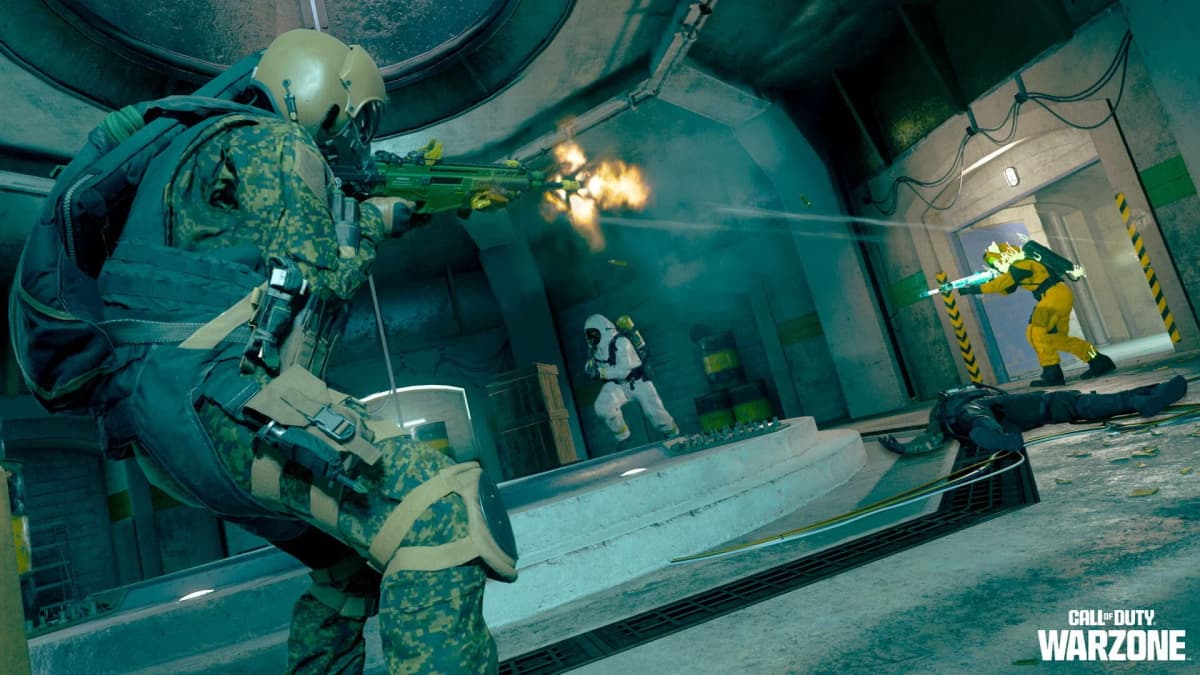
Call of Duty: Modern Warfare 4 PC beta access requires TPM 2.0 and Secure Boot to be enabled before RICOCHET Anti-Cheat will allow online matchmaking. If either check fails, the beta client can launch but you will be locked out of every online mode. The fastest route is to run the Call of Duty Secure Attestation Wizard, confirm the three Windows-side values below, then change only the firmware setting that is failing.
The open beta runs from August 28 at 19:00 Spanish Peninsula time through September 1. It does not require a reservation, but PC players still need to pass the RICOCHET secure-attestation checks. TPM 2.0 and Secure Boot are PC-only requirements; PlayStation, Xbox, and Nintendo Switch 2 beta clients do not use this firmware check.
Table of Contents (13)
Modern Warfare 4 PC beta requirements checklist
Check these values in Windows before opening your motherboard firmware. A machine that shows all three required values should not need any BIOS changes.
| Windows check | Required Modern Warfare 4 value | What a failure usually means |
|---|---|---|
tpm.msc | The TPM is ready for use Specification Version: 2.0 | Firmware TPM is disabled, the board has no compatible TPM, or the system is only exposing TPM 1.2. |
msinfo32 — BIOS Mode | UEFI | The PC is using Legacy or CSM boot mode, which prevents Secure Boot from working. |
msinfo32 — Secure Boot State | On | Secure Boot is disabled, default keys are missing, or the OS Type is set to an option such as Other OS. |
Windows 10 must be on the 64-bit 22H2 release, while Windows 11 is supported. Windows 7 and Windows 8.x do not meet the RICOCHET secure-attestation baseline. TPM 1.2 also fails the Modern Warfare 4 beta check even if Windows reports that a TPM exists.
Run the Secure Attestation Wizard before changing BIOS settings
The Call of Duty Secure Attestation Wizard is the cleanest starting point because it separates the problem into individual checks. Get the tool from Call of Duty Player Support, extract the downloaded ZIP file, run the executable, accept the terms, and start the scan. It checks TPM 2.0, Secure Boot, Windows version, and related RICOCHET requirements.
Run it once before changing anything, then run it again after each firmware change. This avoids the common mistake of enabling TPM while missing the separate Secure Boot or UEFI failure that is still blocking matchmaking.
- TPM 2.0 missing: Enable AMD fTPM, AMD CPU fTPM, Firmware TPM, or Intel PTT in UEFI.
- Secure Boot disabled: Switch to UEFI boot, turn off CSM if it is active, then enable Secure Boot.
- BIOS Firmware Update Required: Update the motherboard firmware before retrying attestation.
- All local checks pass but the game still fails: Fully shut down the PC, start it again, re-run the Wizard, and retry the game after the attestation service has refreshed.
Confirm TPM 2.0 in Windows
Press Windows key + R, type tpm.msc, and press Enter. The Trusted Platform Module Management window gives you the two values Modern Warfare 4 needs.
- Under Status, look for The TPM is ready for use.
- Under TPM Manufacturer Information, confirm Specification Version is 2.0.
If the page says Compatible TPM cannot be found, Windows cannot see an active TPM. On most current gaming PCs, that means the motherboard’s built-in firmware TPM is off rather than missing. You can also confirm the same information through Windows Security → Device security → Security processor details. The specification version must still read 2.0.

Confirm Secure Boot and UEFI mode in Windows
Press Windows key + R, type msinfo32, and press Enter. In the System Summary panel, find these two lines:
- BIOS Mode: UEFI
- Secure Boot State: On
BIOS Mode: Legacy is the key trap. Secure Boot cannot be enabled while the PC is running in Legacy or CSM boot mode, even if TPM 2.0 is already ready for use. Do not stop after fixing TPM; Modern Warfare 4 requires the complete TPM 2.0, UEFI, and Secure Boot combination.
Enable TPM 2.0 in UEFI firmware
Restart the PC and enter UEFI during startup. The correct key depends on the motherboard or laptop, but Del and F2 are the most common. Some systems use F10 or F12. Look for an on-screen prompt during the first startup screen rather than repeatedly pressing keys after Windows begins loading.
AMD motherboard settings
On AMD systems, the required option is commonly named AMD fTPM, AMD CPU fTPM, or Firmware TPM. It is usually located under a menu such as Advanced → AMD CBS, Trusted Computing, or Security. Set the firmware TPM option to Enabled.
Intel motherboard settings
On Intel systems, look for Intel PTT or Intel Platform Trust Technology. Motherboard vendors commonly place it under Advanced, Security, or PCH-FW Configuration. Set PTT to Enabled.
Save changes with the firmware’s Save & Exit command, often mapped to F10, and let Windows boot normally. Then open tpm.msc again. Do not move on until it reports that TPM is ready and the specification version is 2.0.
Switch from Legacy boot to UEFI when Secure Boot is unavailable
If Secure Boot is missing, greyed out, or remains off after enabling it, check the boot configuration in UEFI. Open the Boot or BIOS section and set Boot Mode to UEFI or UEFI Only. Disable CSM or Compatibility Support Module if it is enabled, save the change, reboot, and enter UEFI again. Secure Boot settings commonly become available only after CSM is off.
A Windows system disk using the older MBR partition format cannot use UEFI Secure Boot until it is converted to GPT. This is the point where a quick beta-access fix can become a system-maintenance job. Back up important files and make sure you have your BitLocker recovery key before changing boot mode, converting the system disk, or updating motherboard firmware. A GPT conversion or clean Windows installation may be necessary before the PC can meet Modern Warfare 4’s Secure Boot requirement.
Enable Secure Boot and restore the default keys
Once the system is in UEFI mode, return to the Boot or Security section of firmware settings. The labels vary, but the required configuration follows the same pattern:
- Set Secure Boot to Enabled.
- Set OS Type, if present, to Windows UEFI Mode or Windows UEFI.
- If the board shows no enrolled keys, use Install Default Secure Boot Keys, Load Factory Keys, or the equivalent vendor option.
- Save the firmware changes, then perform a full shutdown instead of an immediate restart.
Start the PC again and return to msinfo32. The final target is BIOS Mode: UEFI and Secure Boot State: On. Secure Boot can appear configured in firmware while Windows still reports it as off when default keys are missing, which is why the Windows check matters more than the menu toggle alone.
Fix “BIOS Firmware Update Required” and attestation failures
The BIOS Firmware Update Required message usually means RICOCHET cannot validate the motherboard’s current TPM or UEFI implementation. It is particularly relevant to older AMD boards using early fTPM firmware. Update to the latest BIOS or UEFI release supplied for your exact motherboard model, then check TPM 2.0 and Secure Boot again after Windows starts.
If an updated system still fails despite showing TPM 2.0 and Secure Boot as enabled, stale TPM provisioning can be the cause. The documented recovery pattern is to disable the firmware TPM, boot Windows once, return to firmware, re-enable TPM, and then verify the TPM status in Windows. Avoid clearing the TPM as a first troubleshooting step, especially on a BitLocker-protected PC, because that can require the recovery key before Windows will unlock the drive.
“TPM / Secure Boot Attestation Failed”
This message can come from several different mismatches. Check them in this order: TPM specification version, BIOS Mode, Secure Boot State, Secure Boot keys, then BIOS version. A local TPM check can pass while the game fails if the PC is still booting through Legacy/CSM mode or Secure Boot is enabled without valid default keys.
Dual-boot configurations with custom bootloaders, custom Secure Boot keys, virtual machines, and active hypervisors can also interfere with secure attestation. Modern Warfare 4 is designed around a bare-metal Windows installation with a trusted Windows boot chain. Restore the normal Windows UEFI boot path and default Secure Boot keys before treating the issue as a game-client problem.
What Modern Warfare 4 enforces more strictly
Modern Warfare III Season 4 established TPM 2.0 and Secure Boot as part of the wider RICOCHET security baseline for connected Call of Duty content. Modern Warfare 4 applies that baseline directly to PC beta access: there is no lower-stakes playlist to enter while the secure-attestation check is failing.
| RICOCHET requirement | Earlier connected-content enforcement | Modern Warfare 4 PC beta enforcement |
|---|---|---|
| TPM | TPM 2.0 became part of the RICOCHET security baseline. | TPM 2.0 is mandatory for online beta matchmaking. |
| Secure Boot | Used alongside TPM 2.0 to validate the boot chain. | Must be enabled in UEFI before online beta modes are available. |
| Failure result | Could restrict access to certain connected playlists or competitive modes. | Blocks access to every online beta match. |
Final check before launching the beta
- Run
tpm.mscand confirm The TPM is ready for use with Specification Version 2.0. - Run
msinfo32and confirm BIOS Mode: UEFI. - In the same System Information window, confirm Secure Boot State: On.
- Run the Call of Duty Secure Attestation Wizard again and clear every failed check.
- Fully shut down the PC once after firmware changes, then launch Modern Warfare 4 through Steam or Battle.net.
FinalBoss // Gear
Level up your setup
01Top-rated gaming headsetson Amazon→02High-refresh gaming monitorson Amazon→03Gaming chairson Amazon→04Discounted game keyson Kinguin→
Affiliate links · As an Amazon Associate, FinalBoss earns from qualifying purchases.
Want to Level Up Your Gaming?
Get access to exclusive strategies, hidden tips, and pro-level insights that we don't share publicly.
Ultimate Guide Strategy Guide + Weekly Pro Tips