
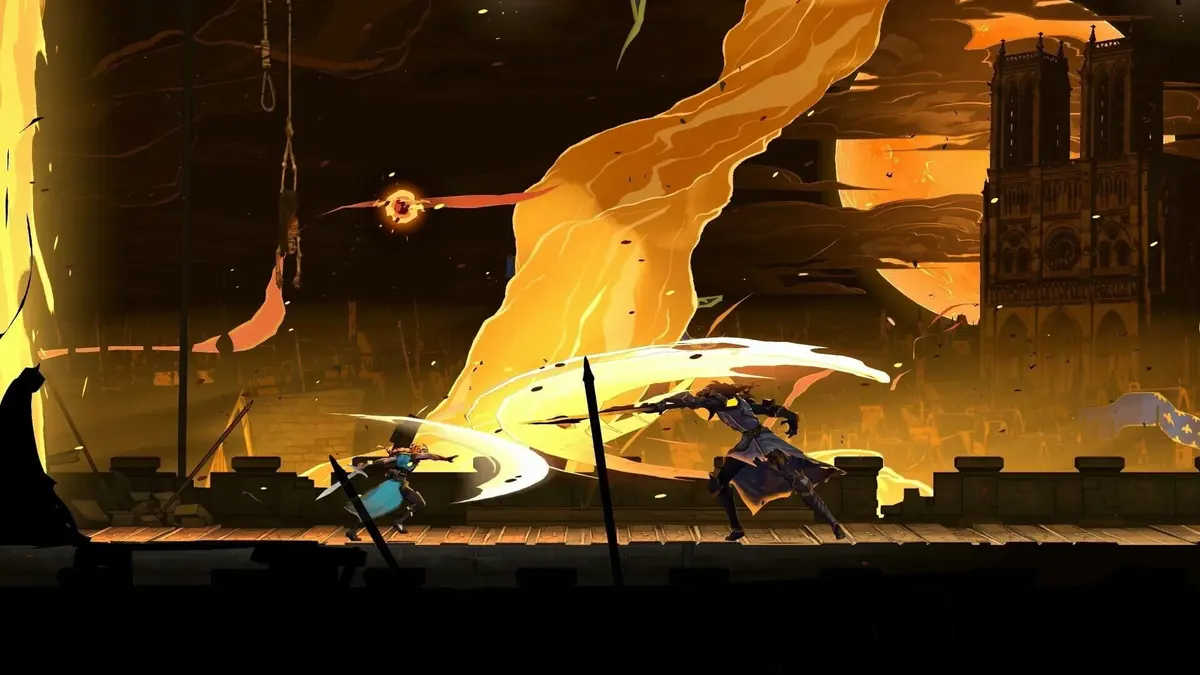
Meeting the Ferryman unlocks wharf travel and access to the Hall of Mirrors, although early mirror travel stays within the same regional level. For Mammon, swap out the three eye relics before the fight. Bring Blood Spikes, because its bleed keeps ticking while he is untouchable in gas form. Then choose Witch’s Knot for safety or Twilight Gem with Raven’s Feather for damage. Phase two demands faster laser reactions and attention to falling rocks.
To unlock fast travel in Castlevania: Belmont’s Curse, start at the respawn point after the initial Death encounter in the Catacombs of Paris and climb the Collapsed Path of Orpheus. Enter the glowing blue door at the top-right, speak to the Ferryman, and interact with his altar. Meet him before you try to enter the Hall of Mirrors. Crouching at a Mirror of Life before then will not activate mirror travel.
Table of Contents (7)
Use Ferryman’s Wharfs to travel between major regions
The Ferryman’s network handles long-distance travel between major areas. He keeps a harbor in each of them. That first meeting automatically gives you access to the Paris streets and Holy Innocent Cemetery. While exploring, look for blue doors and the blue-lantern icon on the map. Both mark wharfs.
Every later wharf works the same way as the first: use the altar and pick a destination. A dock only joins the network once you have found it, so reaching a new region does not automatically unlock every wharf within it. Use the boat whenever your destination lies outside your current region, especially while the Hall of Mirrors still restricts travel between floors.
How to enter and use the Hall of Mirrors
Mirrors of Life serve as save, healing, and respawn points. Once you have met the Ferryman, they also open the Hall of Mirrors. You get in by crouching and waiting, not through a separate travel command.
- Stand in front of an activated Mirror of Life. Use a mirror you have already reached during exploration.
- Crouch for several seconds. Stay in position until Rose enters the Hall of Mirrors.
- Read the destination descriptions inside the hall. Each destination mirror corresponds to a previously visited save room.
- Crouch at the destination mirror. This sends Rose to the selected room.
Early mirror travel stays within the biome or regional level you just left. Only Mirrors of Life you have already visited can be destinations. The hall works well for returning to explored routes. It cannot take you to an undiscovered save room, and early on it cannot carry you between castle floors.
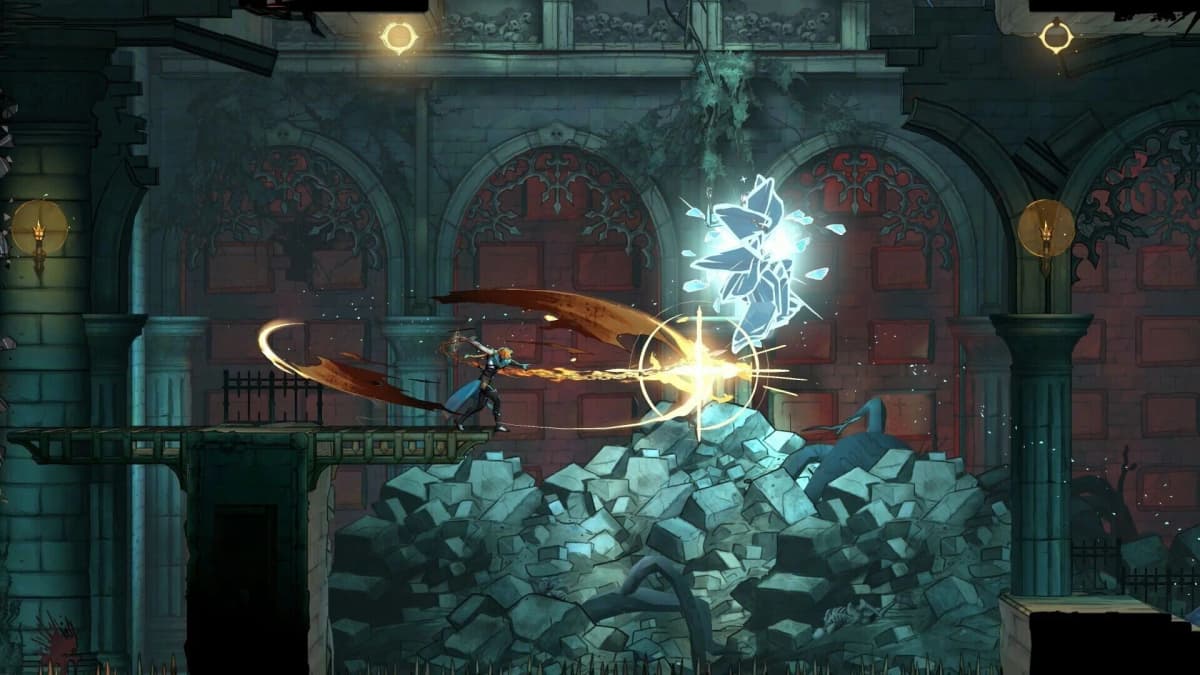
Cross-region mirror travel opens later through progression involving Eleanor of Aquitaine and mirror gauntlets. Until then, use the Ferryman for journeys beyond the current regional level.
Why a mirror warp is not working
- Nothing happens when you crouch: you have not completed the Ferryman encounter yet, or you are not directly in front of an activated mirror. Wait the full several seconds.
- A save room is missing from the destinations: you must have visited its Mirror of Life. Knowing where the room is does not add it to the network.
- A visited mirror on another floor is unavailable: the early regional restriction is still active. Take a discovered wharf instead.
- A wharf is missing from boat travel: find that dock during exploration before trying to select it from another wharf.
Swap the eye relics out before Mammon’s Lair
The Thrilling Eye, Trembling Eye, and Oozing Eye exist only to open the flesh door. They are keys, not boss gear. Once the door is open, replace them with combat relics before you walk into Mammon’s Lair.
Your relic choice depends on what is ending your attempts:
- Witch’s Knot (safe setup): potions restore 100% health. Take it for first attempts, or whenever running out of healing is what kills you. It turns every potion into a full reset, which buys room to learn the phase-two timing.
- Twilight Gem + Raven’s Feather (aggressive setup): Twilight Gem grants 30% increased damage for three seconds after you cast a spell. Raven’s Feather increases aerial damage by 25%. Mammon hovers when he is vulnerable, so cast Blood Spikes right before a punish window to start the Twilight Gem buff. Then hit him in the air during those three seconds.
Blood Spikes is the core of the Mammon loadout
Blood Spikes, the Arcana you get from defeating Carmilla, is the main answer to Mammon’s gas form. He cannot be hit directly while gaseous, but bleed damage keeps ticking through it, and he bleeds for roughly eight seconds. Recasting Blood Spikes on a target that is already bleeding also deals immediate damage, so refreshing it is never wasted. Equip it through the Arcana tab and budget your MP around it. Arcana are the tarot-card subweapons, and every cast costs MP.
Choose your weapon in the Armoury before entering the fight, because weapons cannot be swapped mid-combat. The Whip suits a spacing-focused approach if you hit with its tip, since close-range strikes deal about half damage. It can also aim combos diagonally, which helps against a hovering boss. The Lance offers exceptional reach and a charged projectile that travels across the screen. That gives you a way to attack without closing the gap.
Two defensive mechanics matter here. The slide has no invincibility frames, so it has to move Rose clear of an attack. It will not carry her safely through one. Parry is mapped to the left trigger by default and works independently of regular attacks, so you can attack and parry at the same time. Mammon’s ricochet attack can be parried with holy light.
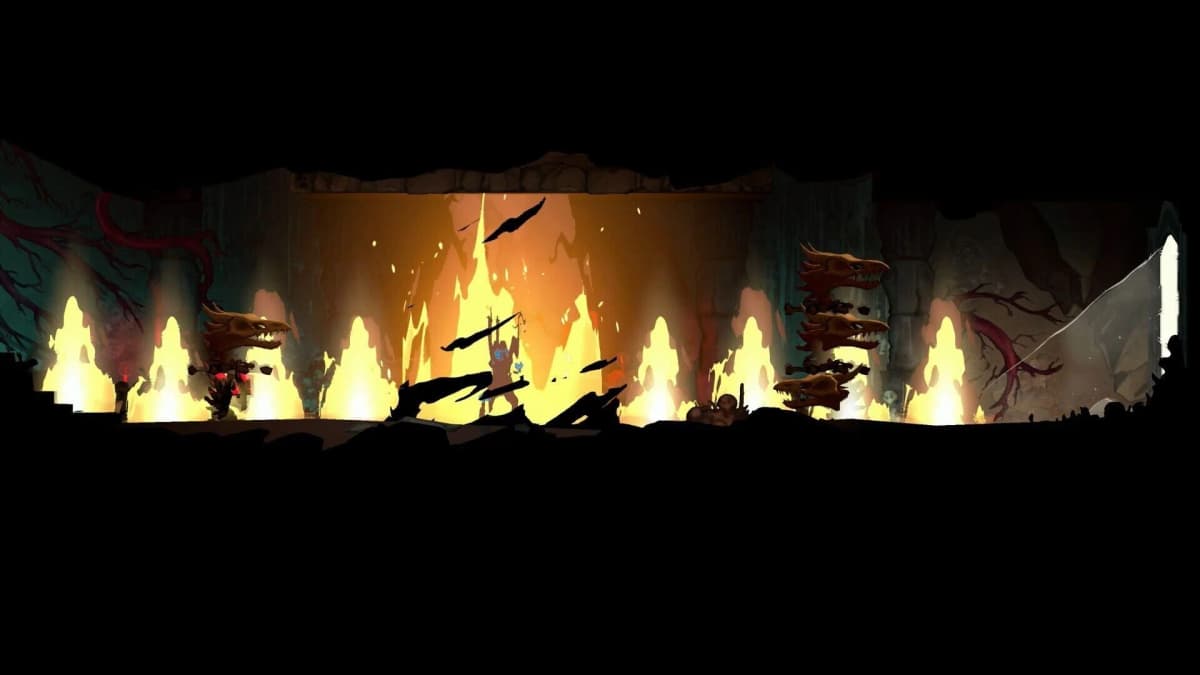
Mammon phase one: let the bleed cover the nine-second gas form
Mammon’s gaseous state lasts approximately nine seconds in phase one. If he reaches Rose during it, she becomes immobilized. He cannot be hit in this form anyway, so stop attacking as soon as he turns to gas and spend the whole window keeping separation.
- Apply Blood Spikes during a safe opening before he goes gaseous. The roughly eight-second bleed covers almost the entire nine-second gas form. That way you deal damage during a window when your weapon does nothing.
- Use aerial attacks when he hovers. This is when Raven’s Feather pays off, and Twilight Gem too if you cast just before.
- Recast Blood Spikes on the bleeding boss when you have MP to spare. The refresh deals immediate damage and restarts the timer.
- Learn the lasers and the ricochet here. Step out of laser paths instead of sliding through them. Meet the ricochet with the holy-light parry. Because the parry input is independent, you do not need to finish your attack first.
Mammon phase two: double-speed lasers, six-second gas, falling rocks
Phase two changes the timing of familiar threats. The lasers fire twice as fast, the gaseous state shortens to approximately six seconds, and rocks fall during the ricochet attack.
- Keep the bleed running before he turns untouchable. The eight-second bleed now outlasts the six-second gas form. A Blood Spikes cast right before the transition covers the whole window.
- Still separate during gas form. The shorter duration does not remove the immobilization on contact. Use the ceiling rings to get above or around his floor charges instead of trying to outrun them on the ground.
- Shorten your punishes around the lasers. At double the firing rate, a phase-one combo leaves you standing in the next beam. Take one short aerial string when he returns to his vulnerable hovering state, then move.
- Treat the ricochet as two hazards. The holy-light parry still handles the ricochet itself. The falling rocks need their own movement response.
With the aggressive setup, save the Blood Spikes cast that starts Twilight Gem for the moment Mammon settles into a hover. Do not burn it while you are dodging lasers or escaping gas form. With Witch’s Knot, drink as soon as a mistake costs real health. Each potion is a full refill, so there is no reason to wait until you are nearly dead.
During the phase-two ricochet, a successful parry is not permission to resume a full combo. Clear the falling-rock paths first, then commit to your next attack.
FinalBoss // Gear
Level up your setup
01Top-rated gaming headsetson Amazon→02High-refresh gaming monitorson Amazon→03Gaming chairson Amazon→04Discounted game keyson Kinguin→Affiliate links · As an Amazon Associate, FinalBoss earns from qualifying purchases.
Want to Level Up Your Gaming?
Get access to exclusive strategies, hidden tips, and pro-level insights that we don't share publicly.
Ultimate Guide Strategy Guide + Weekly Pro Tips