
Visages is one of Clair Obscur: Expedition 33‘s major Act II destinations and a mandatory Axon region on the route to the Monolith. The area looks open at first, but its progression is built around a clean requirement: clear the three Vales, defeat the three floating mask figures, then take the Peaks route to the Visages boss and the Mask Keeper sequence.
The important part is treating the Plazza as your base camp. Each Vale branches from this central hub, and returning there between encounters makes it far easier to track which route remains, restore your setup, and avoid entering the final stretch with an unprepared party.
Table of Contents (11)
How to Reach Visages
Visages becomes accessible after completing the Old Lumière events and unlocking Esquie’s ability to swim through coral reefs. From Old Lumière, swim north until you reach an island marked by red foliage and enormous floating masks. Those masks are the clearest visual landmark that you have found the right Act II destination.
Warning: Visages can be missed when navigating manually because the route does not depend on a conventional quest-arrow path. If the island ahead lacks the red vegetation and hovering masks, keep searching north rather than trying to force a landing elsewhere.
Use the Plazza as Your Visages Checkpoint
The Plazza is the central navigation point inside Visages. It connects the three Vale routes and eventually leads toward the Peaks, so it should be your reset point after each face-themed encounter. Before leaving it, check which visual route you have already completed and which one still needs clearing.
- Return to the Plazza after a Vale boss if you need to heal, change equipment, level up, or reorganize consumables.
- Use the colour of the nearby lighting to confirm whether you are moving toward Joy or Sadness.
- Check the far-right side carefully for Anger Vale’s descending handholds.
- Do not commit to the Peaks until all three floating head encounters are defeated.
This hub-and-spoke structure matters because the Vales can be cleared in any order. There is no need to force a difficult encounter first. Clear the route that feels most comfortable for your party, collect its resources, return to the Plazza, and use that breathing room before taking on the next mask figure.
All Visages Vale Locations
Visages has three core subareas: Joyful Vale, Sadness Vale, and Anger Vale. The terrain and lighting give each route a useful identity, particularly when you are backtracking from the Plazza.
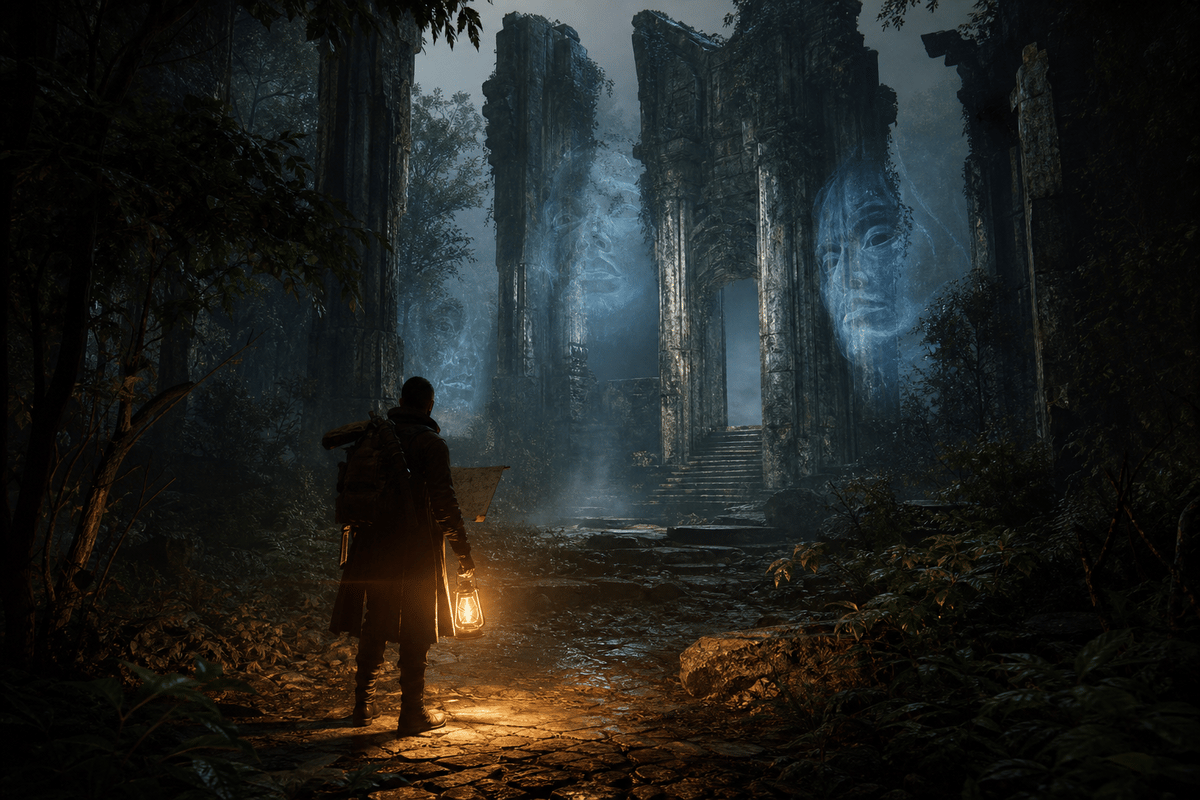
| Vale | Route from the Plazza | Visual Check | Key Navigation Risk |
|---|---|---|---|
| Joy Vale / Joyful Vale | Take the leftmost path. | Green lighting grows more prominent as you approach. | Confusing it with the nearby Sadness branch. |
| Sadness Vale | Use the second leftward branch near the Joy route. | Blue illumination marks the direction ahead. | Backtracking into Joy Vale instead of following the blue glow. |
| Anger Vale | Move to the far-right side of the Plazza. | Look down for the descending handholds. | Missing the vertical route by following the obvious forward path. |
Joy Vale / Joyful Vale
Joy Vale is the leftmost Visages route. The green lighting is the reliable directional cue, especially if you have returned to the Plazza after clearing another branch. Follow the green-lit route to reach one of the required mask encounters that weakens the region’s boss structure.
The left-side layout can make Joy and Sadness feel closer together than they are. Keep green as your check for Joy; blue means you have started drifting toward Sadness Vale instead.
Sadness Vale
Sadness Vale sits on another leftward branch near the Joy route. Its blue glow is the simplest way to verify that you are headed correctly. Like the other Vales, this route contains one of the three mandatory face encounters needed before the final boss path opens properly.
If your team needs a stability break before the Peaks, use the return trip from Sadness Vale to manage supplies and equipment at the Plazza. The final run comes immediately after the Vale checklist, so this is a better time to make adjustments than after you have already reached the Peak flag.
Anger Vale
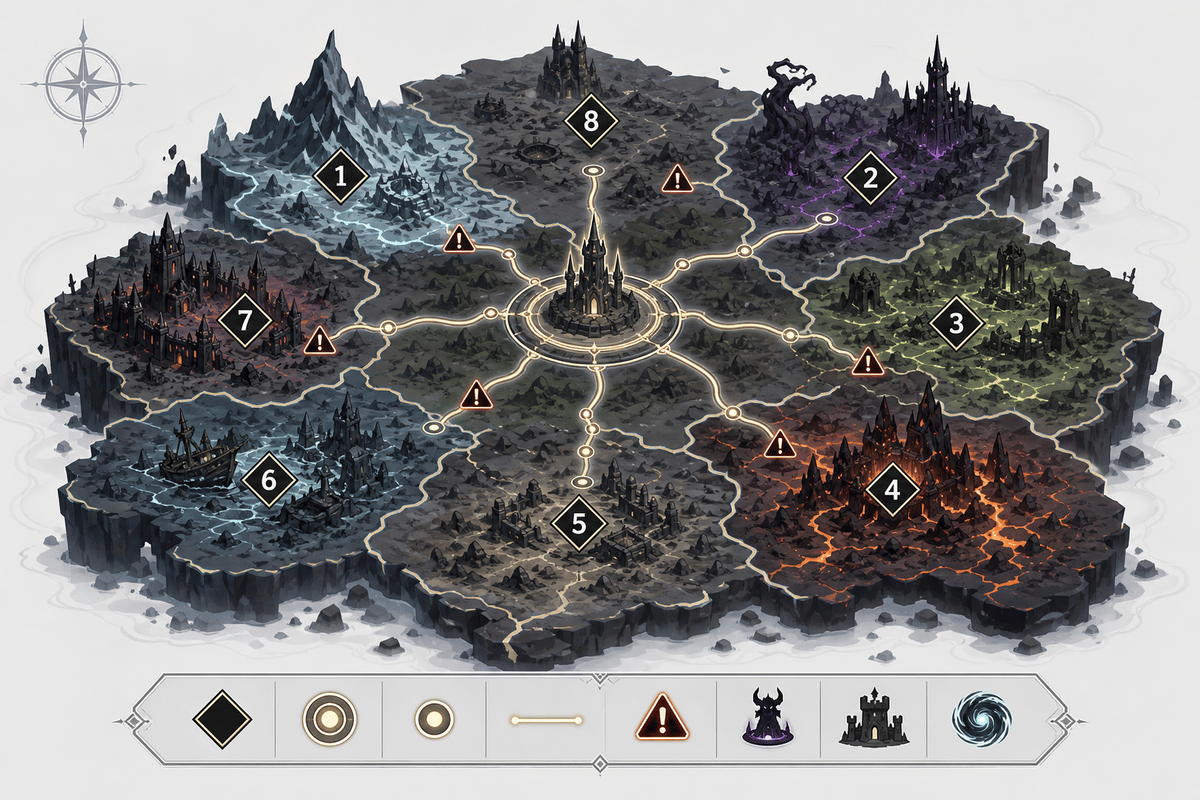
Anger Vale is the route most likely to be overlooked. From the Plazza, move all the way right and look for handholds descending below the main level. The path’s vertical start can be hidden by the camera angle, and it is easy to walk past it while searching for a standard doorway or ground-level trail.
Take the descent carefully. A missed platforming read costs time and can send you back to the hub to reorient. Once you are on the lower route, continue as you would in the other Vales and clear its required floating head encounter.
Defeat the Three Mask Figures Before the Peaks
The heart of Visages is its three floating head battles: Jovial Moissonneuse, Seething Boucheclier, and Sorrowful Chapelier. These encounters are part of the area’s progression requirement rather than optional detours. Each victory weakens the main guardian and moves you toward the final confrontation.
- Defeat all three floating mask figures.
- Use the Plazza between fights to identify the remaining Vale.
- Pick up useful items and upgrade materials during each route.
- Save your stronger consumables for the final Visages and Mask Keeper stretch.
- Only move on to the Peaks after the full three-boss checklist is complete.
Because the three fights can be handled in any order, there is no universal “correct” Vale to open with. A practical approach is to take the route whose enemy and terrain feel least disruptive to your current party, then use the rewards and pickups from that clear to make the remaining two fights cleaner.
How to Reach the Peaks and Visages Boss
After the three mask figures are down, return to the central route and head for the Peaks. Blooraga marks the beginning of the final approach, making the merchant a useful sign that you are close to the boss section. Continue forward from Blooraga toward the arch and the route beyond it.

The final path runs through an arch, past the Fading Man interaction, across platforms, up the stairs, and then upward to the top of the area. The Peak expedition flag is the last clear checkpoint before the Visages boss encounter. Use it as your final setup point rather than rushing through with leftover damage or an unfinished loadout.
Practical warning: The Peaks are a final traversal segment, not another Vale. If the boss route feels unavailable, return to the Plazza and verify that all three floating heads have been defeated instead of searching for a hidden alternate exit.
How to Beat Visages and Prepare for the Mask Keeper
Visages is weak to Fire and Dark damage. Build around those two elements before leaving the Peak flag: bring your strongest available Fire and Dark damage options, then prioritize skills and loadouts that can apply those weaknesses consistently. Shortening the fight reduces the number of turns where a single missed dodge, parry, or poorly timed recovery can derail the attempt.
- Equip at least one strong Fire damage option for the Visages fight.
- Bring Dark damage as a second weakness exploit rather than relying on neutral attacks alone.
- Enter the Peaks with healing and consumables managed from the Plazza.
- Use the Peak flag before triggering the final encounter.
- Keep resources available for the Mask Keeper follow-up after the Visages battle.
The Mask Keeper is the payoff for clearing the Visages structure, so avoid spending every major recovery resource on the earlier mask encounters. The region tests route management as much as combat preparation: a party that arrives at the Peaks with its elements equipped and its supplies intact has a far smoother run than one trying to improvise after the boss route begins.
Common Visages Mistakes
- Searching for Visages before coral swimming is unlocked: finish Old Lumière first, then use Esquie’s coral-swimming ability to travel north.
- Landing on the wrong island: look for red foliage and floating masks before entering.
- Forgetting Anger Vale: the route is below the Plazza’s right side, accessed through descending handholds.
- Mixing up Joy and Sadness: green lighting points to Joy; blue lighting points to Sadness.
- Going to the Peaks early: clear all three floating head encounters before treating the final path as available.
- Entering the boss run with neutral damage only: prepare Fire and Dark tools before the Peak flag.
The Cleanest Way Through Visages
Visages becomes manageable once you reduce it to its actual loop: reach the Plazza, clear Joy, Sadness, and Anger in the order that suits your party, return to the hub to reset between routes, then go through Blooraga and the Peaks after all three mask figures are defeated. Keep Fire and Dark damage ready for Visages, preserve supplies for the Mask Keeper sequence, and use the Peak flag as the final point to confirm your build before the fight.
FinalBoss // Gear
Level up your setup
01Top-rated gaming headsetson Amazon→02High-refresh gaming monitorson Amazon→03Gaming chairson Amazon→04Discounted game keyson Kinguin→
Affiliate links · As an Amazon Associate, FinalBoss earns from qualifying purchases.
Want to Level Up Your Gaming?
Get access to exclusive strategies, hidden tips, and pro-level insights that we don't share publicly.
Ultimate Guide Strategy Guide + Weekly Pro Tips