
The Reacher is an optional Act 3 area in Clair Obscur: Expedition 33. To enter it, unlock Esquie’s flight, progress Maelle’s camp relationship conversation, then fly to the northwestern coast west of Visages. The climb ends with Alicia, so bring a party that can create Break windows, survive status pressure, and preserve its strongest defensive tools for the final fight.
Table of Contents (11)
How to Unlock The Reacher
The common trap is treating The Reacher as a location you can reach early by exploring harder. It is gated by both late-game traversal and Maelle’s relationship progression. Reaching the coast without completing those requirements will not open the area.
- Advance the main story until Esquie can fly.
- Return to Camp and speak with Maelle until her relationship dialogue triggers the cutscene connected to The Reacher.
- The relevant camp event occurs before Maelle reaches Relationship Level 6.
- Fly to the northwestern coastline west of Visages and enter The Reacher from the Continent.
Handle Maelle’s camp conversations before making a long detour around the Continent. The Reacher is tied to her progression, so flight alone is not enough.
What to Bring Before Starting the Climb
The Reacher is a long vertical side dungeon with regular combat, several detours, and more than one boss encounter. There is no strict level requirement, but it is built for a mature late-game party with upgraded weapons and a plan for both Break pressure and recovery.
- Reliable Break pressure: bring at least one character who can consistently build Break or punish shielded enemies. The final encounter becomes much safer when the party can force a damage window instead of trading blows for multiple turns.
- Healing or cleanse support: equip a way to recover from Blight or other status pressure if your party is vulnerable. Anti-Blight, Draining Cleanse, Protecting Heal, and Healing Boon are useful types of Pictos for this area.
- Defensive resources: keep Shell, counters, and other protective options available for Alicia. Avoid spending every important cooldown during routine fights on the ascent.
- Completionist readiness: prepare for optional encounters rather than entering with a boss-only mindset. The route includes a Mime, a Pétank, and the optional Chromatic Braseleur.
Longer Shell, Charging Counter, Protecting Tint, Exposing Break, and Charging Weakness all fit the zone’s combat demands. The goal is to stay stable through enemy pressure, then turn a counter or Break window into a decisive burst phase.
The Reacher Main Route
The critical path is mostly upward. The Reacher uses wooden bridges, ropes, handholds, ladders, moving saw-blade paths, and hot-air balloons to make its vertical layout easy to misread. When the route feels like it has stopped, look for a climb point, grapple point, rope, or breakable obstacle rather than searching for a conventional ground-level exit.
Reach the First Expedition Flag
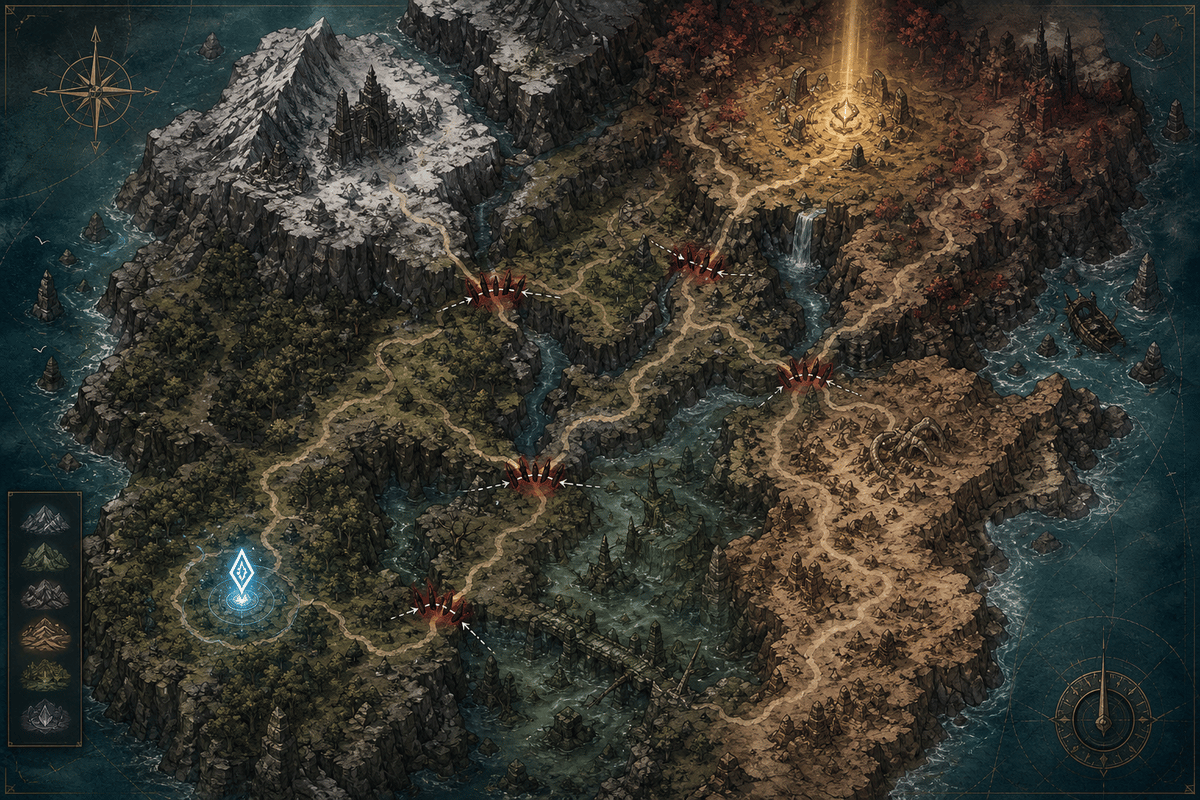
From the entrance, cross the wooden plank bridge and continue upward to the first Expedition Flag. A cutscene plays here, making this the natural point to review weapons, Pictos, Lumina choices, and healing stock before committing to the deeper climb.
Grapple to the Tower and Keep Climbing
After the cutscene, grapple to the tower ahead. From there, follow the handholds and ropes upward. The intended route regularly sends you vertically through the structure, so avoid dropping down just because a side platform looks reachable; several lower-looking paths are detours or collectible branches.
Break the Paint Spike
A Paint Spike blocks part of the onward route. Break it to reveal the next rope upward. This is one of The Reacher’s key progression checks: destructible objects can open both the route forward and reward paths, so inspect the climb whenever a section appears to end abruptly.
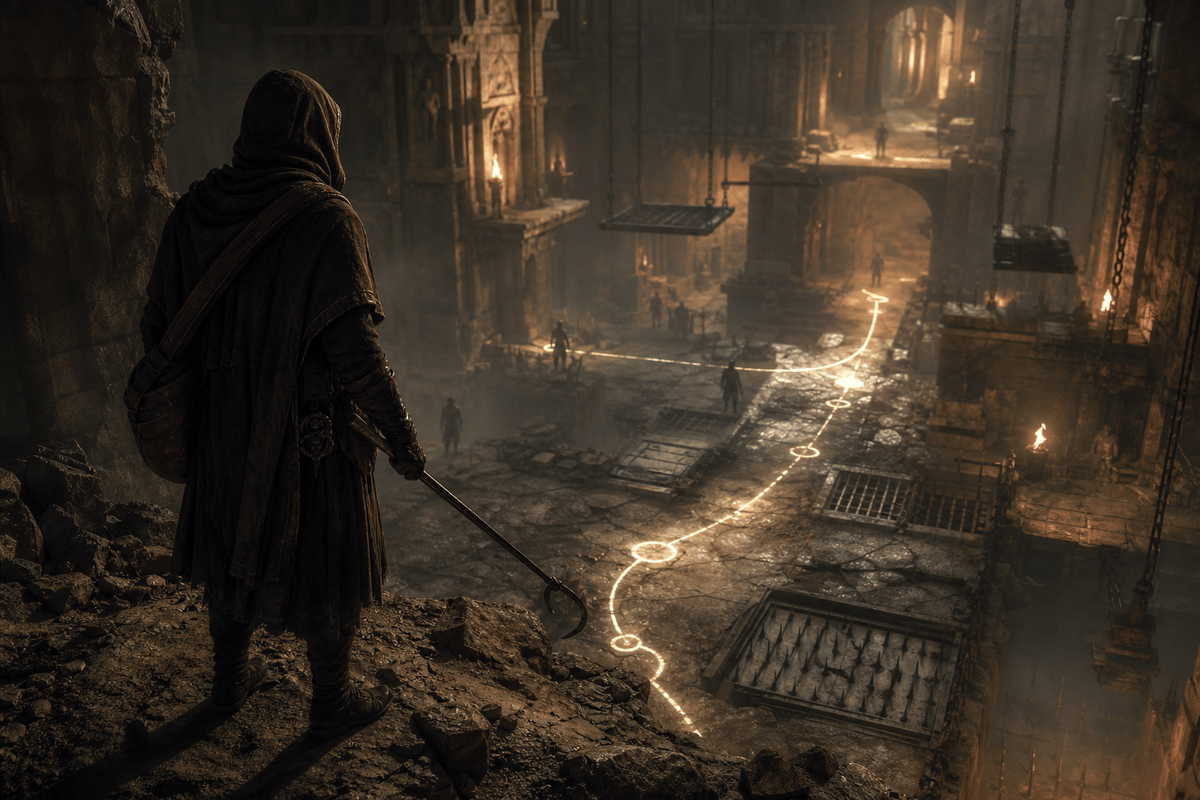
Continue prioritizing Expedition Flags and the upward route until you are ready to sweep side content. Players entering only for Alicia can reach the end more efficiently by delaying optional branches. Players aiming for full completion should clear branches methodically before advancing too far, since the area contains several separate encounter and collectible paths.
Optional Encounters and Collectibles
The Reacher has enough side content to justify a full exploration run. Its major rewards include Pictos, Chroma, Colour of Lumina, journals, weapons, an outfit, and access to a Gestral Merchant. Two Journals and one Outfit are guaranteed major collectible targets within the area.
- Mime 14: defeat it to obtain the Baguette outfit for Maelle.
- Pétank 12: an optional encounter needed for a more complete clear.
- Chromatic Braseleur: the harder optional boss encounter for players who want the extra challenge and associated rewards.
- Gestral Merchant: an important stop for rare purchases, including the Anti-Blight Picto.
Do the optional fights before Alicia only if the party is still healthy on resources. The Reacher’s side content is worthwhile, but draining all of your recovery items and defensive options before the main boss makes the final stretch harder than it needs to be.
How to Beat Alicia
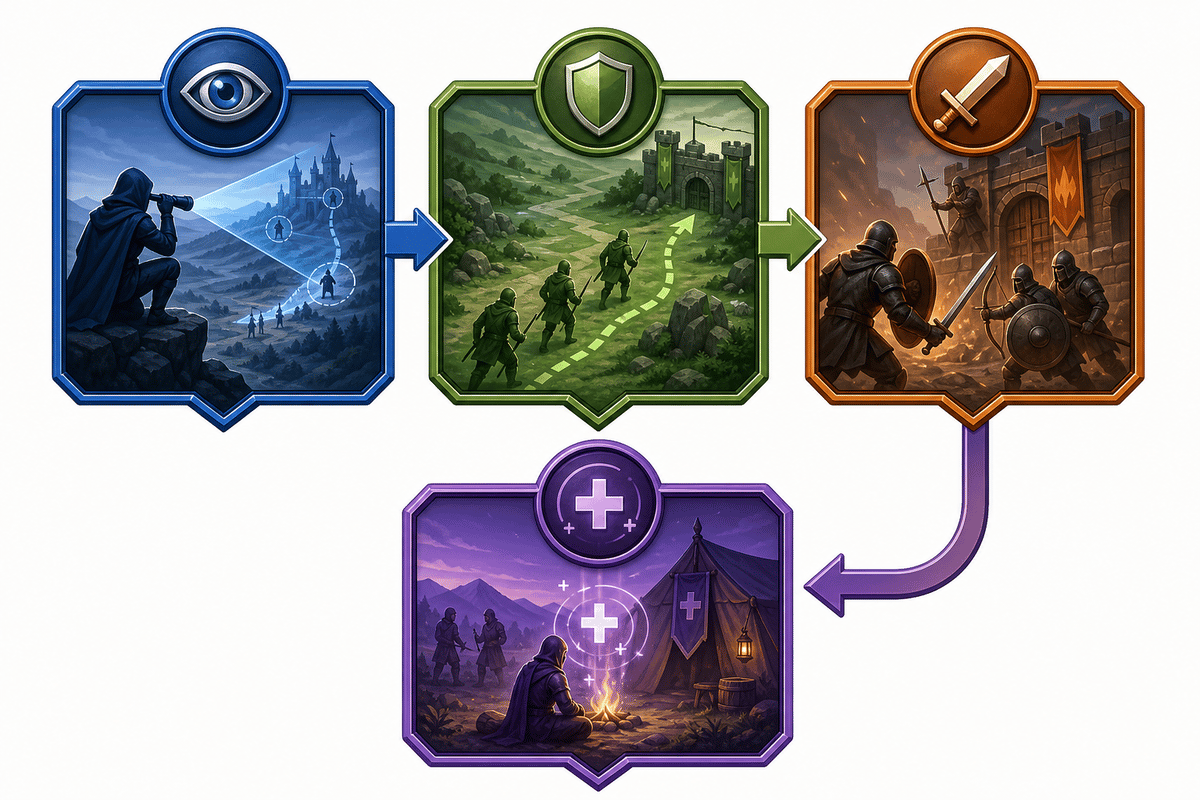
Alicia is the primary boss at the end of The Reacher. The cleanest approach is to play for survival and Break rather than trying to force a quick damage race. Enter the battle with status protection or cleansing available, hold counters and Shell effects for dangerous turns, and spend burst damage when Alicia is exposed after a major attack or Break window.
Prioritize Break Windows
Bring a character whose attacks reliably contribute to Break or punish shields. Breaking Alicia gives the party a controlled opening to heal, refresh defenses, or unload its strongest attacks. That stability matters more than small damage gains from a purely offensive setup.
Keep Cleanse and Healing Available
Status pressure can turn a manageable fight into a recovery spiral. A cleanse or anti-status setup prevents the party from losing turns at the moment it needs to defend or capitalize on a Break. If the group is already sturdy against Blight, use that slot for extra defensive duration, counter value, or Break support instead.
Save Counters and Shell for the Boss
Counter-oriented and Shell-based tools are more valuable against Alicia than against ordinary enemies on the climb. Use regular encounters to preserve resources where possible, then enter the boss with defensive coverage ready for the turns where the party cannot safely attack.
If Alicia overwhelms the party, return to the Expedition Flag and revise the setup instead of repeatedly forcing the same attempt. Add status protection, improve Break consistency, and keep one reliable healing answer available. The Reacher is optional, so its boss is best handled with a complete late-game setup rather than rushed immediately after unlocking flight.
FinalBoss // Gear
Level up your setup
01Top-rated gaming headsetson Amazon→02High-refresh gaming monitorson Amazon→03Gaming chairson Amazon→04Discounted game keyson Kinguin→
Affiliate links · As an Amazon Associate, FinalBoss earns from qualifying purchases.
Want to Level Up Your Gaming?
Get access to exclusive strategies, hidden tips, and pro-level insights that we don't share publicly.
Ultimate Guide Strategy Guide + Weekly Pro Tips