
Monoco is Clair Obscur: Expedition 33’s playable Gestral mimic character. He learns combat abilities from specific Nevrons, then uses the Bestial Wheel’s current Mask to strengthen those copied skills. His best turns come from planning around the wheel instead of spending AP on whichever attack has the biggest number.
Light character spoiler: Monoco joins Expedition 33 as an older Gestral scholar-warrior who enjoys combat for its own sake. This guide covers his party role and mechanics without discussing later story events.
Table of Contents (8)
Who Monoco Is and Why His Kit Is Different
Monoco is built as a flexible toolbox character rather than a party member with a fixed skill list. His abilities come from enemies, so his available options expand as you find and defeat the Nevrons connected to his learning mechanic. That makes his build depend on exploration and encounter choices as much as level growth or weapon upgrades.
He can contribute damage, Break pressure, shields, AP support, Rush effects, and other utility depending on the skills you have unlocked. The tradeoff is that Monoco demands more attention than a straightforward attacker. A strong move used under the wrong Mask can be far less valuable than a cheaper utility skill used at the correct point in the Bestial Wheel rotation.
How Monoco Learns New Skills
Monoco learns abilities by defeating certain Nevrons marked with the special skill icon. Winning that encounter gives him the associated “foot,” which unlocks the corresponding copied enemy skill for his kit.
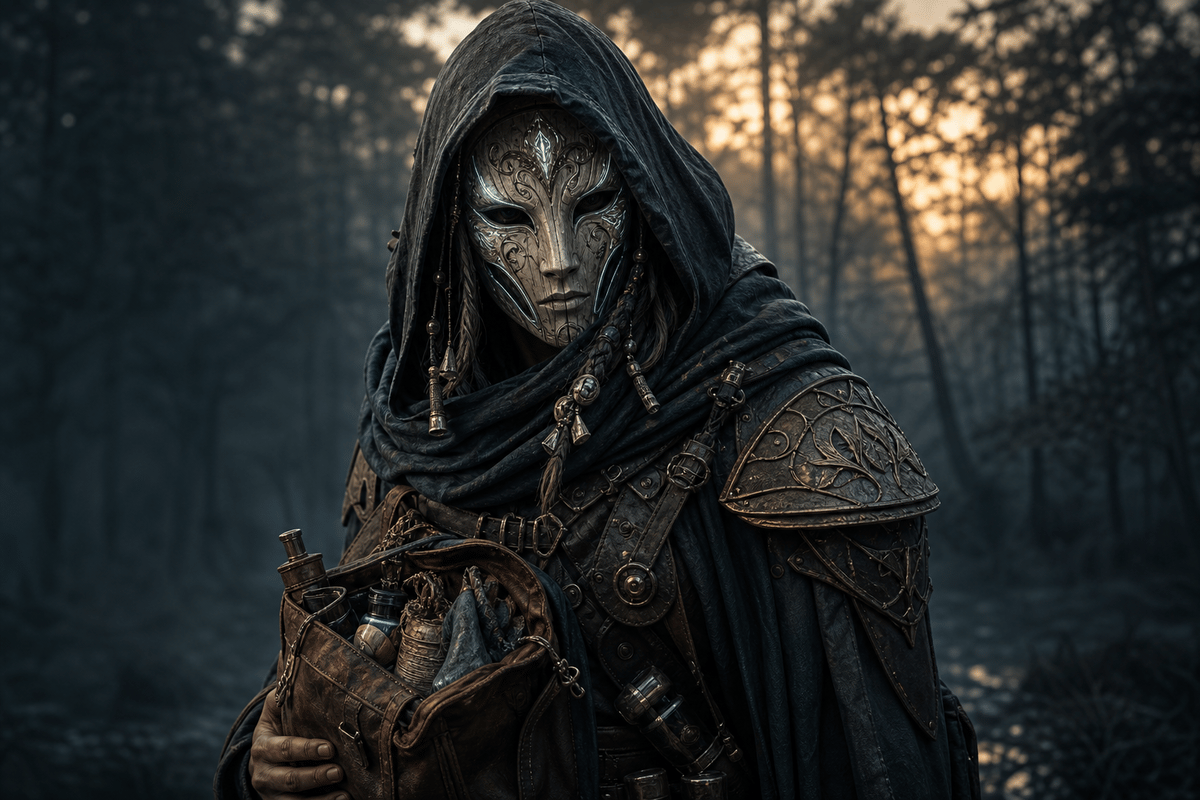
- Pay attention to Nevrons carrying Monoco’s special icon instead of treating every encounter as interchangeable.
- Defeat those enemies to acquire their foot and add a new skill to Monoco’s pool.
- Review the new skill’s AP cost, combat role, and Mask interaction before equipping it.
- Keep a compact loadout of four to six skills that cover distinct jobs for the current area or boss.
The usual trap is equipping too many attacks that all solve the same problem. A party does not need Monoco to carry six damage buttons if a single-target burst skill, a Break option, an AP-efficient move, and a defensive or tempo tool would cover more situations.
How the Bestial Wheel and Masks Work
The Bestial Wheel rotates as Monoco acts. Its active Mask changes how his abilities perform, with five Mask states rewarding different kinds of plays. Monoco also has an Almighty state, which applies a skill’s Mask-linked effects without requiring its usual Mask condition.
Think one turn ahead. Before committing AP, check the active Mask and the Mask Monoco is likely to reach next. Then choose whether the current turn should cash in a bonus immediately or advance the wheel toward a stronger follow-up. This is the core of his rotation.

The Practical Monoco Turn Cycle
- Check the Bestial Wheel before selecting a skill.
- Identify whether the current Mask benefits damage, Break, protection, AP economy, or another useful effect in your equipped kit.
- Spend AP on a skill that receives that bonus when possible.
- Use a low-cost or utility action when the wheel is between favorable states.
- Save high-cost burst skills for their matching Mask or Almighty whenever the fight allows it.
Do not hold every powerful skill indefinitely while waiting for the perfect Mask. If an enemy is about to act, a shield, Break push, or AP-support move can be the correct play even without its ideal enhancement. The wheel is a value engine, not a reason to ignore an immediate threat.
Best Monoco Build Direction
The most reliable approach is a mask-synergy utility attacker build. Monoco is strongest when he has a clear job in the party and uses his copied skills at the right wheel state, rather than trying to become the team’s only source of raw damage.
| Build direction | What to prioritize | Best use case | Main limitation |
|---|---|---|---|
| Utility and tempo | Speed or Agility-style investment, AP-efficient skills, shields, Rush, and support effects | Teams that need smoother turn economy and more control over dangerous fights | Lower immediate burst if the rest of the party also lacks damage |
| Burst and Break | Attack-focused investment, single-target damage, and Break-oriented copied skills | Boss fights with clear damage windows or enemies that need to be staggered quickly | Requires better AP management and stronger Mask timing |
| Critical-focused damage | Critical support only when equipment and chosen skills reward repeated high-value hits | Established builds with a reliable offensive rotation already in place | Can waste value if Monoco’s skill set is more utility-focused |
| Defense-heavy setup | Extra durability and protective stats | Specific survival problems that the rest of the party cannot solve | Usually gives up the proactive speed, damage, or utility that makes Monoco valuable |
Speed or Agility-style investment is especially useful because more frequent turns mean more wheel movement and more opportunities to line up the right Mask. Attack is the better focus when your unlocked set already contains strong damage and Break tools. Defense is usually a secondary concern: Monoco’s kit gets more value from acting proactively than from absorbing hits.
Skills Worth Keeping in Monoco’s Core Loadout
Exact choices change as you unlock more Nevron skills, but a practical Monoco setup should include different categories rather than duplicate effects.
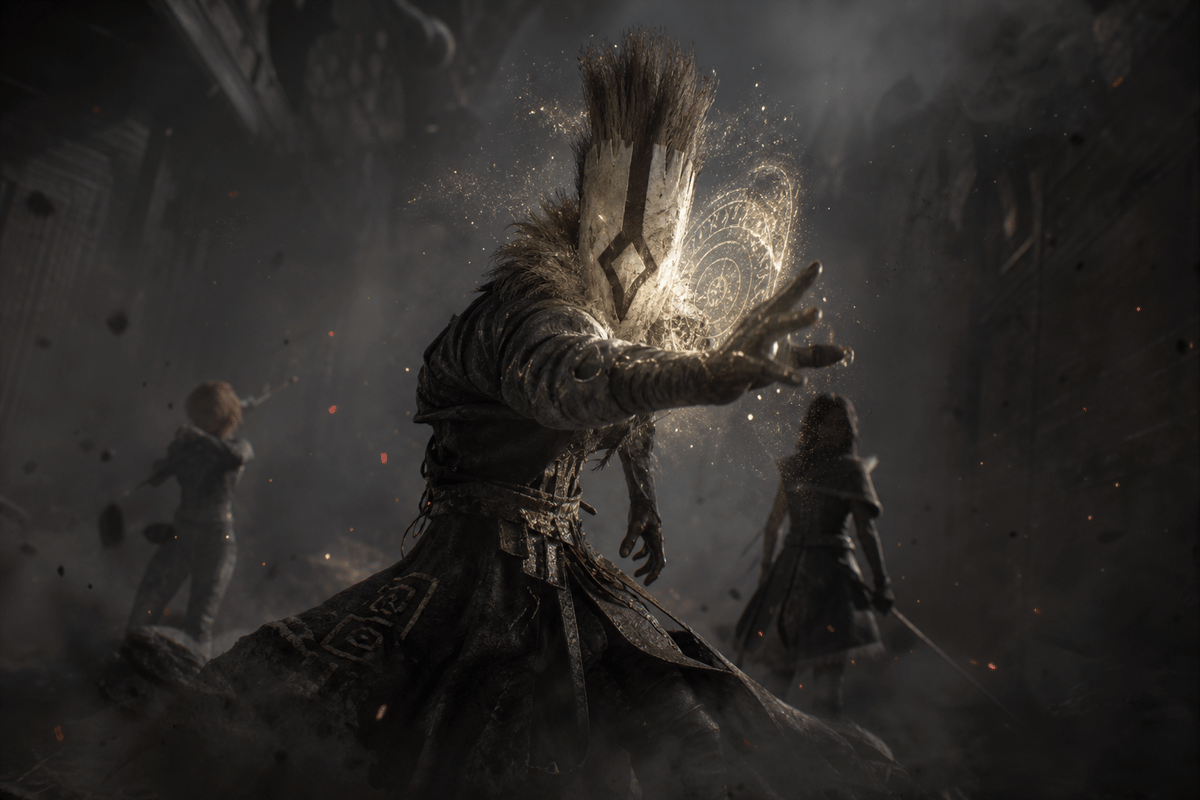
- Single-target damage: Keep one reliable burst option for boss phases and priority targets.
- Break pressure: Carry a move that helps force stagger windows when the party needs a safer opening.
- Shield or mitigation: Use one defensive answer for fights that pressure fragile allies or punish missed defensive actions.
- AP-positive or AP-efficient skill: This keeps Monoco useful on turns when your expensive moves do not match the wheel.
- Rush or tempo tool: A turn-economy option helps Monoco reach better wheel states and supports the team’s momentum.
For most encounters, build Monoco around one of two packages: utility plus tempo or burst plus Break. Splitting every category evenly can leave him with too little AP for the turns that matter. Let the other party members cover the role Monoco is leaving open.
Common Monoco Mistakes
- Ignoring special Nevrons: Monoco’s growth is tied to defeating skill-bearing enemies. Missing them limits his options later.
- Looking only at damage values: A copied skill’s Mask bonus, AP cost, and utility can matter more than its base damage.
- Spending AP into a bad Mask state: Use expensive moves when their Mask effect is active, unless the fight demands an immediate answer.
- Trying to make him a tank: Defensive investment can help in a narrow situation, but it usually weakens the turn frequency and setup value that define his kit.
- Equipping too many situational moves: A smaller kit with clear answers is easier to rotate and makes the Bestial Wheel easier to read.
When Monoco Is at His Best
Monoco shines in longer encounters where the Bestial Wheel has time to create favorable rotations and where a flexible skill pool can answer changing threats. He is especially valuable when a boss needs both Break pressure and controlled burst, or when the party needs a shield or AP tool without replacing its main damage dealer.
His ceiling comes from making the wheel, his copied skills, and the rest of the team work together. Track the Mask, use the matching skill category, and keep his equipped loadout focused on the role the fight actually requires.
FinalBoss // Gear
Level up your setup
01Top-rated gaming headsetson Amazon→02High-refresh gaming monitorson Amazon→03Gaming chairson Amazon→04Discounted game keyson Kinguin→
Affiliate links · As an Amazon Associate, FinalBoss earns from qualifying purchases.
Want to Level Up Your Gaming?
Get access to exclusive strategies, hidden tips, and pro-level insights that we don't share publicly.
Ultimate Guide Strategy Guide + Weekly Pro Tips