
Yellow Harvest is an optional Act 1 area in Clair Obscur: Expedition 33 that opens after recruiting Esquie at Esquie’s Nest. Head northwest from the Gestral Village and Hidden Gestral Arena side of the Continent map, use Esquie to break the rocky obstruction, then activate the Expedition Flag beyond it. A main-route clear takes roughly 15-30 minutes, but a full sweep is worthwhile for weapons, Pictos, Lumina upgrades, journals, cosmetics, and Glaise’s boss rewards.
Table of Contents (9)
Yellow Harvest Unlock Requirements
The entrance is deliberately blocked by jagged blue rock and cannot be opened during your first pass through the surrounding region. Progress the main story through Esquie’s Nest until Esquie joins the expedition, then return to the Continent map.
- Complete Esquie’s Nest.
- Recruit Esquie.
- Travel northwest from the Gestral Village or Hidden Gestral Arena area.
- Break the rocky terrain blocking the route.
- Continue to the Expedition Flag to enter Yellow Harvest.
If the obstruction is still intact, there is no alternate entrance to find. Continue the story until Esquie is available rather than searching the surrounding cliffs for another path.
Yellow Harvest Route: What to Do First
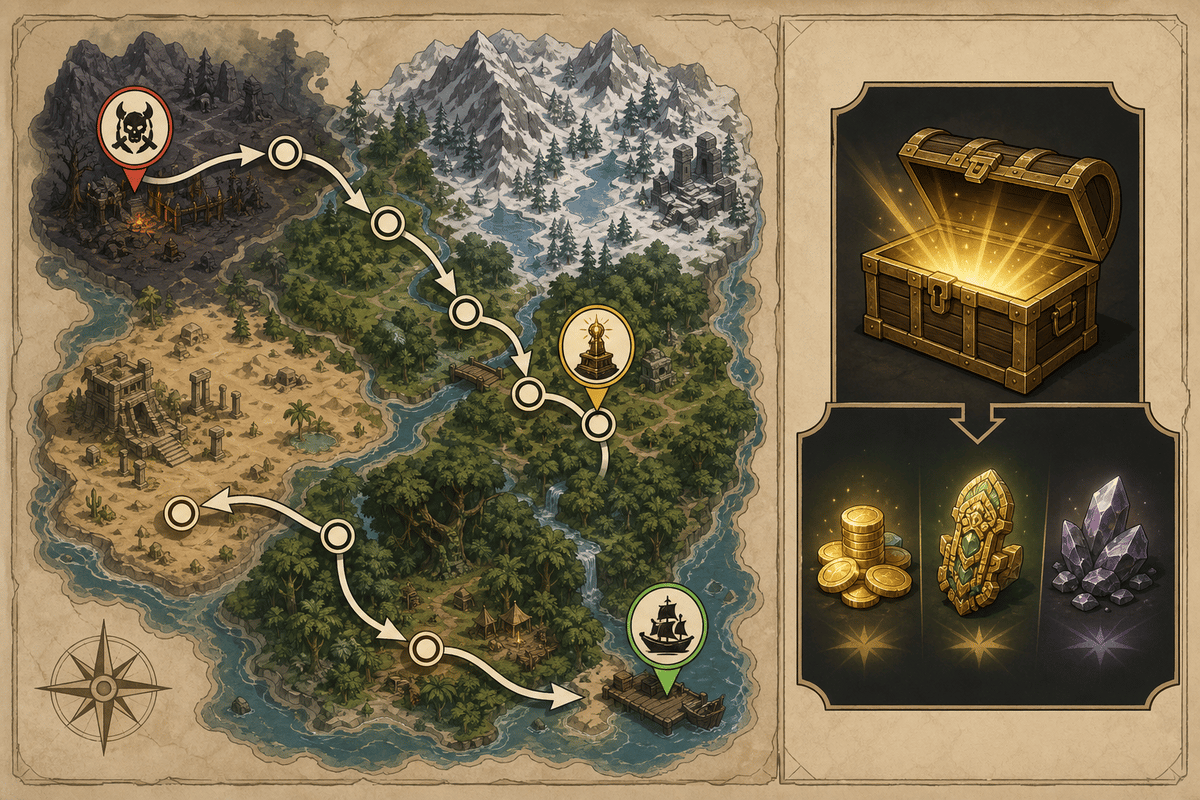
Activate the first Expedition Flag immediately, then treat Yellow Harvest as a perimeter-exploration zone rather than a straight run to the top. The central route leads upward toward Glaise, while several of the best rewards sit on detours that are easy to pass while following the obvious climb.
Sweep the Opening Valley
From the first flag, enter the broad valley and check its outer edges before committing to the upward route. The early detours establish the pattern for the whole area: loot is often tucked beside the main path instead of placed directly in front of it.

Follow the right side of the open valley up toward the lantern-lined slope. This branch contains a journal and is one of the most commonly missed stops in the area. If you reach a higher path without seeing the lanterns, backtrack before moving on.
Fully Search Harvester’s Hollow
Harvester’s Hollow is the key collectible detour in Yellow Harvest. Check the right-side paths, the river and ruin line, and the routes around the hollow before returning to the main ascent. This section contains journal lore and the Death Bomb Picto, so rushing through it can cost you both a collectible and a useful build option.
Death Bomb is particularly useful for builds that can benefit from damage triggered on defeat. It is situational rather than a universal equip, but Yellow Harvest is early enough that collecting flexible Pictos now gives you more options when later encounters start asking for specialized setups.
Take Every Side Branch Before the Final Climb
Yellow Harvest contains several weapon, upgrade-material, and cosmetic pickups away from the boss path. Search every branch that ends at a chest, ruin, slope, or visible item before climbing toward the top. The area’s reward density makes it a strong detour after recruiting Esquie, especially if your party needs more equipment choices and upgrade resources.
Optional Fights and the Glaise Boss Route
The essential completion target is Glaise at the top of Yellow Harvest. The area also includes optional combat, including the Chromatic Orphelin encounter. Skip that detour if you only need to clear the route quickly, but return before leaving permanently if you are collecting the zone’s combat rewards.
Yellow Harvest contains two boss encounters overall, but Glaise is the fight tied to the main end-of-area route. Once Glaise is defeated, continue beyond the archway behind the boss to reach the north-side exit portal and reconnect with the overworld.
Do not leave immediately after the boss if you have rushed the earlier sections. The end portal is convenient, but Yellow Harvest’s side paths contain enough weapons, Pictos, and materials to justify one final check of your unexplored branches.

Yellow Harvest Rewards
The most valuable Yellow Harvest rewards cover several parts of progression: party equipment, Pictos, Lumina progression, upgrade materials, and cosmetic items. Some rewards are found in the environment, while others come from Glaise or the local vendor, Pinabby.
| Reward | Type | How to Get It | Use |
|---|---|---|---|
| Death Bomb | Picto | Harvester’s Hollow | Provides on-death area damage utility. |
| Auto Death | Picto | Purchased from Pinabby | A high-risk option for specialized builds. |
| Teamwork | Picto | Purchased from Pinabby | Improves damage while allies remain alive. |
| Energising Attack I | Picto | Glaise reward | Grants AP through base attacks. |
| Plenum | Weapon | Glaise reward | A major named weapon reward from the area boss. |
| Kralim | Weapon | Found in Yellow Harvest | An additional equipment option from exploration. |
| Gaulteram | Weapon | Found in Yellow Harvest | An additional equipment option from exploration. |
| Potierim | Weapon | Found in Yellow Harvest | An additional equipment option from exploration. |
| Colour of Lumina | Upgrade item | Multiple pickups in the area | Supports character build progression. |
| Chroma Catalyst and Polished Chroma Catalyst | Upgrade materials | Pickups and enemy rewards | Used for equipment progression. |
| Wavy Hair and Braid Hair | Cosmetics | Yellow Harvest reward routes | Unlock appearance options for Lune and Maelle. |
Common Yellow Harvest Mistakes
- Trying to enter before recruiting Esquie: the rock barrier is a story gate. Finish Esquie’s Nest first.
- Following the main climb without checking the valley: the lantern slope and edge paths hide journal and gear pickups.
- Leaving Harvester’s Hollow too quickly: search its side routes for the Death Bomb Picto and other collectibles.
- Ignoring Pinabby: Auto Death and Teamwork are purchased rewards, so combat and chest hunting alone will not complete the area’s Picto options.
- Assuming Chromatic Orphelin is required: it is optional; Glaise is the boss that completes the main Yellow Harvest route.
- Skipping the zone because it is optional: its weapons, catalysts, Colour of Lumina, and Pictos provide a meaningful early-to-midgame equipment boost.
Best Time to Clear Yellow Harvest
Clear Yellow Harvest as soon as Esquie joins the party if you want its rewards before pushing farther into Act 1. The route is compact, the first Expedition Flag gives you a reliable checkpoint, and the area’s materials and gear can strengthen your available setups before later fights demand more from your party.
For a fast clear, unlock the zone, activate the flag, defeat Glaise, and use the north portal. For a full clear, sweep the opening valley, lantern slope, Harvester’s Hollow, every side branch, Pinabby’s stock, the optional Chromatic Orphelin encounter, and Glaise before exiting.
FinalBoss // Gear
Level up your setup
01Top-rated gaming headsetson Amazon→02High-refresh gaming monitorson Amazon→03Gaming chairson Amazon→04Discounted game keyson Kinguin→
Affiliate links · As an Amazon Associate, FinalBoss earns from qualifying purchases.
Want to Level Up Your Gaming?
Get access to exclusive strategies, hidden tips, and pro-level insights that we don't share publicly.
Ultimate Guide Strategy Guide + Weekly Pro Tips