
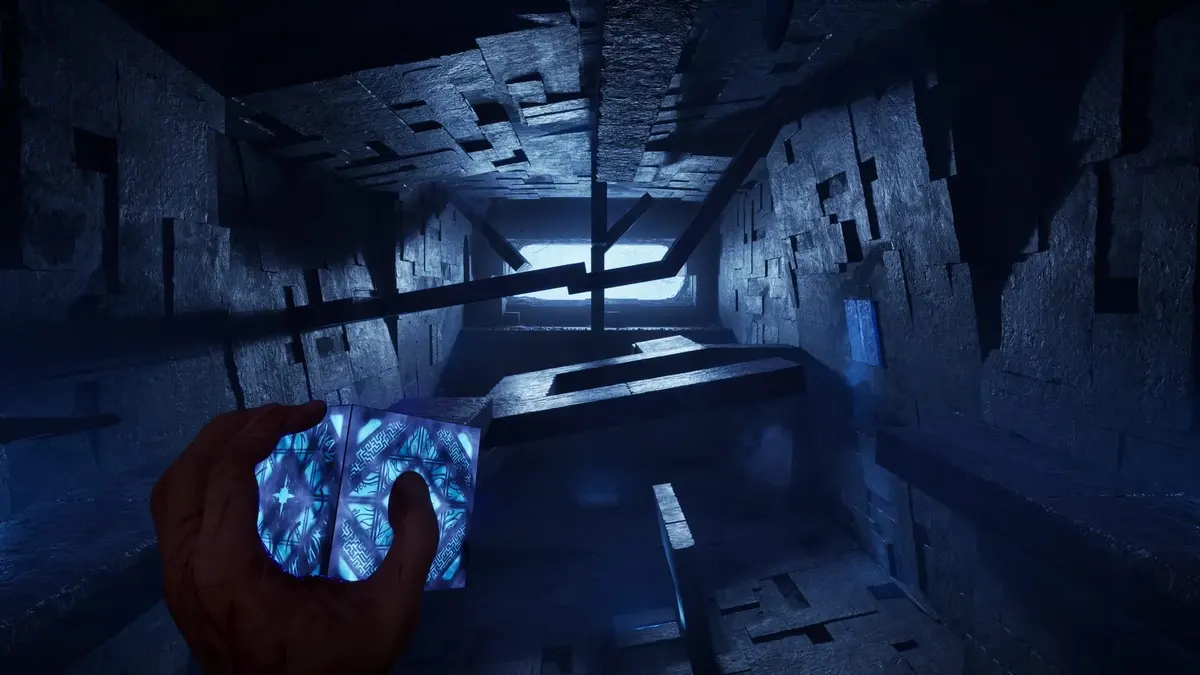
Raise the first highlighted Labyrinth block with the Genesis Configuration, then move straight to the next interaction point and activate it before the structure drops. The timed Well Block route requires you to chain those activations before crossing to the Tongue statue piece.
If you are facing a well slot that accepts three picture blocks instead, use the crumpled paper clue on the rim. That interaction requires matching images rather than timing raised platforms. Follow the section that matches the mechanism in front of you.
Table of Contents (6)
Well Block route: raise the blocks before the mechanism resets
In the Head statue area, inspect the large Labyrinth structure and locate the highlighted block interactions. The Genesis Configuration raises the blocks temporarily, so your next destination is the next control — not the far side of the gap.
- Activate the first highlighted block. Use the Genesis Configuration to raise it.
- Move immediately to the next highlighted interaction point. Activate it while the first block remains elevated.
- Continue the activation chain. Each successful interaction contributes to the route across the gap. Keep moving between controls before the mechanism resets.
- Cross once the route is formed. Collect the Tongue statue piece on the other side.
- Return to the wing-shaped lock. Insert the recovered piece, then complete the subsequent skull nail sequence to obtain the Tongue Key.
If the route collapses: restart at the first highlighted element and shorten the delay between activations. Look for the next control before raising the first block so you do not spend the active window searching for it.
Well picture blocks: use the paper clue on the rim
The picture-block interaction requires three missing blocks. Before collecting or rotating them, interact with the crumpled paper ball on the well rim; it reveals three Labyrinth sketch pieces that provide the visual clue.
- Reveal the three sketches. Interact with the paper ball on the rim rather than treating it as background clutter.
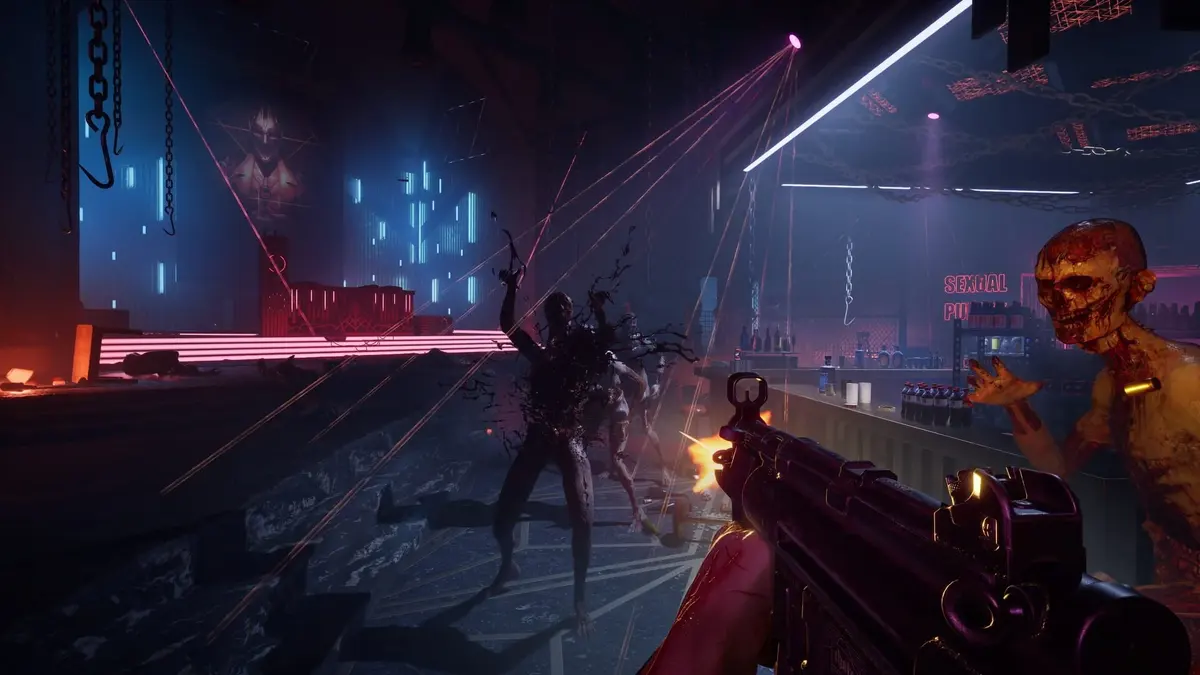
- Recover all three missing picture blocks. Some are guarded by Unworthy enemies.
- Insert the blocks into the well slot. Placing them is only part of the solution.
- Rotate each block to show the correct image. Use the sketches as your reference when choosing the visible faces.
If all three blocks are inserted but the puzzle remains incomplete: check their displayed images against the sketches. The required orientation matters; filling the slot alone does not solve it.
Genesis Configuration: fit both halves to the lock
The Genesis Configuration’s two halves are adjusted independently. Each half can change shape and rotate, and both must fit the target opening. The five story-required puzzles are tied to the Free Sunny’s Soul objective and the Hand, Head, Tongue and Factory shrine statues.
Inspect the opening before changing the box. Separate the task into two decisions: choose a half’s shape first, then rotate that shape into position. Changing both halves repeatedly makes it harder to retain a correct match.
- Study the target slot. Identify the outline that each half needs to occupy, including gaps and protruding sections.
- Configure the first half. Cycle through its available shapes until its outline matches the corresponding portion of the opening.
- Rotate that half. A suitable shape can still face the wrong direction. Align its corners, gaps and extensions with the slot.
- Leave the matched half alone. Repeat the shape selection and rotation process on the opposite half.
- Check the assembled silhouette. Look at how the two halves fit together, then confirm the interaction when the complete object matches the lock.
If the box will not fit: inspect each half separately before cycling through more configurations. Check rotation first when the outline already looks right. If one half matches, preserve it while correcting the other.
The box also operates environmental mechanisms, including moving machinery and reshaping Labyrinth routes. For the timed well route, follow the highlighted interactions; for a shaped supernatural lock, concentrate on the two-half silhouette.
Leviathan statuette: find the missing tip
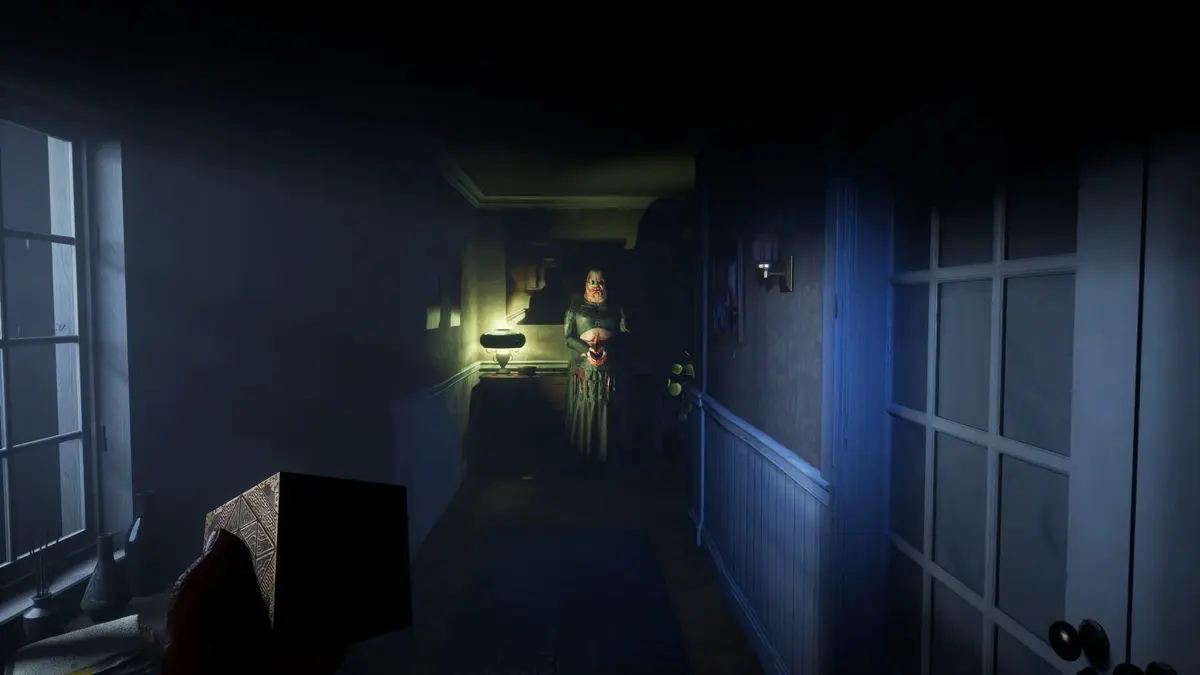
The gold, diamond-shaped Leviathan statuette in the red hallway is missing its tip. You must recover that piece from the cultist compound before completing the rotation puzzle.
- Continue through the red hallway into the cultist compound. Progress until you fall through the ceiling into the chapel-like room.
- Defeat the cultists in the chapel. Then take the east exit.
- Enter the office containing a computer. Pick up the Leviathan tip from the desk beside the monitor.
- Collect the Inventory Upgrade in the same office. It is on the metal shelving near the entrance.
- Return to the chapel. Use the west golden double doors to reach the red hallway again.
- Attach the tip to the statuette. Interact with it to begin aligning the Labyrinth design.
Leviathan statuette rotation solution
The completed statuette has four sections: one fixed section and three movable sections. From its starting arrangement, use this rotation sequence:
- Rotate the bottom section once.
- Leave the middle section unchanged; it starts aligned.
- Rotate the top section twice.
- Check that the Labyrinth lines connect continuously across every side.
The statuette opens when the paths align, revealing the S&M Duckie.
If you have already experimented with the rings: the one-bottom, two-top sequence describes turns from the starting arrangement. Adding those turns to an altered statuette may leave it misaligned. Use the continuous Labyrinth lines on all sides as the final check, including the middle section if you moved it.
Use the S&M Duckie on the duck-marked door
Return toward the office where you found the Leviathan tip. Watch for the cultist that jumps out of the chapel’s iron maiden near the duckie door. Interact with the nearby door marked with a duck symbol and select the S&M Duckie to unlock it.
FinalBoss // Gear
Level up your setup
01Top-rated gaming headsetson Amazon→02High-refresh gaming monitorson Amazon→03Gaming chairson Amazon→04Discounted game keyson Kinguin→Affiliate links · As an Amazon Associate, FinalBoss earns from qualifying purchases.
Want to Level Up Your Gaming?
Get access to exclusive strategies, hidden tips, and pro-level insights that we don't share publicly.
Ultimate Guide Strategy Guide + Weekly Pro Tips