

The first Control centered on the Oldest House and the Hiss invasion that entered through the Projector. Control Resonant begins after that crisis has reshaped the lives around Dylan Faden, then expands the scale outward: Manhattan itself has become unstable under the Patterning. The result is a city of large zones, broken routes, optional objectives, hostile factions, and traversal upgrades that make an early detour worthwhile when it unlocks the right movement tool.
Your cleanest beginner route is to follow the opening objectives until Zoe gives you access to the Central Watchtower, then head to the West Incursion Zone and complete Jesse Sightings: The Incursion Fault. That quest awards Shift, which makes the rest of Manhattan far easier to navigate. From there, unlock maps through Map Kit Pylons, stabilize your travel network, and leave activities that demand unfamiliar movement or combat tools until you have the relevant form or power.
Table of Contents (10)
Understand the Three Crises Before Exploring
Manhattan’s visual chaos can make every threat look like part of the same problem. It is useful to separate them, because each one asks you to play differently.
- Patterning is the city-wide reality distortion. It changes gravity, architecture, weather, and routes, while creating powerful entities called Resonants.
- The Hiss is a hostile paranatural force that occupies combat spaces, corrupts systems, creates barriers, and pressures you during objectives.
- Mold is another paranatural threat present alongside the Hiss and the Patterning.
“Pattering” is often used as a mistaken label for the Patterning crisis. The in-game term to follow is Patterning. It describes the force rearranging Manhattan; it does not describe an enemy faction you can clear from a room.
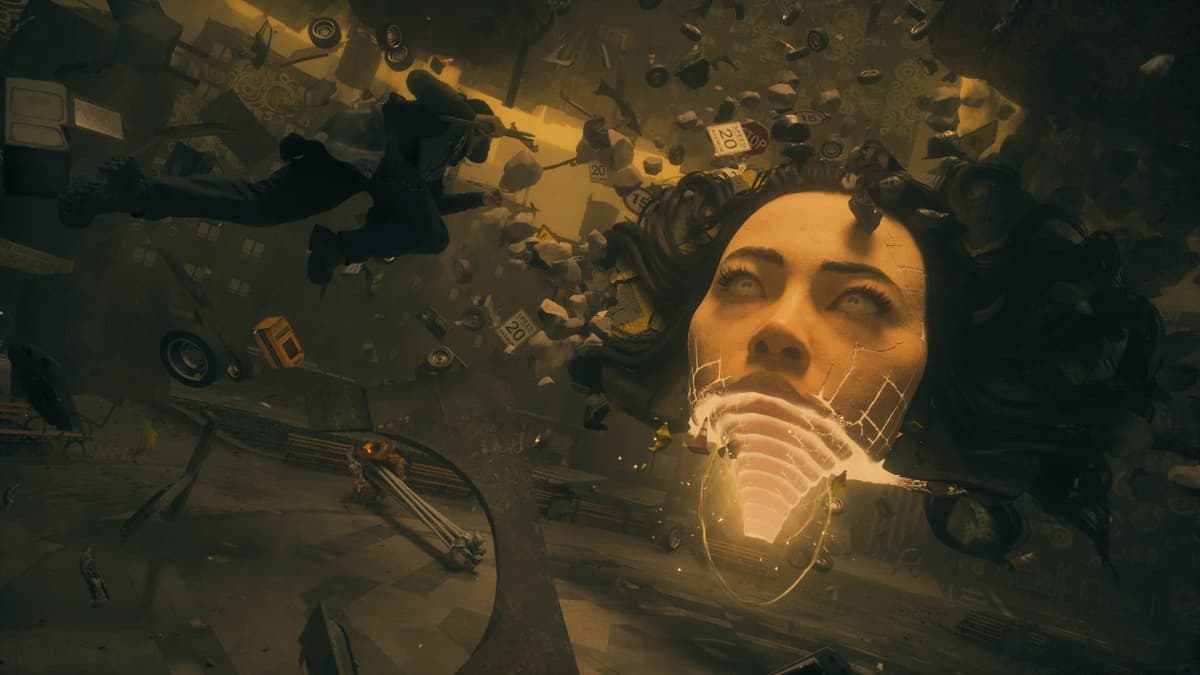
When you reach a warped area, do not stop to decode every floating object or upside-down hallway. Follow the active marker first. Patterned spaces can hold required story routes, optional Pattern Breaks, collectibles, boss paths, or shortcuts that only become useful after later abilities. The objective text tells you whether the distortion is currently part of your route.
How to Start: Oldest House, Zoe, and the First Zone Route
Dylan emerges from years in FBC custody into a Manhattan destabilized by the Patterning. The opening progression establishes the Oldest House connection, introduces the first ritual and investigation objectives, and then opens the wider city structure. Treat this opening as onboarding rather than a completionist zone: move the main story forward until you meet Zoe at the Central Watchtower.
After meeting Zoe, the quest log separates the city’s priorities into three categories:
- Contain the Crisis covers the major Patterning and city-stabilization work.
- Search for Jesse follows the central character investigation and unlocks important movement progression.
- Defeating Resonants tracks the powerful Patterning entities tied to zone advancement.
Take Jesse Sightings: The Incursion Fault in the West Incursion Zone before trying to mop up nearby activities. Its reward, Shift, is the early traversal upgrade that pays off across multiple zones. It also gives you more room to reposition in combat, which matters because Dylan has no block or parry.
The Best Early Zone Order
Manhattan is open enough to encourage detours, but the first pass through each zone should be about movement, navigation anchors, and story access. The table below keeps the main route coherent without asking you to ignore useful side content.
| Zone or route | First priority | Why it matters early |
|---|---|---|
| Oldest House | Complete the opening ritual and investigation sequence. | It establishes the story framework and gets Dylan into Manhattan’s broader crisis. |
| Central Zone | Meet Zoe, activate essential systems, and use the Central Watchtower as your quest hub. | This is where the three main objective categories become clear. |
| West Incursion Zone | Finish Jesse Sightings: The Incursion Fault. | You gain Shift, the most valuable early movement upgrade. |
| Evacuation Zone | Destroy Hiss Nodes, enter the Evacuation Building, and pursue the tremor investigation. | It teaches barrier routing and contains Jesse Sightings: The Subway Fault. |
| Evacuation Zone, return visit | Complete The Subway Fault. | You obtain Reach, opening further traversal and combat options. |
| Sinkhole and Unknown | Handle relay objectives when the story sends you there. | These routes test objective navigation, escorts, and environmental awareness more than freeform exploration. |
The Evacuation Zone has no Resonant boss of its own, so do not waste time scouring it for a missing boss arena. Focus on its story objectives, Hiss barriers, survivor-related tasks, and the later Jesse Sightings route. Other zones generally contain a Resonant encounter that feeds into progression.
Map Kits, Fast Travel Doors, and Why the Map Looks Empty
The map is deliberately limited at first. To reveal a zone map, find a Pylon marked with the Map Kit icon and complete its mini-puzzle. Solving it unlocks the area layout, but it does not populate every point of interest immediately. Markers appear as Dylan approaches them, so an apparently blank district can still contain vendors, activities, doors, or objective branches.
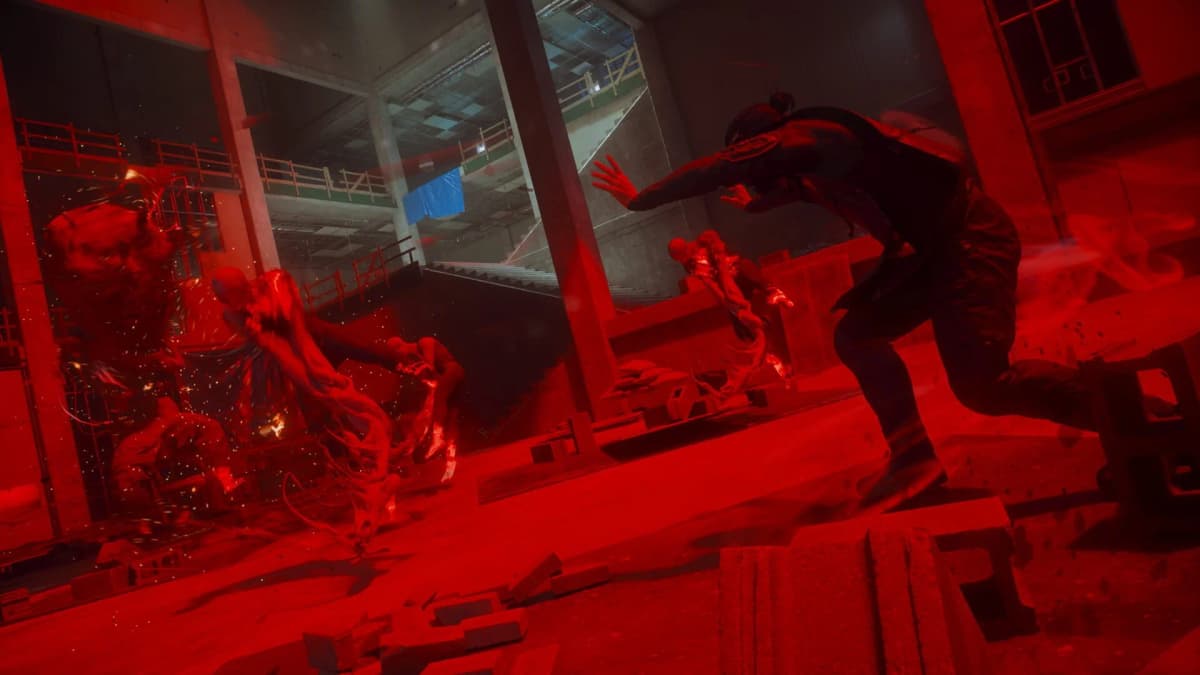
That design makes route anchors more important than chasing every undiscovered icon. Use the following order whenever you enter a new zone:
- Find the nearest Map Kit Pylon and unlock the local map.
- Activate any checkpoint, power system, or Fast Travel Door on the main route.
- Complete the objective currently blocking story progress.
- Clear nearby optional work only if it is close to your active route or rewards a usable upgrade.
- Leave unexplained traversal gaps for later if you lack the power to cross them cleanly.
Fast Travel Doors are Manhattan’s fast-travel system. They appear on the map only once you get close enough, so make a point of opening doors found beside main objectives even when you do not need to travel immediately. They turn a long return through hostile streets into a quick link between zones.
Checkpoints matter for more than recovery. The Central Zone’s power-restoration work makes this clear: activating a checkpoint creates a dependable navigation landmark in a city where Patterning can make adjacent routes feel disconnected. If an objective sends you back through a familiar district, travel from the closest active door or checkpoint rather than retracing the entire prior route.
Hiss Barriers: Find the Nodes Before Looking for Another Door
A Hiss Barrier is a combat-routing problem, not a conventional lock. When one blocks your way, the solution is to locate and destroy every linked Hiss Node. The Evacuation Zone includes an early version of this setup: two nodes must be destroyed before the Evacuation Building becomes accessible.
The common trap is searching only along the barrier’s ground-level approach. Nodes can be placed in adjoining rooms, higher platforms, side passages, or vertical spaces that have become easy to overlook in distorted architecture. Sweep the arena in layers: look across the room, above the obvious route, then behind cover and in any newly opened side area.
- Clear enemies before trying to inspect machinery or hunt for the final node.
- Watch for Hiss enemies positioned on elevation, since they often protect the route to a node.
- Re-read the objective as soon as the barrier drops; the next task may be an investigation, machine interaction, rescue, or escape rather than another fight.
- Search the arena after combat. Materials, alternate routes, and interactable devices are easier to spot once visual effects and enemy pressure are gone.
Combat Basics: Dodge for Falter, Execute for Dominance
Control Resonant mixes third-person shooting, melee attacks, forms, powers, and RPG progression, but its most important early combat lesson is defensive: Dylan cannot block or parry. Standing close and trading blows is a poor plan, especially before you have several upgrades.
Use dodges to create your opening. A perfect dodge rapidly builds an enemy’s Falter meter, which is its stagger gauge. Once Falter reaches the stagger state, execute the enemy to trigger Dominance. Dominance grants Dylan a damage buff, so execution is both a finisher and a way to turn the next few seconds of a fight in your favor.
Against ordinary groups, pressure the enemies that interfere with your movement or objective interaction. Against Heavy enemies, change priorities immediately: Heavies continually spawn smaller mobs until they are defeated. Clearing every minor enemy first can keep the arena crowded indefinitely, while burning down the Heavy cuts off the source of the reinforcements.
| Combat situation | Best response | Reason |
|---|---|---|
| Enemy attack with a readable timing window | Perfect dodge, then pressure Falter. | Perfect dodges build stagger quickly and create execution opportunities. |
| Enemy reaches Falter stagger state | Execute to activate Dominance. | The damage buff helps clean up the remaining encounter efficiently. |
| Heavy enemy enters the arena | Shift focus onto the Heavy while avoiding its spawned mobs. | Small enemies continue spawning until the Heavy dies. |
| Objective machine or relay is exposed during combat | Clear the immediate threat before interacting. | Stationary interactions are easy punish windows for nearby Hiss. |
Zone Levels, Talents, Vendors, and Combat Forms
Every zone has a visible zone-level number. Raising that level awards talent points, so zone activities have a direct progression value beyond loot or map completion. You do not need to complete every task the moment you discover it, but skipping all optional work can leave Dylan short of talent growth when a zone’s combat pressure rises.
Each zone also contains a vendor represented by an ice-cream-truck appearance and a dollar-sign map marker. Vendor materials are used to craft artifacts and unlock upgrades for Dylan’s forms. Visit one after a major activity or boss rather than letting materials accumulate unnoticed; form upgrades affect the tools you rely on in melee-first fights.
The Gap is the interdimensional space used to select and test powers and upgrade Dylan’s combat capabilities. Use it when you unlock a new power or form, especially after a Resonant encounter. The game lets you change combat forms later through a respec, but the change costs a Reset Item. You receive free Reset Items at the start, can buy additional ones from vendors, and earn more by defeating Resonant bosses.
That makes early experimentation safe, though not free forever. Spend your initial resets learning which form supports your current route, then avoid repeatedly changing setups before a demanding zone unless the new form solves a specific problem such as mobility, stagger pressure, or a boss mechanic.
Oldest House Progression and Resonant Bosses
The Oldest House story progression works differently from Manhattan’s roaming zones. Enemies there do not respawn until the relevant Resonant bosses are defeated. This gives those sections a more deliberate pace: clear the combat spaces, explore the newly safe routes, and complete available interactions before moving on.
Resonants are the major manifestations of the Patterning and often sit at the intersection of zone story, combat progression, and new capabilities. Most zones contain one, while the Evacuation Zone is the exception. The Patterned Factory is a major Resonant location and includes the Deserter encounter; the Patterned Metro Tunnels are another later Patterning-focused route where geometry and traversal become central concerns.
Do not treat every visual anomaly as a boss lead. Pattern Break activities are smaller Patterning encounters that ask you to identify an anomalous object within a group of levitating objects and strike it repeatedly. They are worth doing when they are nearby, but they should not pull you away from a first-time story route that is still unlocking Shift, Reach, maps, and travel doors.
When to Turn On Assist Mode
Assist Mode is available from the Gameplay tab in Settings. It offers three preset difficulty-style options with adjustable sliders, giving you a way to reduce friction around combat pressure without abandoning the game’s exploration and progression structure.
Use it when a specific wall is stopping your route: a Resonant fight that prevents access to an upgrade, a dense Hiss arena guarding a required node, or a relay objective where repeated deaths are making navigation harder to learn. It is especially useful while you are still adjusting to dodge timing and Falter management, because the game does not offer a block or parry as a fallback.
Early-Hours Checklist Before Leaving a Zone
- Unlock the map at the local Map Kit Pylon.
- Activate the nearest checkpoint and any Fast Travel Door found along the route.
- Confirm the active objective is complete before assuming an arena is finished.
- Destroy every Hiss Node if a barrier remains active.
- Check whether a new zone level awarded talent points.
- Visit the dollar-sign vendor marker if you have gathered materials for artifacts or form upgrades.
- Complete nearby Pattern Breaks, but postpone distant activities that need a missing power.
- Return to The Gap after earning a new power, form, or major combat upgrade.
FinalBoss // Gear
Level up your setup
01Top-rated gaming headsetson Amazon→02High-refresh gaming monitorson Amazon→03Gaming chairson Amazon→04Discounted game keyson Kinguin→
Affiliate links · As an Amazon Associate, FinalBoss earns from qualifying purchases.
Want to Level Up Your Gaming?
Get access to exclusive strategies, hidden tips, and pro-level insights that we don't share publicly.
Ultimate Guide Strategy Guide + Weekly Pro Tips