
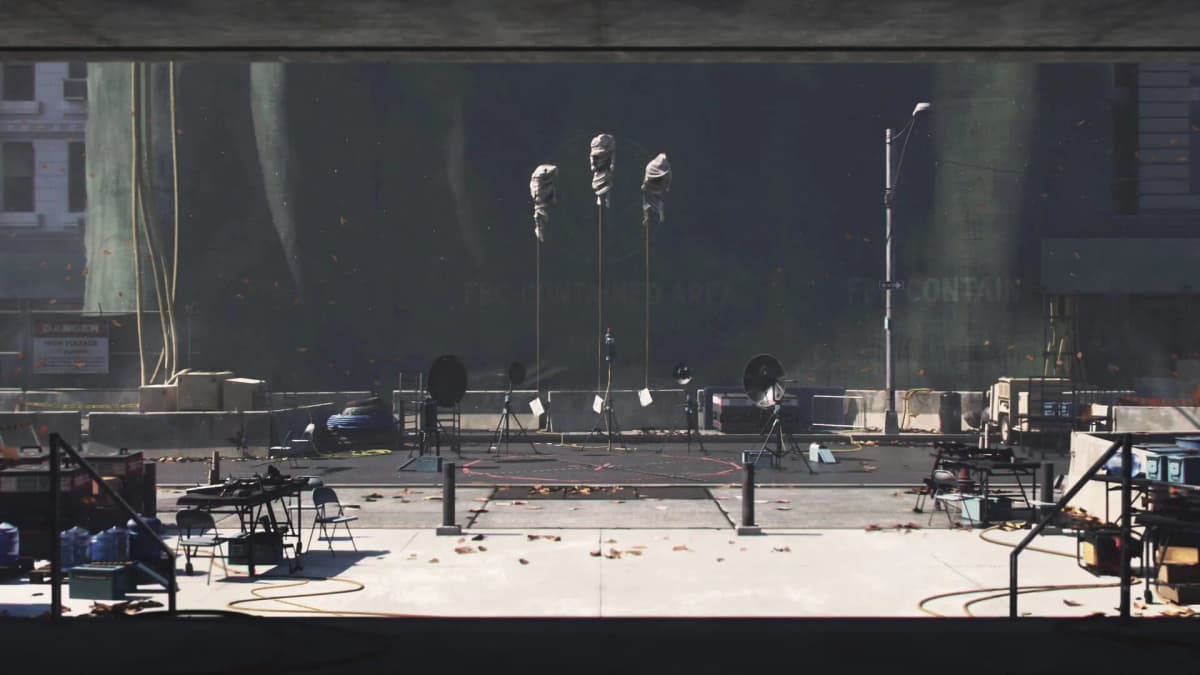
Treat the Evacuation Zone as a two-pass area. The first pass unlocks the movement and security tools that make its rooftops, inverted surfaces, locked rooms, and side objectives practical; the second pass collects what those tools expose. The clean order is The Subway Fault, then Evacuation Procedures, followed by the camera, Konstig Gallery, taxi, arcade, and remaining collectibles.
Table of Contents (9)
Recommended Evacuation Zone Order
Starting a full collectible sweep immediately is inefficient because several routes are designed around Reach, the Level 2 Clearance Keycard, later Zone Levels, and a fire-related ability. Clear the main progression gates first, then return with the necessary traversal options.
- Enter the Evacuation Zone from Central through the signposted blue entrance on the southeastern route.
- Pick up the Map Kit near the zone’s center before exploring deeply.
- Investigate the subway entrance and complete The Subway Fault to unlock Reach.
- Complete Evacuation Procedures to rescue Chief Arish and receive the Level 2 Clearance Keycard.
- Use Reach and the keycard for the camera shutdown, rooftop routes, Konstig Gallery sweep, taxi access, and arcade.
- Return after additional story progression if fire-gated passages or inaccessible collectible routes remain.
The Evacuation Zone opens after the preceding arena encounter. From Central, stay on the southeastern route until the blue entrance signage appears. The early streets are deliberately confusing because the zone layers alleys, rooftops, elevated platforms, and gravity-shifted surfaces over a central chasm. The Map Kit reduces the amount of blind backtracking required later.
Unlock Reach Before Hunting the Zone
Go to the subway entrance in the Evacuation Zone and enter the Fault. Finish the ritual inside, then speak with Jesse to receive Reach, Dylan’s grapple-like movement ability. Reach is the key mobility unlock for this area because the route design repeatedly expects you to bridge gaps that are awkward or impossible to cross cleanly with ordinary jumping alone.
Reach does not replace every movement tool. The later sweep uses Reach alongside double jump and levitation for upside-down rooftops, elevated ledges, and vertical routes above the streets. A platform that looks disconnected from ground level is usually part of that intended movement chain rather than a missed door or broken path.
Return to the surface after unlocking Reach rather than trying to finish every side activity immediately inside the Fault. The ability has its greatest immediate value in the main Evacuation Zone, where it shortens the routes to the camera, gallery, taxi alley, and rooftop collectibles.
Clear Evacuation Procedures for the Level 2 Keycard
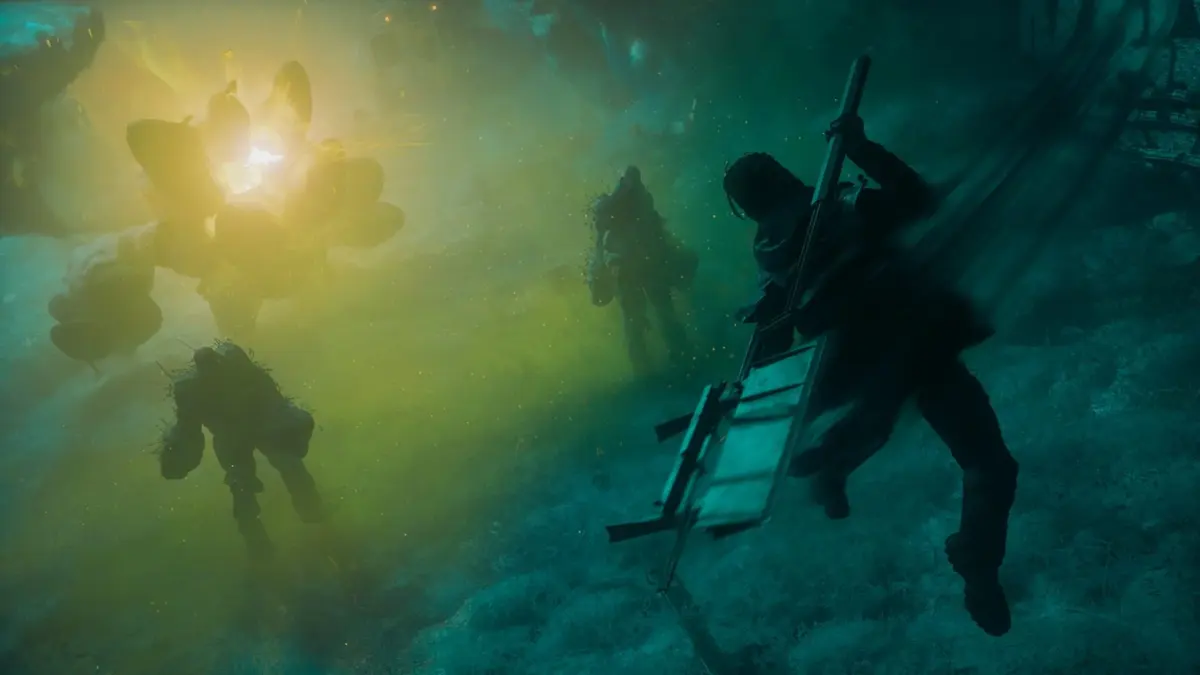
Proceed to the Evac Building for Evacuation Procedures. The exterior barrier remains active until both Hiss Nodes outside the building are destroyed. Clear the two nodes before looking for another entrance; the barrier is a quest gate rather than a navigation puzzle.
- Destroy both exterior Hiss Nodes around the Evac Building.
- Take the Power Core battery to the garage console.
- Install the battery and use the building’s elevator route.
- Continue through the interior and rescue Chief Arish.
- Receive the Level 2 Clearance Keycard.
The keycard matters beyond this quest. It opens the Level 2 security access associated with the Evac Building lobby and is required for the arcade area. Searching for the arcade before this point only leads to a locked door, regardless of how thoroughly the surrounding streets have been explored.
Route the Power Cell to Shut Down the Camera
The rooftop camera objective uses a relay route, not a direct carry from the Power Core Station to the final door. Start at the Power Core Station in the southeast of the Evacuation Zone, take an electrical charge, and pass it through the two intermediate Power Cells before climbing to the camera roof.
- Go to the southeastern Power Core Station.
- Strike a Power Core to take its electrical charge.
- Travel west along the road toward the camera route.
- Transfer the charge into the first electrical box on the street.
- Continue to the elevator area and charge the second Power Cell below the elevator.
- Use Reach or the nearby platforms to reach the rooftop beside the camera.
- Place the charge into the Power Core beside the rooftop door.
- Enter through the unlocked door and shut down the camera.
The common failure is carrying the charge toward the rooftop without activating the street and elevator relays. The route requires those intermediate transfers. If the camera detects Dylan during the approach, recover the sequence by entering the nearby building, descending to street level, walking forward until the camera-respawn click plays, then backtracking through the building and using the elevator to approach from behind.
Approaching from behind removes the camera’s line-of-sight pressure and avoids repeated resets at the final rooftop segment. Finish this objective after obtaining Reach; the climb is substantially cleaner once the grapple route is available.
Konstig Gallery Secret Route
Konstig Gallery is best handled during the return sweep, after Reach and Evacuation Procedures. Its collectible and secret paths extend beyond the gallery entrance into surrounding rooms, side corridors, rooftops, and elevated or inverted sections. Stopping at the first interactive object inside the gallery leaves much of the relevant route unexplored.
- Clear the nearby Hiss encounters before inspecting the gallery area, so combat does not interrupt environmental interaction.
- Search the rooms and corridors around the gallery rather than treating the entrance as the complete puzzle space.
- Follow visual environmental clues into the rooftop and upper-level routes.
- Use Reach to access elevated and gravity-shifted sections that are not reachable from the floor route.
- Return after the zone’s main story progress if a passage remains blocked by a movement or fire-related requirement.
The useful rule is to distinguish a genuine interaction problem from an access gate. A gallery collectible positioned above the apparent route usually requires Reach, levitation, later progression, or a loop through the surrounding streets. The central chasm splits the zone into separate exploration spaces, so check both the north and south sides instead of assuming that every gallery-adjacent route reconnects at ground level.
Early Collectibles Worth Taking on the First Pass
Several pickups are available before the full ability sweep. Collect them while moving between the entrance, subway, and Evac Building, then leave the harder rooftop routes for later.
- Two Resource Crates in small buildings outside the Evac Site entrance.
- The PR Video Screenplay on a shelf inside the building beside the row of flags.
- Two Instant Photos and a Daily Comms Log in another nearby building.
- PR Guidance Re: Patterned Subway Tunnels during the same early-zone sweep.
- A Health Upgrade on the downstairs route through the zone.
- A Resource Crate and arcade cabinet behind the Level 2 security door in the Evac Building lobby.
For the later collection pass, divide the map into north and south chasm sweeps. Finish one side before crossing back. This prevents the repeated rooftop and alley loops that occur when collectibles are pursued in map order rather than by traversal route.
Reach the Taxi Through the Hiss Spike Alley
The taxi is in the central-west section of the Evacuation Zone, west of the Evac Building, in an alley between the surrounding streets. The street-level approach is defended by Hiss Spikes and sweeping lasers. Reaching the alley is the actual obstacle; the taxi interaction itself is brief once the area is entered.
- Use Elevate to float over the Hiss Spikes while moving through the laser timing.
- Use Reach to move across the adjacent rooftops and drop into the alley from above.
The rooftop approach is more controlled once Reach is unlocked because it bypasses much of the spike-lined street route. In the taxi area, answer the phone and watch the first cycle of cabs. Interact with the taxi whose lights flash differently from the others. It transports Dylan to the Threshold, where the next conversation with Mia takes place by phone.
Open the Evacuation Zone Arcade
The arcade is on the ground floor of the Evac Building behind a Level 2 security door. It has two requirements: reach Zone Level 3 and complete Evacuation Procedures to obtain Arish’s Level 2 Clearance Keycard.
A Level 2 keycard alone does not open the arcade before the Zone Level requirement is met. Conversely, reaching Zone Level 3 does not bypass the security door. Check both conditions before returning to the Evac Building lobby.
Progression Checks When a Route Stays Closed
- A rooftop collectible is out of reach: complete The Subway Fault and return with Reach, then use double jump and levitation where the route continues upward.
- The Evac Building barrier remains active: locate and destroy both exterior Hiss Nodes before trying the building route again.
- The camera door will not open: restart at the southeastern Power Core Station and relay the charge through the street box and the elevator-area Power Cell.
- The arcade remains locked: finish Evacuation Procedures for the Level 2 Clearance Keycard and raise the zone to Level 3.
- The taxi alley is too hazardous from the street: use Reach to take the rooftop path and descend into the alley.
- A gallery or side-street route is still blocked: continue the main zone progression and return after gaining the required movement or fire-related access.
With Reach, the Level 2 Clearance Keycard, and the camera route completed, the Evacuation Zone becomes a controlled cleanup area rather than a sequence of disconnected dead ends.
FinalBoss // Gear
Level up your setup
01Top-rated gaming headsetson Amazon→02High-refresh gaming monitorson Amazon→03Gaming chairson Amazon→04Discounted game keyson Kinguin→Affiliate links · As an Amazon Associate, FinalBoss earns from qualifying purchases.
Want to Level Up Your Gaming?
Get access to exclusive strategies, hidden tips, and pro-level insights that we don't share publicly.
Ultimate Guide Strategy Guide + Weekly Pro Tips