

The red power core is installed, the lab has power, and the Electrokinesis door is still shut. Carry the resulting electrical charge to the receptacle outside the chamber: restoring the Interactions Lab’s power only completes the first part of the puzzle.
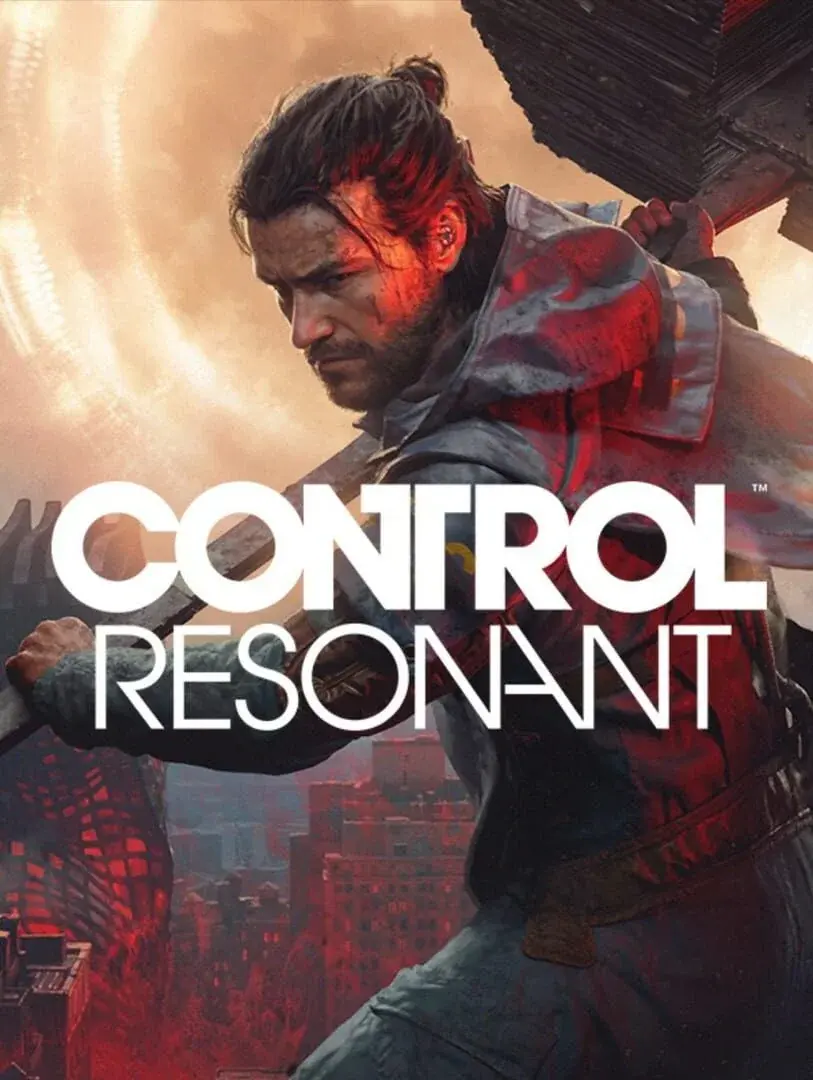
That separate charge transfer is the first progression trap in The House in Distress. Below is the route through its tests and Fault, followed by The Hedron Link, where Raw damage resistance and the Hedron Parallel’s attack openings become the main obstacles.
Table of Contents (11)
The House in Distress: restore the Interactions Lab’s power
The House in Distress begins after completing The Underpass Fault at The Spire. Return to Central Executive in the Oldest House, then enter the Interactions Lab and find the inactive power equipment.
Go upstairs to the storage area and locate the active red power core. Pull it from its rack, carry it downstairs, and insert it into the inactive unit. Once power is restored, take the resulting electrical charge to the receptacle outside the Electrokinesis Test Chamber.
If the chamber door remains locked, check that second transfer before searching elsewhere. The upstairs core powers the equipment; the charge delivered to the doorway receptacle opens the test route.
All three Electrokinesis test patterns
Inside the chamber, use the red floor console to display the test diagrams. Activate only the mounts shown on the current monitor pattern. After completing that pattern, cycle the console to the next test.
| Test | Displayed shape | Mounts to activate |
|---|---|---|
| 1 | Two upper corners and the base | Top-left, top-right, bottom-middle |
| 2 | Four corners | Top-left, top-right, bottom-left, bottom-right |
| 3 | Plus sign | Top-middle, middle-left, center, middle-right, bottom-middle |
Work from the lower mounts upward. Activate the required lower positions first, then use the middle row as a platform to reach the upper mounts. Trying to line up every charge from the floor makes the upper placements unnecessarily awkward.
The second and third patterns are easy to mix up. Test 2 uses the four corners and leaves the center out; Test 3 uses the center and the four middle positions around it, leaving every corner out. If a test will not complete, compare the active mounts against the current monitor diagram rather than filling unused positions.
Touch the television in Main Test Chamber V-E2
After completing all three patterns, proceed to Main Test Chamber V-E2 and interact with the television. This interaction advances the quest beyond the testing sequence.
If you have solved the patterns but received no new objective, return to the television. Completing the charge tests alone does not trigger the next stage.
Return to Central Executive and seal the Fault
After the television sequence, return or fast-travel to Central Executive. The area is now saturated with red Hiss resonance. Follow the updated objective to the Oldest House Fault and enter its platforming route.
Progress across the platforms, eliminate the Hiss, and interact with the required Fault points to stabilize the area. Continue through the resonance-filled sections until the Fault is sealed. Clearing enemies and interacting with those points both matter; a cleared section can still require a Fault interaction before you move on.
The Hedron Link: reach Pope through Prime Candidate Training
The Hedron Link follows The House in Distress. After the opening conversation with Zoe, take the door into Prime Candidate Training, climb the stairs, and enter Main Observation.
Follow the corridors toward the large bunker door, then continue through the testing area until you reach Pope. Speak with her to advance the mission. The route then leads through the Main Test Chamber and onward into the Unknown.
Navigate the Main Test Chamber
After speaking with Pope, go upstairs and use Gravity Shift to scale the wall. Continue through the route, dealing with the Hedron enemies along the way. At the large hall, climb the stair landings and follow the signs toward the Sector Elevator.
Use the intercom and resolve the Shift prompts encountered along the route to open the next passage. Beyond those gates, combine wall-running, jumps, and Reach to cross the upper testing structures and floating platforms.
Both sides of the Main Test Chamber lead onward. Choosing the left or right wall does not lock you out of the route. If a crossing looks awkward, check the available wall-running surfaces and Reach traversal rather than backtracking to repeat the other side.
Why Hedron enemies take so little damage
Hedron enemies resist Raw damage, including the basic attack. Switch to secondary attacks or abilities with Fire or Mold properties. Repeated basic attacks drag these fights out because they keep hitting the same resistance.
This resistance also matters during the Hedron Parallel encounter. Keep secondary, Fire, or Mold damage available for both the smaller enemies and the boss’s vulnerable targets.
How to defeat Hedron Parallel and destroy the link
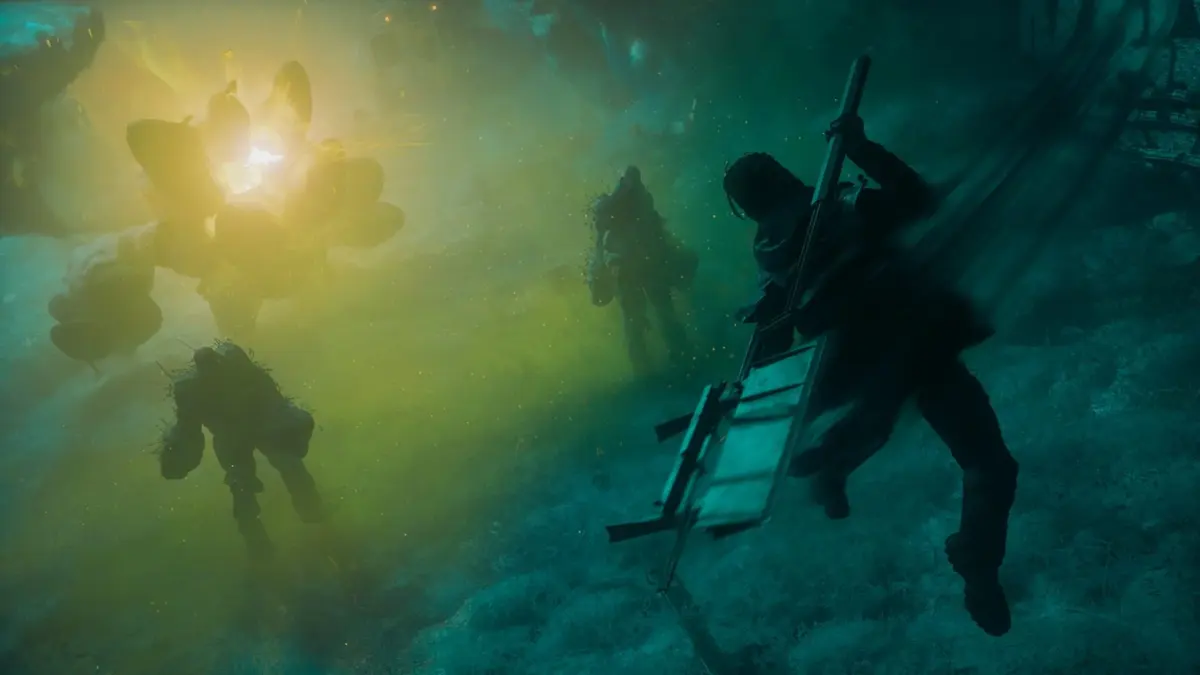
The Hedron Parallel fight takes place across an open platforming arena. Its smaller enemies, rotating resonance rings, and homing projectiles demand different responses. Clear the adds, use Reach to move between platforms, and attack the exposed core or golden node clusters during openings.
Clear the smaller Hedron enemies first
The smaller Hedron enemies contribute to the encounter’s overall progress. Prioritize them instead of spending the entire fight attacking the central structure. Use Reach to access enemies on higher platforms, then damage them with attacks that avoid their Raw resistance.
If Hedron Parallel feels invulnerable, check whether surrounding enemies remain and whether its core is exposed. Attacking through a closed phase while leaving the adds alive wastes your damage windows.
Move behind the rings and attack exposed nodes
The rotating resonance rings sweep through the arena like spinning blades. Move laterally, let a ring pass, and use the opening behind it to attack. Avoid trying to stand your ground through the sweep.
Homing energy projectiles add pressure while you reposition. Keep moving between platforms with Reach, evade the projectiles, and target the exposed golden node clusters or core when they open. If a ring is approaching, finish repositioning before committing to another attack.
Continue clearing the smaller enemies and damaging the exposed boss targets with secondary, Fire, or Mold attacks. Once the boss health bar is depleted, perform the Execution attack to destroy the Hedron link.
Return to Pope to finish The Hedron Link
After defeating Hedron Parallel, follow the post-boss route into the elevator shaft. Take the Sector Elevator back toward Central Executive and report to Pope to trigger the concluding cutscene.
If the quest remains active after the fight, make that return trip before looking for another combat objective. Destroying the link clears the arena; speaking with Pope completes The Hedron Link.
FinalBoss // Gear
Level up your setup
01Top-rated gaming headsetson Amazon→02High-refresh gaming monitorson Amazon→03Gaming chairson Amazon→04Discounted game keyson Kinguin→Affiliate links · As an Amazon Associate, FinalBoss earns from qualifying purchases.
Want to Level Up Your Gaming?
Get access to exclusive strategies, hidden tips, and pro-level insights that we don't share publicly.
Ultimate Guide Strategy Guide + Weekly Pro Tips