

Central Resonant requires one Power Core placement, three destroyed heat growths, and a return up the furnace staircase before The Deserter becomes available. The boss punishes players who ignore its purple healing sacs, while the final Ignite or Inferno choice determines the combat ability you earn from the run.
Do not keep descending after reaching the lower factory. Once the three red heat growths are gone, the correct route is back up the long staircase toward the giant furnace; the nearby lower paths are where this Central Resonant run most often turns into a dead end.
Table of Contents (7)
Unlock the Patterned Factory first
Central Resonant cannot progress until Evacuation Procedures and Power Lines are complete. Those quests unlock access to the Patterned Factory and stop the factory route from stalling before the puzzle even starts.
At the factory’s south side, inspect the abnormal pipework if Central Resonant has not appeared in the objective log. Follow the steam and scorch marks to the entrance, clear the enemies in the opening area, then look outside the building for the Power Core Station.
Use the Power Core on the factory’s right side
Absorb a charge from the Power Core Station and carry it to the right-hand side of the factory. Insert it into the power box to open the locked door. Carrying the charge into the correct room is not enough: the door only unlocks once the charge is seated in its power box.
Go through the opened section and take the elevator or cargo lift down. The lower factory leads to the furnace route, but it stays blocked by dangerous heat until all three lava-like growths attached to the pipes are destroyed.

Destroy all three heat growths
The three growths can be destroyed in any order. They are red, molten-looking clusters wrapped around pipework, and each one you remove makes the furnace approach safer. After the third one breaks, the fire obstruction clears and the boss route opens.
- First growth: In the large chamber near the bottom of the elevator route, attached to clearly visible pipes.
- Second growth: At the end of one side route branching away from the central underground room.
- Third growth: At the end of the opposite side route from that same central room.
Clear the central chamber before committing to either branch. It makes the red growths much easier to spot and stops ordinary enemies from pressuring you while you are trying to shoot pipework.
Find the furnace transition
With all three growths destroyed, return to the long staircase and climb upward toward the giant furnace. Enter it, then interact with the wall at the far end. That is the transition into The Deserter encounter.
The visual logic of this area is consistent: steam, scorch marks, pipework, and furnace glow point toward the required route. If the path still looks blocked, revisit the two underground side branches rather than searching for another Power Core door. Central Resonant only asks for one Power Core placement on this route.
How to beat The Deserter
The Deserter uses close-range sweeps, magma projectiles, spreading lava, and arena-wide fire hazards. Treat the fight as a hazard-management encounter first. Its health only matters when the floor gives you room to damage it safely.
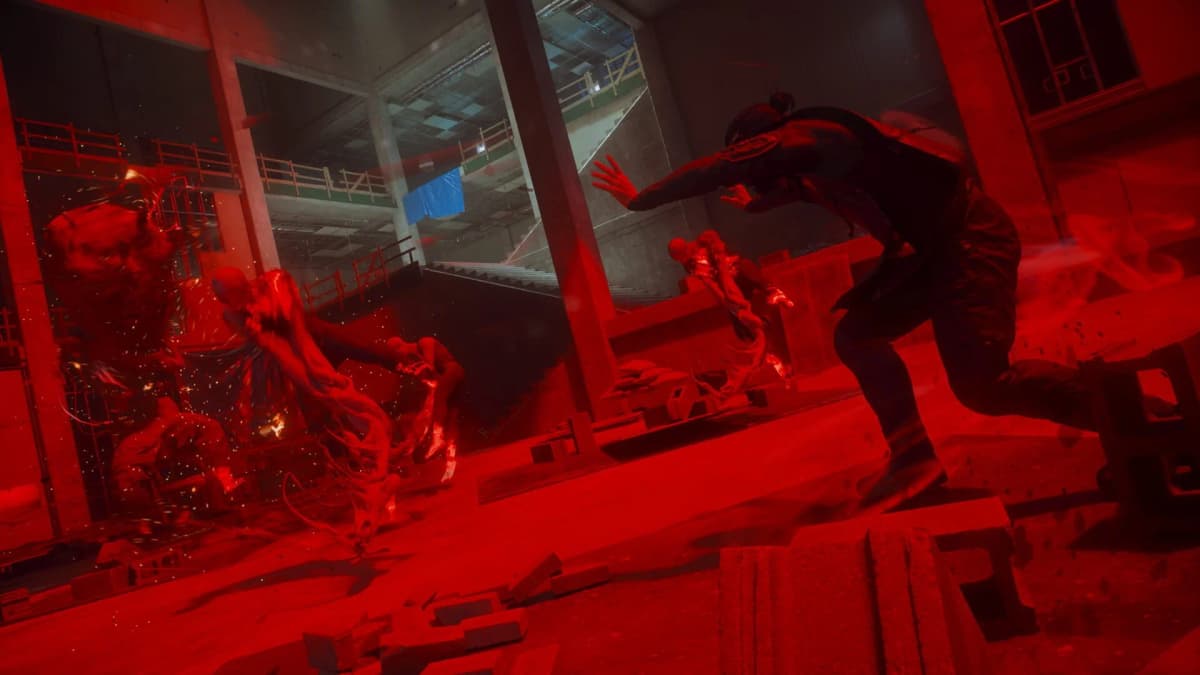
- Work around its legs: Stay close and circle the boss’s legs when the floor is clear. This reduces exposure to some of its broader attacks while keeping you in range to deal damage.
- Leave burning grates immediately: Do not trade health for a few extra hits on burning floor sections. Move to a safe edge or an unlit section when the arena ignites.
- Hit the purple weak point: Watch for the purple chest weak point when The Deserter falls or opens itself up. Use that window for concentrated damage.
- Destroy all four healing sacs on sight: The healing phase creates four purple sacs around the arena. Stop attacking The Deserter and eliminate every one of them before returning to the boss, or it will keep recovering health.
- Wait out the current attack before crossing: Healing sacs can spawn behind fire trails or near active hazards. Cross only after the current projectile or sweep pattern ends.
The reliable rhythm is simple: pressure the legs, disengage for floor fire, punish the purple weak point, then erase all four healing sacs before The Deserter can recover. These are two separate progression checks in one run: three heat growths unlock the furnace route, and four healing sacs interrupt the boss’s recovery phase. Mixing those up is how this fight drags on longer than it should.
Choose Ignite or Inferno after the fight
After the Execution, defeating The Deserter grants a choice between two fire-oriented Combat Abilities. Ignite is the stronger general-purpose selection because it adds fire damage to melee attacks, Barrage, Shield, and Volatile Anomaly; repeated fire damage also applies Burn.
- Choose Ignite for sustained damage across several parts of your regular combat kit. It pays off whenever you rotate melee and abilities instead of relying on one attack pattern.
- Choose Inferno when its burst and area-damage profile better suits an aggressive crowd-control approach. Read its in-game description before confirming, since this is the reward decision at the end of the encounter.
Finish Central Resonant cleanly
After the boss, continue through the Resonant sequence instead of leaving the area. Use the monolith and pedestal to close the quest, then collect the Combat Ability you chose. This completion sequence begins a new Resonant Cycle in the West Incursion Zone, refreshing threats and changing the zone.
For the fastest repeatable route, complete the two prerequisite quests, power the factory door from the right-side box, clear both underground branches for the three growths, then go back up to the furnace. In the boss arena, the purple healing sacs take priority over every other target.
FinalBoss // Gear
Level up your setup
01Top-rated gaming headsetson Amazon→02High-refresh gaming monitorson Amazon→03Gaming chairson Amazon→04Discounted game keyson Kinguin→Affiliate links · As an Amazon Associate, FinalBoss earns from qualifying purchases.
Want to Level Up Your Gaming?
Get access to exclusive strategies, hidden tips, and pro-level insights that we don't share publicly.
Ultimate Guide Strategy Guide + Weekly Pro Tips