
To complete Precipice of Truth in Crimson Desert, stay on the active main-quest route until it leads you upward, clear any encounter that blocks the path, then search the highest reachable ledge for the interaction or story trigger. The easy way to lose time is dropping down a side cliff because the destination looks close; keep your elevation until the quest marker clearly directs you lower.
This is a short main-story objective built around route-finding, a likely combat stop, and a precise trigger point. Reserve roughly 5-15 minutes if you follow the marker cleanly, with extra time if you need to retrace the cliffside approach.
Table of Contents (12)
Before Starting Precipice of Truth
Start the quest from its current story-chain objective or the relevant story NPC, then make sure Precipice of Truth is selected in the quest log before moving out. If another marker is active, you can reach the correct general area and still miss the route that contains the next trigger.
- Restore healing items before entering the cliffside route.
- Keep any mobility tools and defensive options ready for narrow terrain.
- Check that the gold main-story marker, rather than a nearby activity marker, is guiding your path.
- Avoid spending consumables on distant enemies that are not physically blocking the ascent.
The quest route is the priority here. There is no need to detour for exploration objectives while the marker is leading through the precipice section, because elevation changes are the part most likely to break your sense of direction.
Precipice of Truth Walkthrough
1. Follow the Main Marker to the Cliffside Area
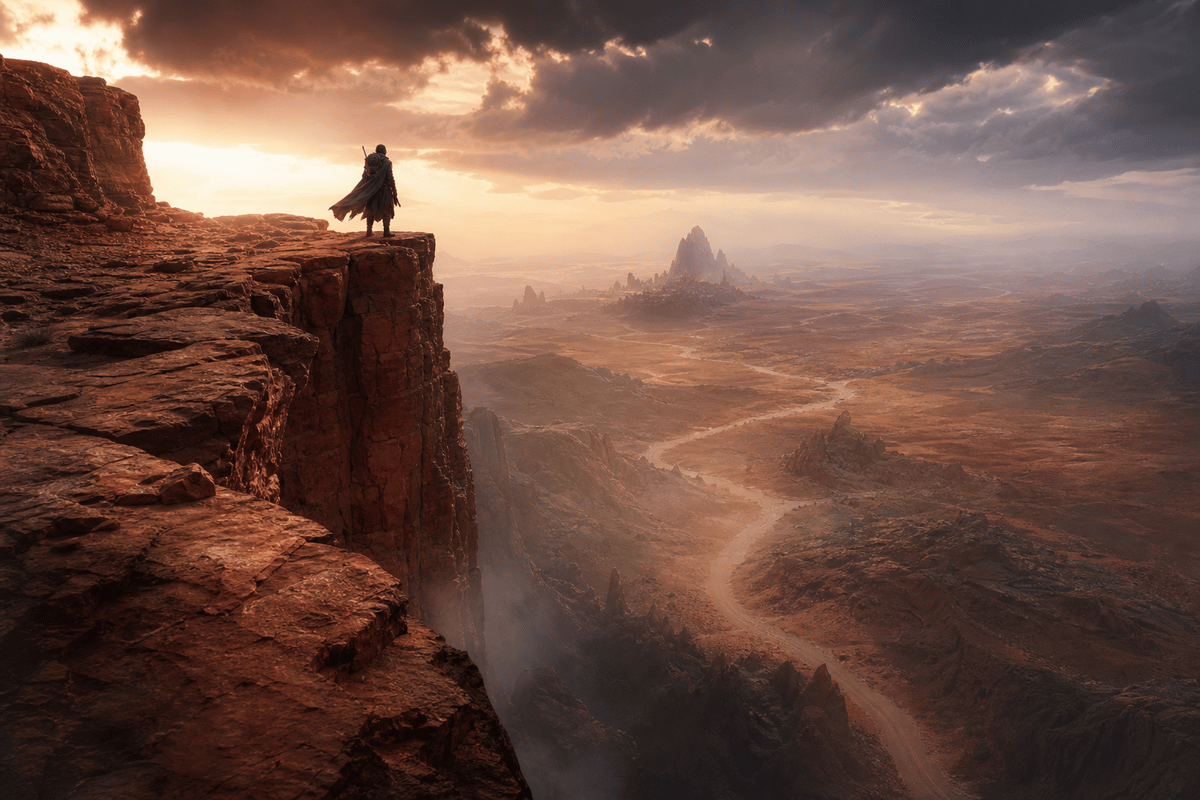
Travel toward the active objective and use the route the marker favors instead of taking the most direct line across the terrain. A precipice objective is built around approach angle as much as distance: the correct path can circle around the rock face before it begins climbing.
Keep the camera angled upward as you approach the marked zone. You are looking for a traversable route that gains height through ledges, ramps, climb points, or a path wrapping around the cliff. A low trail that runs beneath the objective can put you directly below the destination without giving you access to it.
2. Take the Upper Traversable Route
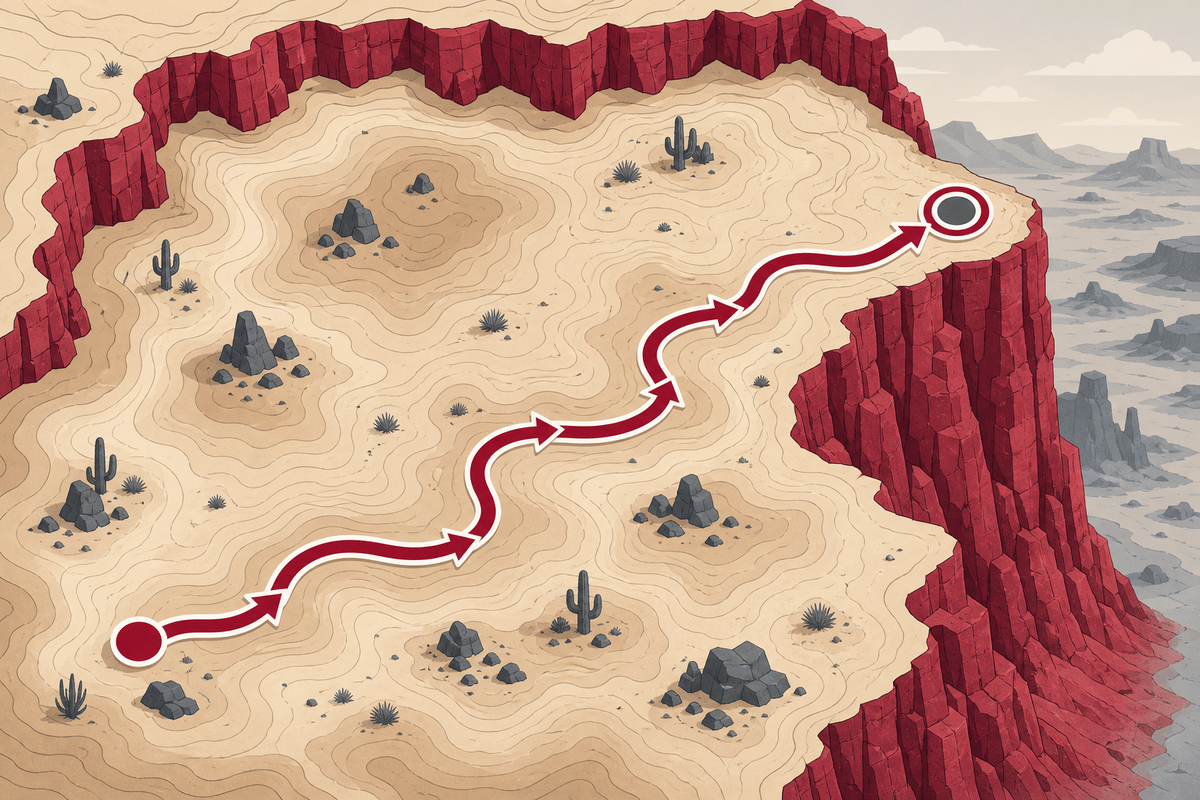
When the terrain splits, favor the route that continues upward and remains connected to the main marker. The correct destination is likely near the summit, overlook, or upper edge of the precipice rather than at the base of the cliff.
Do not jump off a side ledge early. A drop can look like a shortcut to the objective circle, but it may place you underneath the required approach or beyond the trigger radius. If the map shows the marker nearby but your path stops making vertical progress, turn back to the last high junction and check the cliff face for a route around it.
3. Clear the Story Encounter Without Overcommitting
Expect a story-gated encounter before the objective advances. The quest does not require a specialized boss build, so prepare for a compact fight instead of rebuilding your character around a specific enemy weakness.
- Fight away from exposed edges when possible, since narrow ground makes knockback and camera pressure more dangerous.
- Use dodge movement to create room rather than trading hits at close range.
- Hold major cooldowns until the final enemy or final wave if the encounter arrives in stages.
- On a failed attempt, use the retry to identify where enemies enter from before committing healing items again.
Once the route-blocking enemies are down, pause before leaving the area. Story encounters often unlock the final interaction at the same elevation rather than sending you immediately back down the mountain.
How to Trigger the Final Objective
At the upper area, walk through the marked space slowly and check the cliff edge, overlook, and nearby path segments for an interaction prompt or scripted event. The trigger can require you to stand on a specific ledge or approach from the correct side of the rock face.
Use the current objective text as your final check. If it calls for inspecting, meeting, confronting, or reaching something, remain at the highest accessible point until that step updates. Once the event has played or the objective changes, re-open the quest log and follow the newly assigned story marker rather than assuming the quest ends at the precipice.
Precipice of Truth Stuck Fixes
You Reached the Area but Nothing Happens
This is usually an elevation problem. Leave the immediate marker circle, find the nearest route that climbs higher, and return along the upper path. Check narrow ledges and the far side of any large rock formation before assuming the quest is bugged.
The Marker Looks Below You
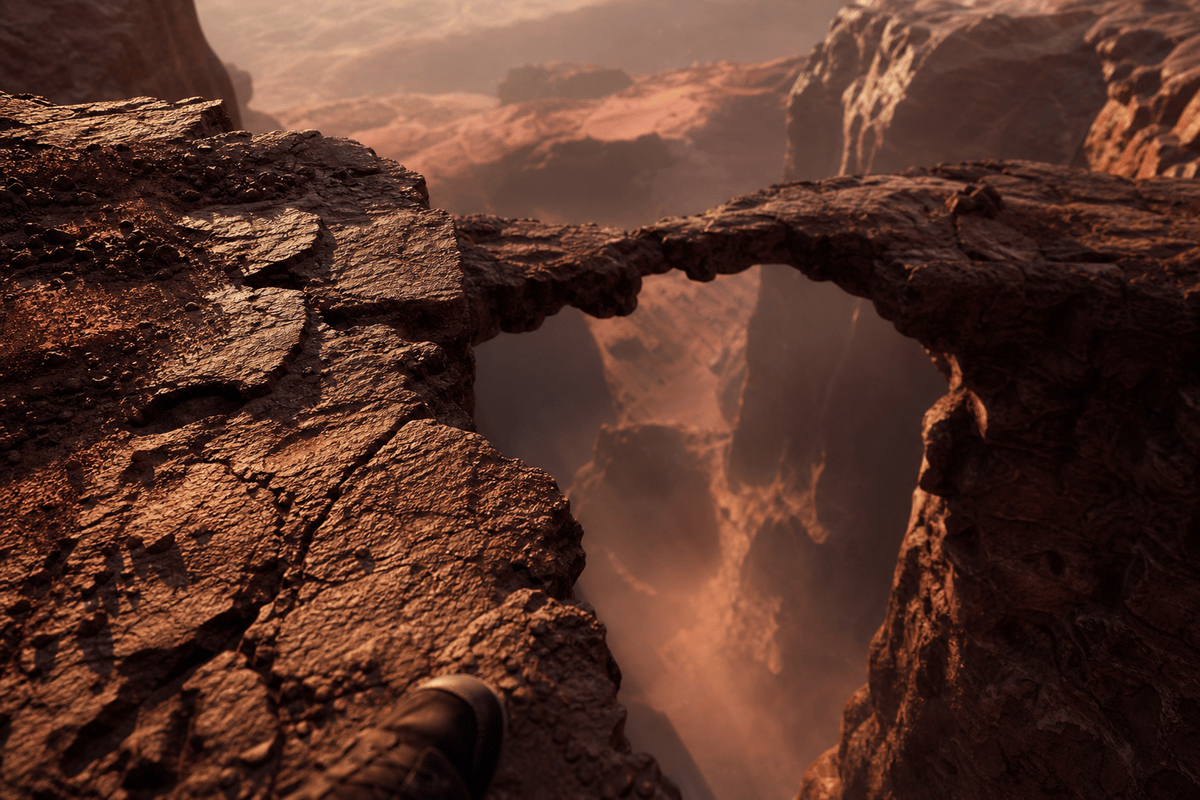
Do not drop straight down unless the marker path explicitly sends you there. First, follow the cliffside route around the edge and look for a controlled descent, a connecting ledge, or an alternate entrance. The vertical distance can be misleading when the trigger is placed on a separate path segment.
Enemies Are Defeated but the Quest Will Not Advance
Return to the encounter space and inspect the upper edge of the arena before moving away. Then open the quest log, confirm that Precipice of Truth remains active, and follow any refreshed marker. The next step may be an interaction rather than another fight.
You Took a Lower Route and Cannot Find a Way Up
Backtrack to the last point where the route clearly climbed toward the objective. The intended path is safer and more reliable than attempting to scale a sheer side of the cliff from below. Rejoining the main marker path is faster than repeatedly searching the lower ground for an unseen jump.
Rewards and What Comes Next
Precipice of Truth advances the main story into its next objective chain. No exact item-reward bundle is tied to this walkthrough, so treat story progression as the important payoff: complete the upper trigger, let the objective update, and continue from the new main-quest marker.
The route is the same across PC, PlayStation 5, and Xbox Series X|S: follow the elevated marker path, avoid premature drops, finish the blocking encounter, and activate the summit-area objective.
FinalBoss // Gear
Level up your setup
01Top-rated gaming headsetson Amazon→02High-refresh gaming monitorson Amazon→03Gaming chairson Amazon→04Discounted game keyson Kinguin→
Affiliate links · As an Amazon Associate, FinalBoss earns from qualifying purchases.
Want to Level Up Your Gaming?
Get access to exclusive strategies, hidden tips, and pro-level insights that we don't share publicly.
Ultimate Guide Strategy Guide + Weekly Pro Tips