
To complete the Sanctum of Benediction in Crimson Desert, clear the Antumbra until the liberation meter reaches 0%, collect the cube and orb reactor cores from the lower side rooms, then use Axiom Force and Force Palm to install them in the central machine. The easy-to-miss step is the lantern beside each sealed door: light it before looking for another route.
The Sanctum sits in western Hernand, near the snowy edge of the map west of Hernand Town. It becomes available through Elowen’s Witch of Wisdom progression. If you reach the ruins and cannot properly begin the restoration objective, continue that questline first.
Table of Contents (9)
What You Need Before Starting
- Axiom Force, used to lift and carry both reactor-core pieces.
- Force Palm or Aerial Force Palm, used to secure each piece once it is in position.
- Access to the Sanctum through the Witch of Wisdom questline with Elowen.
- A cleared Sanctum area; Antumbra enemies can interrupt core movement and make the route needlessly messy.
On PC, Axiom Force may be shown as L3 / TAB depending on your control setup. The exact prompt can differ by platform, but the sequence remains the same: grab the core with Axiom Force, set it near its destination, then lock it with Force Palm.
1. Liberate the Sanctum From the Antumbra
Enter from the south road into western Hernand and work through the ruins toward the central mechanism. Defeat every Antumbra group until the liberation meter displays 0%. Do this before moving either core. The puzzle rooms and stairways are compact, and having enemies attack while you carry a heavy environmental object is the fastest way to lose track of where you were going.
Once the site is liberated, stand at the central machine and use it as your reference point for the entire puzzle. Both pieces are accessed from the stairs and side rooms below it.
2. Open the Lantern Door and Take the First Reactor Core
From the central machine, go down the nearby stairs. Turn around and check the side passage for a sealed door with a lantern beside it. Light the lantern to open the room.
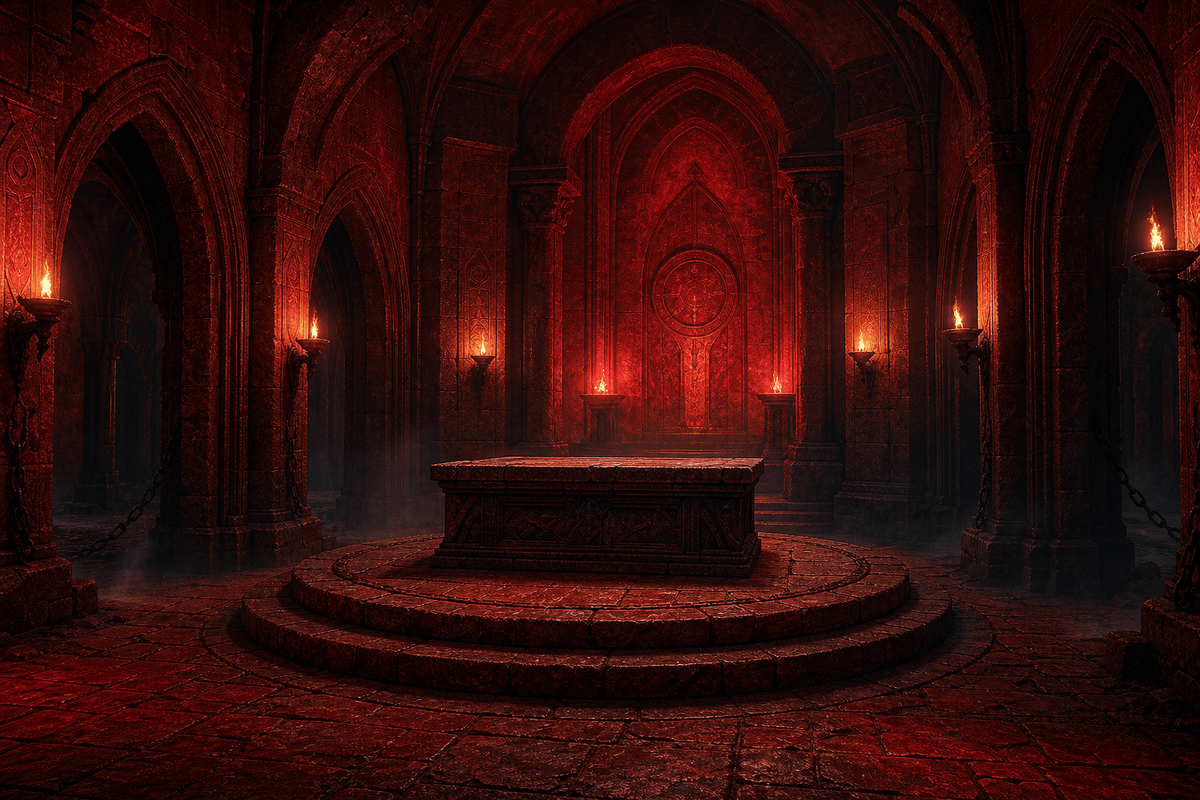
Inside is the first reactor core, a cube-like piece often identified as a Fusion Reactor Core. Use Axiom Force to pick it up, then carry it back upstairs to the central device. If the core feels awkward to handle, keep it centered in front of you rather than scraping it along the doorframe.
3. Install the Cube Above the Northeast Column
Place the cube into its matching position on the central machine, above the northeast column, then use Force Palm to lock it in. The placement looks stricter than it is. You only need to line the cube up closely with the slot; Force Palm will accept it without a perfect visual snap.
If Force Palm does not secure the core, set it down again with the cube slightly more centered over the mounting point. Avoid trying to force it from the side. A clean downward placement gives the ability a much better angle to register the lock.
4. Light the Second Lantern Door
Return down the stairs after installing the cube. The second core is behind another sealed doorway on the other side of the lower ruins. Look for the nearby lantern or brazier and light it; the door opens once the light trigger is active.
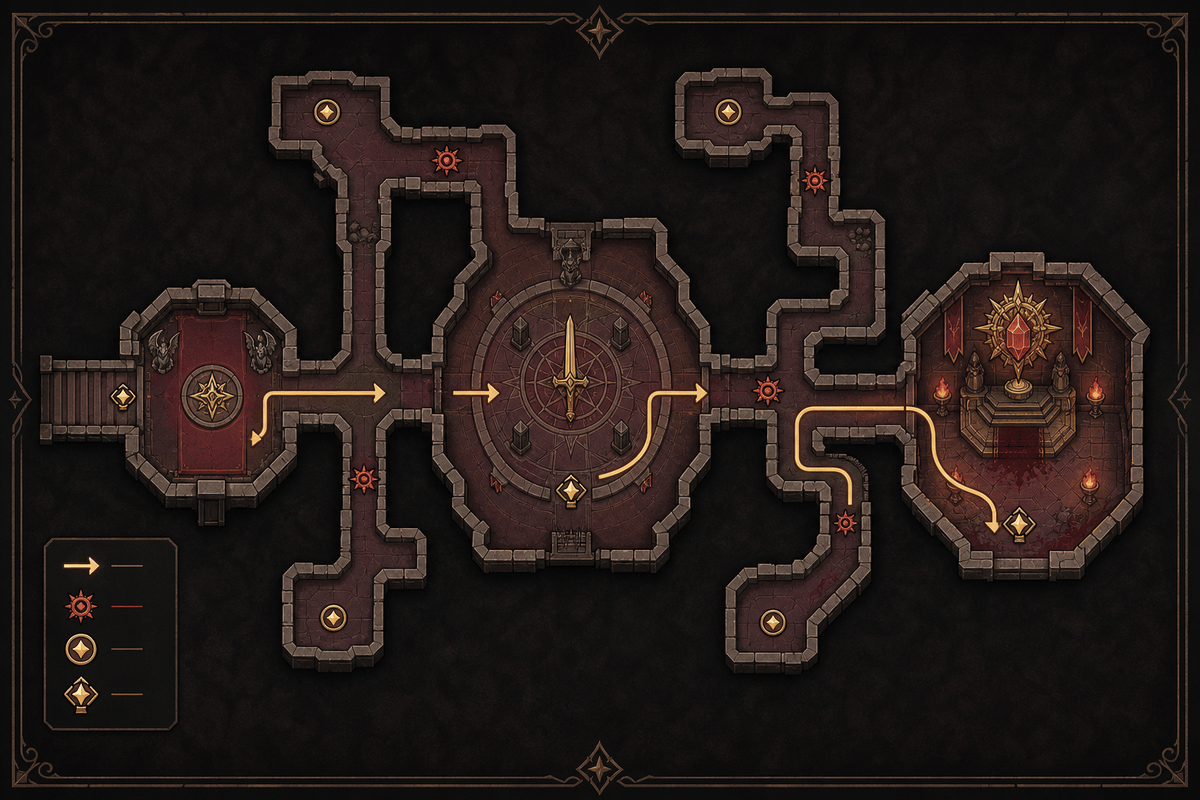
This is the main snag in the Sanctum of Benediction. The second room can seem absent if you search only around the central machine, because the environmental trigger is positioned by the doorway rather than beside the final pillar.
5. Retrieve the Orb and Loot the Side Room
The opened room contains the second core, an orb-shaped reactor piece. Pull it out with Axiom Force. Grab near the top of the orb if it catches on the doorway; pulling from the top keeps it from dragging sideways into the frame.
Check the room before leaving. It contains a chest with the Leather Helm of the Fallen Kingdom, so it is worth collecting before taking the orb back to the machine.
6. Set the Orb on the Broken Pillar
Carry the orb to the remaining broken pillar around the central device. Its direction can be described differently depending on how you approach the machine, but it is the unfinished pillar opposite the completed cube mount. Place the orb on its top surface and watch for the positioning cue: green, leaf-like effects appear when it is aligned correctly.
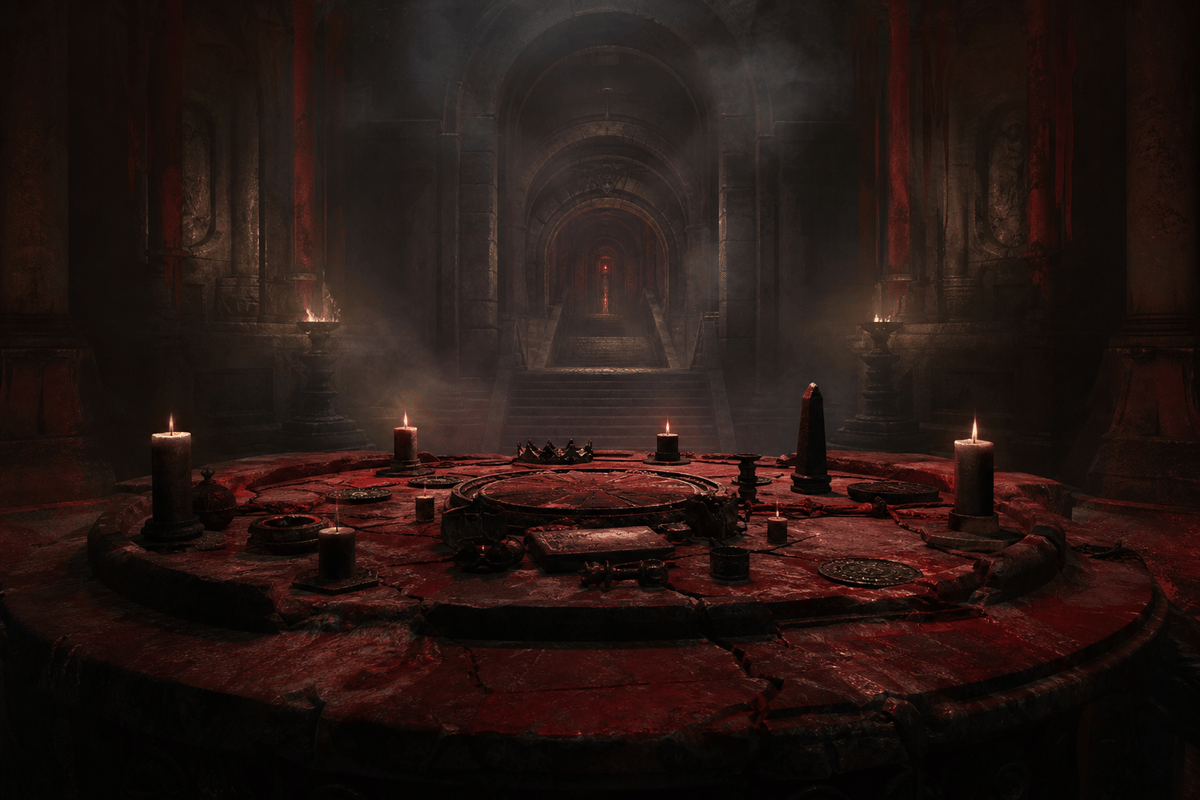
The orb may rest on the pillar before it is fully secured. Do not walk away after setting it down. It needs a final Force Palm interaction to count as installed.
7. Climb the Orb and Use Force Palm to Finish
Climb onto the orb once it is sitting on the broken pillar. From above, use Force Palm or Aerial Force Palm to drive it into place. The central machine activates immediately after the orb locks, cleansing the Sanctum of Benediction.
If the orb falls or refuses to lock, move it slightly farther toward the middle of the pillar top, climb back onto it, and use the downward version of Force Palm. The problem is usually its placement depth, not the timing of the ability.
Sanctum of Benediction Route at a Glance
- Travel west of Hernand Town through the south road.
- Defeat all Antumbra enemies and reduce liberation to 0%.
- Reach the central machine in the ruins.
- Go downstairs, light the first lantern, and retrieve the cube.
- Install and Force Palm the cube into the northeast mount.
- Return downstairs, light the second lantern or brazier, and enter the newly opened room.
- Take the orb, open the chest for the Leather Helm of the Fallen Kingdom, and return to the broken pillar.
- Place the orb centrally, climb it, and secure it with Force Palm or Aerial Force Palm.
The Sanctum is cleared as soon as both cores are locked into the machine. The route is short once you know that each sealed side room is opened by its own lantern, and that the final orb must be secured from above rather than merely placed on the pillar.
FinalBoss // Gear
Level up your setup
01Top-rated gaming headsetson Amazon→02High-refresh gaming monitorson Amazon→03Gaming chairson Amazon→04Discounted game keyson Kinguin→
Affiliate links · As an Amazon Associate, FinalBoss earns from qualifying purchases.
Want to Level Up Your Gaming?
Get access to exclusive strategies, hidden tips, and pro-level insights that we don't share publicly.
Ultimate Guide Strategy Guide + Weekly Pro Tips