
The Sanctum of Penitence has a particularly brutal-looking failure point: you can carry the missing reactor core all the way back to the northern machine, place it on the damaged pillar, and still get no completion. The fix is to climb onto the core and finish the placement with a jump-assisted Force Palm, also called Aerial Force Palm. Clear the enemies first, retrieve the core from the southern ruins, line it up directly over the broken column, then slam it down from above.
This Witch of Wisdom sanctum sits in Hernand, east of the region around Howling Hill. Its primary restoration unlocks progress with Elowen, while a separate hidden chamber contains an optional light-timing puzzle for the Core of Penitence.
Table of Contents (9)
What You Need Before the Sanctum Will Work
Reach the Sanctum of Penitence after beginning The Witch of Wisdom and gaining access to the Witch faction content connected to Elowen. The sanctum puzzle can remain inactive before that progression point, even when you have already found the ruins.
- Progress in The Witch of Wisdom far enough to meet the Elowen-related condition.
- Access to Force Palm and its jump-assisted Aerial Force Palm use.
- A Kuku Pot, if available, to store the Fusion Reactor Core for the trip back to the machine.
- A cleared combat area before attempting the restoration puzzle.
Important: the sanctum is occupied by Antumbra enemies. Their attacks can stagger you while carrying or positioning the core, turning a simple placement puzzle into a messy reset. Treat the liberation meter as the first objective rather than trying to solve the machine while the courtyard is still hostile.
Step 1: Liberate the Sanctum Until the Meter Reaches 0%
Enter the ruins and defeat every hostile enemy until the sanctum’s liberation meter reads 0%. Sweep the full site instead of stopping after the enemies nearest the central device; remaining targets can be tucked around the outer ruin paths and lower spaces.
Clearing the site creates the breathing room needed for the actual puzzle. You will be carrying or moving a large object through broken architecture, then standing on that object to use an aerial ability. Leaving enemies alive creates exactly the kind of interruption that makes the final slam fail or forces you to reposition the core.
Step 2: Find the Fusion Reactor Core in the Southern Ruins
The missing piece is away from the main machine. From the central sanctum area, head into the southeastern or southern interior ruins. Look for the lower route with broken flooring, rubble, and stairs leading down from the open courtyard.
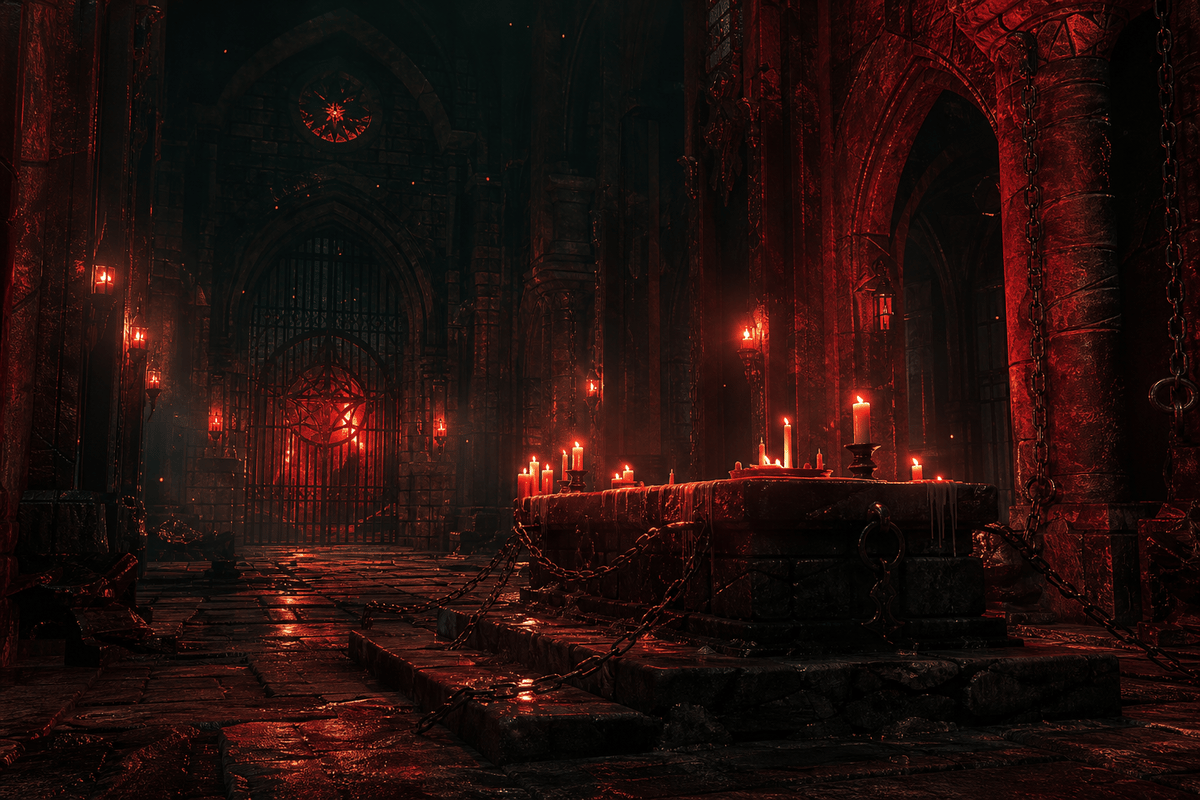
The most reliable landmark is a roofless lower room reached by descending two flights of stairs. The Fusion Reactor Core, sometimes described as the missing pillar block, is inside this lower ruin space rather than beside the device you are repairing.
Players commonly lose time by circling the northern machine platform and expecting the missing piece to spawn nearby. Commit to the southern ruin interior, search below the broken floor sections, and check every downward stair route before doubling back.
Step 3: Bring the Core Back to the North-Side Machine
Carry the Fusion Reactor Core back to the machine on the north side of the sanctum. A Kuku Pot makes this part cleaner because it lets you transport the object without wrestling it through every broken edge and stair. You can also move the core manually if you do not have one.
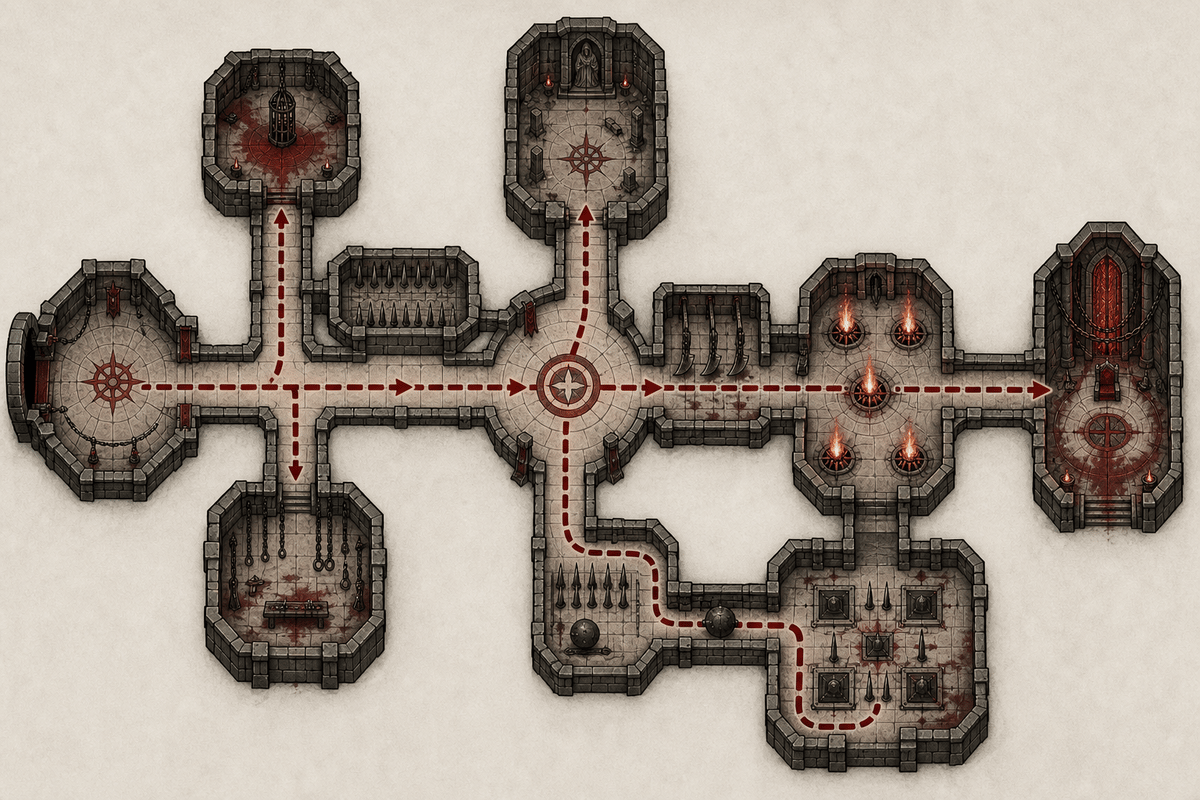
At the machine, identify the damaged pillar with the gap where the missing block belongs. Position the core directly above that broken column. The placement needs to be centered enough for the aerial finisher to register, so take a second to correct its angle and height before trying the ability.
The core will not complete the repair simply because it is resting near the pillar. The final action has to be performed from the top of the core.
Step 4: Lock the Core in With Aerial Force Palm
Climb onto the positioned core, jump, then activate Force Palm in the air to perform the Aerial Force Palm slam. On the control terminology used for the sanctum, this is commonly described as jumping and pressing R3 on controller or the Mouse Wheel on PC. Follow the Force Palm input shown by your platform’s control prompts if your bindings differ.
A successful slam drives the block into the pillar, powers up the machine, and starts the sanctum’s restoration sequence with Elowen. The machine’s hum and the cutscene are the confirmation that the primary puzzle is complete.
If the Core Will Not Lock In
- Re-center the block: it needs to sit directly over the damaged pillar rather than touching its edge.
- Get on top of the core: ground-level Force Palm does not perform the required finishing action.
- Jump before using Force Palm: the puzzle is looking for the aerial slam version of the ability.
- Clear the sanctuary completely: return to combat only after checking that the liberation meter is already at 0%.
- Reposition and repeat: a failed slam does not require a full sanctum reset.
The visual trap here is that the core can look correctly placed while sitting slightly off-center. If the game gives you no activation, move it a small distance, line it up squarely above the broken column, climb back up, and use the aerial slam again.
Step 5: Find the Hidden Treasure Chamber
After purifying the sanctum, move to the back-side ruins rather than staying on the machine platform. Face away from the sanctum’s main structure and head toward the stairs. Climb the wall to the left of those stairs, then look for the collapse in the back-left section of the ruin floor.
Drop through that broken floor route to reach the hidden chamber. The route uses short climbing and vertical movement, so it is easy to miss while searching at ground level. This area contains the sanctum’s extra treasure route and the optional crystal-ring puzzle.
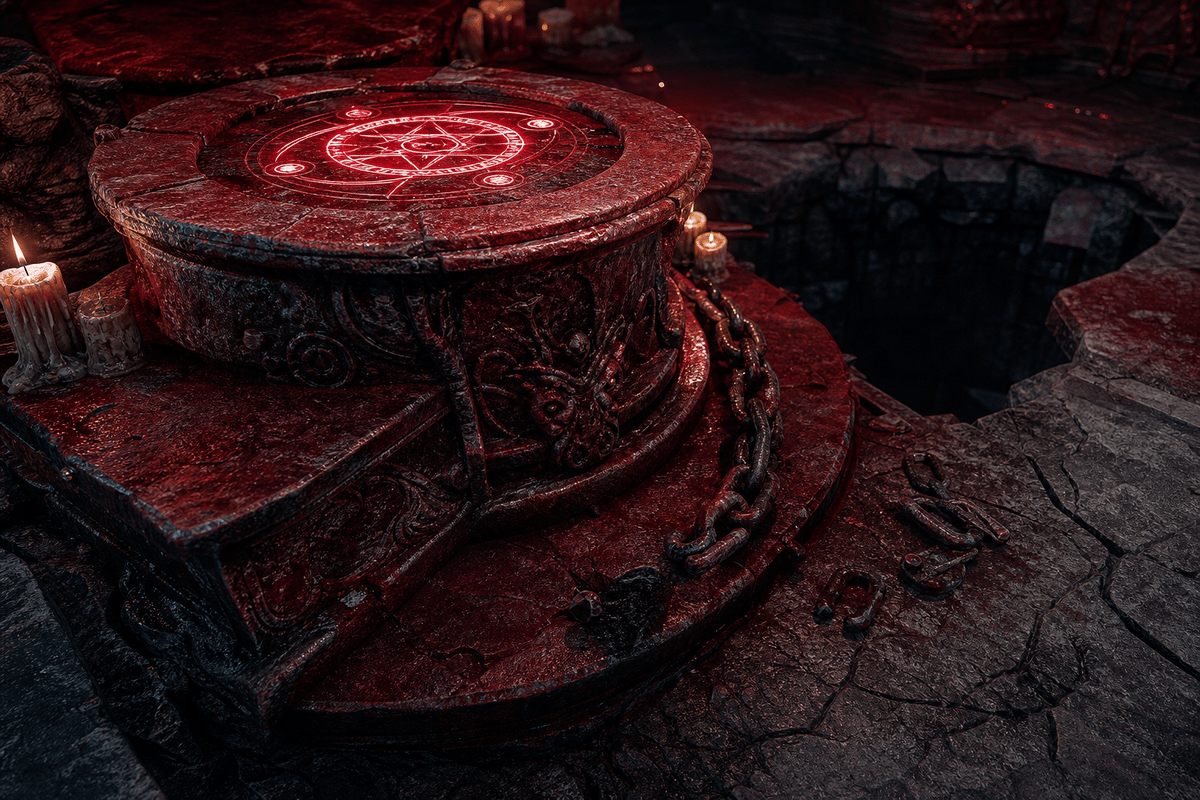
The regular sanctum treasure includes Blackwing Leather Gloves, part of the Crowcaller’s Blackwing set. The chamber’s separate puzzle rewards the Core of Penitence.
How to Solve the Core of Penitence Crystal Ring Puzzle
In the hidden chamber, stand before the seal with the central blue crystal. Use Blinding Flash on the crystal as the ring rotates. The timing matters: activate the light while the rotating dial is aligned with a blue crystal segment, then release it while the dial is passing a stone segment.
On controller terminology, Blinding Flash is performed with L1 + R1. Keep the effect active through the blue crystal portions, stop on the stone gaps, and continue until the circuit completes a full loop. Completing that rotation causes the Core of Penitence to drop.
- Start when the rotating dial is centered on a blue crystal.
- Use Blinding Flash while the ring passes blue crystal segments.
- Release the light while the ring passes stone sections.
- Continue the rhythm until the full circuit is completed.
If the ring falls out of sequence, re-center your attention on the next blue crystal section and resume the timing pattern. The puzzle does not require you to replay the sanctum combat or restore the reactor core again.
Sanctum of Penitence Rewards and Final Route Check
- Primary sanctum clear: Witch of Wisdom progression and the Elowen restoration sequence.
- Sanctum chest: Blackwing Leather Gloves from the Crowcaller’s Blackwing set.
- Hidden chamber puzzle: Core of Penitence.
The efficient completion order is simple: unlock the Witch of Wisdom requirement, clear every Antumbra enemy to 0%, retrieve the core from the southeastern lower ruins, return it to the north machine, then climb onto it for the Aerial Force Palm slam. Finish by taking the back-left collapsed-floor route to the hidden chamber and timing Blinding Flash with the blue crystal segments. That route clears the sanctum’s main objective and its optional reward without leaving the most valuable room behind.
FinalBoss // Gear
Level up your setup
01Top-rated gaming headsetson Amazon→02High-refresh gaming monitorson Amazon→03Gaming chairson Amazon→04Discounted game keyson Kinguin→Affiliate links · As an Amazon Associate, FinalBoss earns from qualifying purchases.
Want to Level Up Your Gaming?
Get access to exclusive strategies, hidden tips, and pro-level insights that we don't share publicly.
Ultimate Guide Strategy Guide + Weekly Pro Tips