Crimson Desert: How to Unlock Lightning & Wind Magic – Abyss Puzzle Guide
Why Lightning & Wind Magic Are Worth the Trouble
The moment Lightning Surge first crackled out of my sword in Crimson Desert, regular melee fights instantly felt different. A few chapters later, Storm Veil gave me a get-out-of-jail button: a smoke screen that breaks line of sight and lets me peel off a losing fight instead of dying in it. Both elements are locked behind Abyss content and some surprisingly fiddly trials, and the game barely explains the steps at all.
This guide breaks down exactly how to unlock Lightning and Wind magic and how to clear the Abyss trials tied to them, step-by-step. I’ll walk through the story requirements, the Abyss island routes, and the typical mistakes that had me running in circles. If you want to unlock Lightning & Wind magic without wasting time, this is the route I wish I’d followed from the start.
Prerequisites Before You Chase Elements
Before going deep into the Abyss, it’s worth checking a few boxes. You don’t need a min-maxed build, but going in too early turns these trials into a slog, and two of them are hard story-gated anyway.
- Lightning is gated behind Chapter 4 – it unlocks during Chapter IV: The Price of Knowledge, when the Spire of the Stars and its Abyss island chain become reachable north-east of the Scholastone Institute.
- Wind is gated behind Chapter 8 – you only get the Spire of Clockwork Key after finishing the Chapter 8 quest A Fleeting Dream, and you can enter the spire from Chapter 9 onward. Don’t go hunting for Wind early; it simply isn’t available yet.
- Stamina & Spirit investment – several Abyss segments expect you to sprint, climb and glide. Put at least a couple of upgrades into both Health and Spirit so you’re not chugging consumables between attempts.
- Plenty of healing items – treat the Abyss like a dungeon and stock up before you go, so failed attempts don’t send you back to town.
Once those basics are covered, you can grab Lightning as soon as Chapter 4 opens, come back for Wind after Chapter 8, and then mop up the optional Ancient Ruins puzzles for extra Abyss Artifacts and gear.
How to Unlock Lightning Magic – Spire of the Stars & Courtyard of Precision
Step 1 – Reach the Spire of the Stars Abyss island chain
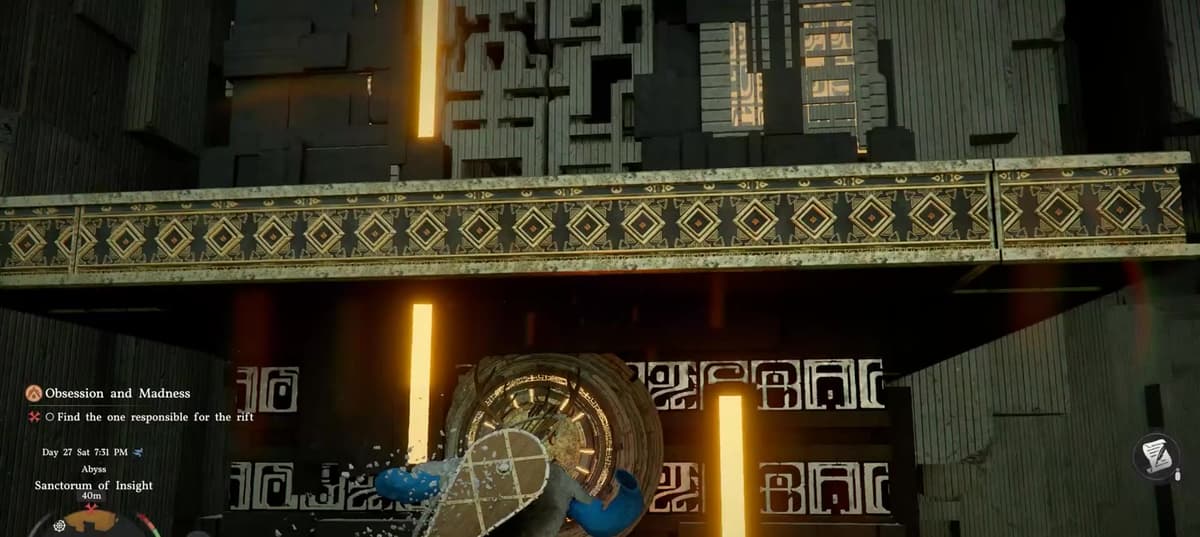
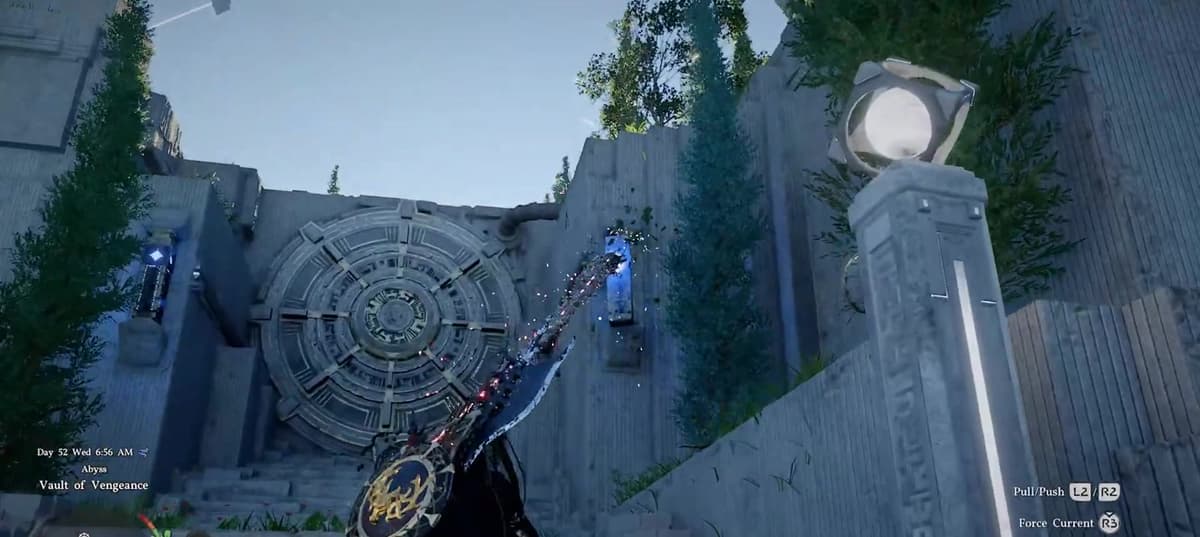
Lightning sits at the end of an Abyss island chain you reach through the Spire of the Stars, which opens up during Chapter IV: The Price of Knowledge (north-east of the Scholastone Institute). It isn’t a single room – it’s a run of linked islands: Sanctorum of Insight, Secret Garden, Vault of Vengeance and finally the Courtyard of Precision, each handing you an Abyss Artifact along the way.
From an Abyss Nexus obelisk, pick the route toward the Spire of the Stars and confirm travel. This is where I initially got lost, assuming Lightning would just drop from the first chest. It doesn’t – you have to work all the way to the Courtyard of Precision at the end of the chain.
Step 2 – Solve the Spire of the Stars panel puzzle
The Spire of the Stars puzzle isn’t about rotating platforms – it’s a symbol-alignment puzzle on the wall rails. You slot the loose Engraved Stones into the empty square holes, then slide the wall panels so their symbols line up in the right order.
- Pick up the Engraved Stones lying around the room and place each one into a matching square socket.
- Then arrange the wall panels by symbol. The order that worked for me: the sideways hourglass stays at the top, the circle sits on its own, the square goes to the bottom, and the triangle sits second from bottom.
- When the panels line up correctly, the gate to the next island opens.
Common mistake: I kept trying to brute-force the panels before placing the stones. Seat the Engraved Stones first – several panels won’t lock into the right position until the stones are in.
Step 3 – Clear the Courtyard of Precision trial
Here’s the big correction: the Courtyard of Precision is not a wheel puzzle. It’s a reflex and precision-shooting trial built around Focus Shot, run across a few phases.
- Ground phase: use Focus Shot to mark and hit the yellow diamond targets in quick succession. Once you tag one it turns blue and a hidden timer starts, so you have to hit the next before the first resets. Ignore anything that’s already blue.
- Aerial phase: an air vent kicks in – use Flight to rise, then Focus Shot mid-air. Your momentum stops while you aim, so you only get around five seconds before you drop too low to land the shots.
- Finish: a jumping Force Palm on the central circular button completes the trial.
Clearing it spawns the Abyss Artifact (and a fast-travel node) that unlocks Lightning Surge.
Step 4 – Equipping and using Lightning
Lightning auto-unlocks once you grab the artifact and shows up in your Radial Menu, but that only proves you own it. To actually put Lightning on your attacks:
- Open the skill tree and spend Abyss Artifacts on the Imbue Element nodes in the red (offense) branch.
- Then open the radial menu and select Lightning from the element slot. Your imbue-enabled attacks will now deal Lightning damage.
In combat, Lightning excels at chunking down shielded or tightly grouped enemies. I like pairing it with fast, multi-hit skills: more hits means more chances to apply the elemental burst and stagger weaker mobs.
FinalBoss // Gear
Level up your setup
01Top-rated gaming headsetson Amazon→02High-refresh gaming monitorson Amazon→03Gaming chairson Amazon→04Discounted game keyson Kinguin→
Affiliate links · As an Amazon Associate, FinalBoss earns from qualifying purchases.
Want to Level Up Your Gaming?
Get access to exclusive strategies, hidden tips, and pro-level insights that we don't share publicly.
Ultimate Guide Strategy Guide + Weekly Pro Tips
How to Unlock Wind Magic – Spire of Clockwork & Riddle Square
Step 1 – Reach the Spire of Clockwork in Demeniss
Wind – specifically the Storm Veil skill – is unlocked at the Spire of Clockwork, out in the east of Demeniss (near the Elemore Estate). You can’t get inside until you’ve cleared the Chapter 8 quest A Fleeting Dream, which hands you the Spire of Clockwork Key; the interior becomes accessible from Chapter 9.

Step 2 – Power up the spire and open the Abyss gate
Inside, you’re restoring power to the tower so the mechanism turns:
- Jump onto the yellow lever/switch on the ground floor, straight ahead of the entrance, to power the lower half.
- Climb to the second yellow switch on the cog about halfway up and trigger it to power the rest of the spire.
- Continue to the top, wait for the rotating cog to open a gap, and step through onto the balcony.
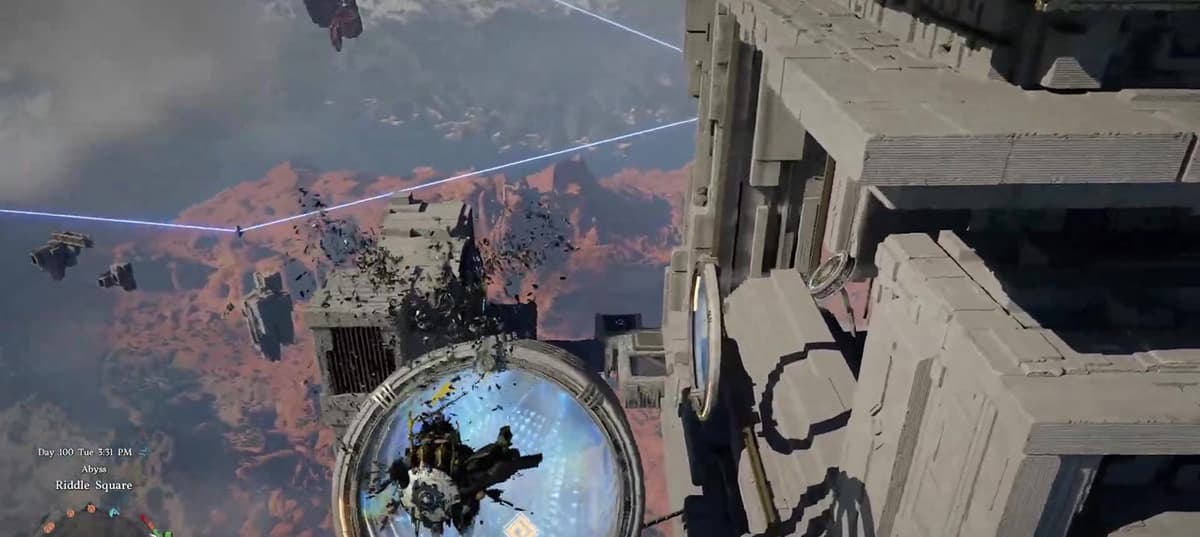
- Go right, hit the button to call the elevator, and ride it up into the central roof room. An Abyss gate appears and transports you to Riddle Square.
Step 3 – Clear the Riddle Square glide trial
Riddle Square is a movement trial, not a combat one:
- Use Axiom Force on the yellow switch to the right of the large fan to start the trial.
- Use your glide to pass through a series of rings within a time limit – each ring you clear tops your stamina back up, so commit to the line and keep moving.
- You land beside a large circular switch. Climb on and perform a Force Palm to activate it, which spawns an Abyss Artifact on the podium below.
Grab the artifact and Wind is yours. Storm Veil isn’t a traversal tool – it’s an escape: it drops a smoke bomb that breaks line of sight so you can disengage from a fight (Right Trigger + A on Xbox, Right Trigger + X on PlayStation). And once you’ve taken the Imbue Element nodes, you can add Wind to attacks like Force Palm or Turning Slash.
Key Ancient Ruins Puzzles Worth Doing (Step-by-Step)
Once Lightning and Wind are unlocked, the open world is dotted with Ancient Ruins puzzles that reward strong artifacts and teach you how to read the game’s puzzle language. Solve one and its Abyss Cresset lights up, handing you an Abyss Artifact and a fast-travel point. Here are three that stood out and how I handled them.
Deepfog Basin Dragon Head Ruins – Sliding Tile Puzzle
On the hillside west of Thalwynd, the Deepfog Basin Dragon Head Ruins hide a sliding-image puzzle that’s easy to overthink.
- It’s a 3×3 image puzzle: the bottom row is already painted and locked, so you only rearrange the top and middle rows.
- Use the Stab Skill to drag each tile (LB + Y / L1 + Triangle on controller, or Left Shift + Right Click on PC).
- Slide the tiles until the picture lines up – the sun tile, for example, belongs in the top-right slot.
Tip: if the image looks complete but nothing triggers, nudge each tile a touch – they’re often a pixel or two out of their slot, and that’s usually all that’s stopping the Abyss Cresset from activating.
Deepfog Basin Everfrost Ruins – Matching Pillar Heights
West of Calphade, south of Everfrost, the snowy Deepfog Basin Everfrost Ruins are all about matching pillar heights.
- Stab your sword into the short central column and turn it left or right to raise or lower the surrounding pillars.
- The four stab points (front, back, left, right) each move a different set of pillars – the puzzle is working out which point to use and how far to turn it.
- Goal: get every pillar to the same height.
What helped me: the snow hides how high each pillar actually sits, so pull the camera up to a high angle before you start – the offsets are far easier to read from above.
Halssius Conflux Ruins – Light Beam & Statue
South-east of St. Halssius’s House of Healing sit the Halssius Conflux Ruins, built around a statue that fires a focused beam of light.
- First, clear the loose pillars off the central area so they’re not in the way.
- Use the Stab Skill on the central pillar, then rotate the metal ring on the ground so its symbol matches the one the statue’s beam is pointing to.
- Work through the rotations in order until each symbol set lines up; when it’s right, the beam locks in and the Abyss Cresset activates.
The main pitfall is over-rotating and losing track of which symbol you just changed. If it gets messy, reset the ring to its default and rebuild the alignment one symbol at a time.