
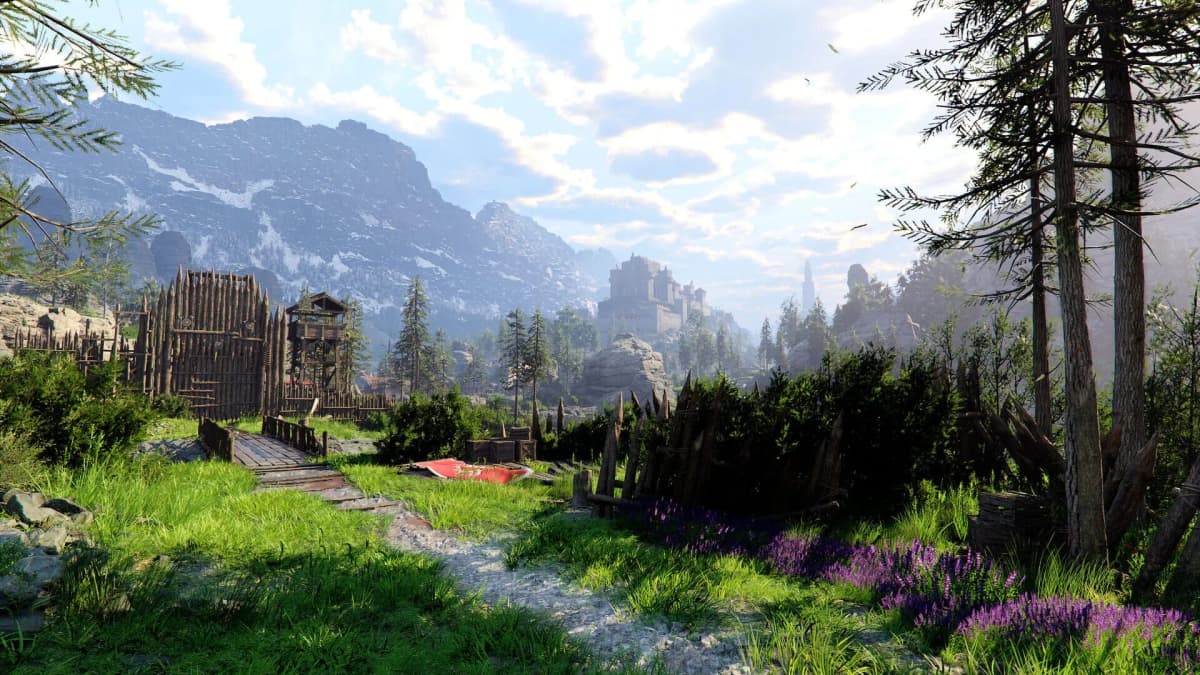
Varnia, the Altar of Solitude Abyss, and the Antumbra Sword are easiest to handle as one progression route: clear the Witch of Wisdom prerequisites first, use the northern road to establish Varnia travel access, then return to the Abyss with Force Palm ready. Each blocker uses a different system — navigation, environmental interaction, and quest state — so treating all three as simple map markers wastes time.
The key trap: Varnia is a late exploration destination, the Altar requires a repeating teleporter state change, and the Antumbra Sword comes from a Sanctum boss-reward chain. Reaching the right area alone will not complete any of them.
Table of Contents (13)
Best Progression Order for Varnia, the Abyss, and Antumbra
Start by advancing the content that unlocks the Witch of Wisdom and the Sanctum. That is the least transparent part of the route because the Antumbra Sword reward depends on quest progression before the boss state can resolve properly. Once those requirements are in place, make the long northern trip to Varnia, activate its travel points and bell tower, then use that expanded map access to tackle the Altar of Solitude Abyss without repeating long desert rides.
- Finish the quest progress tied to the Witch of Wisdom and Sanctum access.
- Travel north from Tommasso to Varnia using the main road.
- Activate travel points and ring the Toll of Varnia bell.
- Complete the Altar of Solitude loop with Axiom Force or Force Palm and the teleporter.
- Enter the Sanctum of Absolution only after the Witch of Wisdom chain has opened the correct boss progression.
- Defeat the Antumbra’s Sword encounter and collect the Antumbra Sword unlock.
This order reduces backtracking. The road to Varnia is predictable once unlocked, while quest flags and environmental puzzle states are the parts most likely to stall progress if handled out of sequence.
How to Reach Varnia Without Getting Lost in the Desert
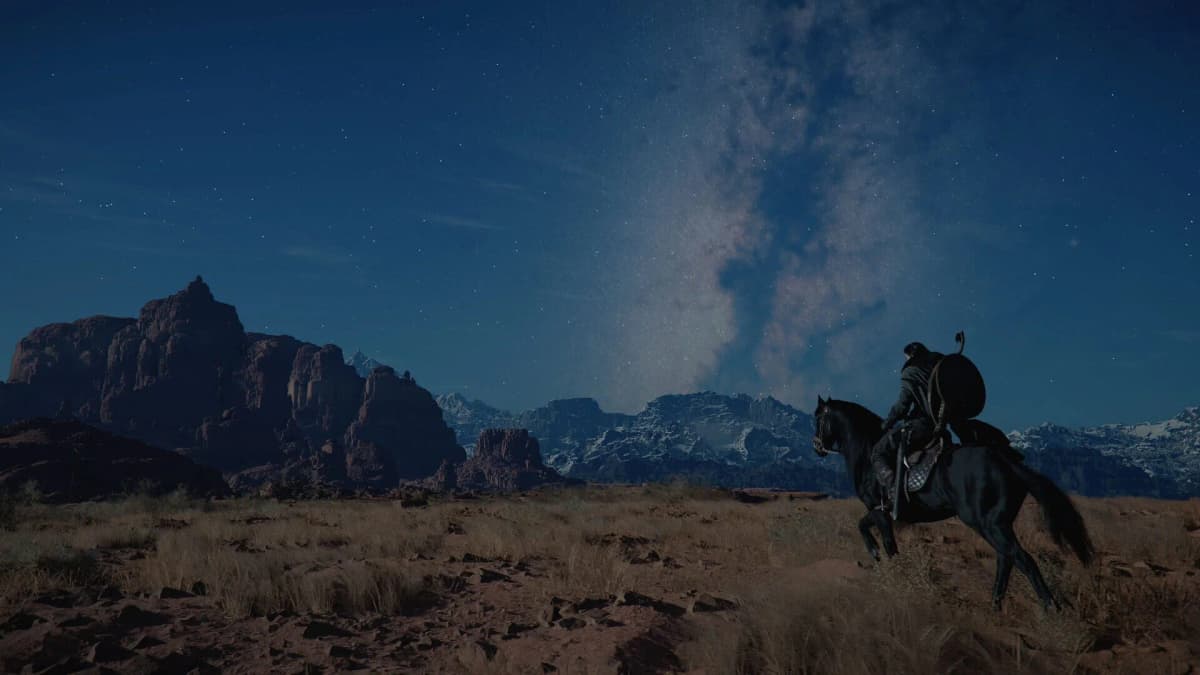
Varnia sits at the far northern edge of the Crimson Desert region on Pywel. The reliable route begins at Tommasso and stays on the main road all the way north. Avoid trying to cut across open desert terrain: the rough ground looks like a shortcut, but it creates more navigation errors and usually takes longer than following the established route.
Follow the Main Road From Tommasso
- Begin at Tommasso.
- Take the main road heading north toward Urdavah.
- Continue past Trader’s Expanse rather than turning into the open desert.
- Keep following the northern road until you enter Varnia.
The road is worth treating as a progression sweep rather than a one-purpose trip. Activate any fast-travel points you pass, clear nearby map fog where practical, and collect useful resource nodes along the route. That turns the Varnia ride into a permanent navigation upgrade instead of a journey you need to repeat from scratch later.
Important: If Varnia remains inaccessible despite following the route, the issue is likely story progression rather than your pathing. Varnia becomes relevant well after the campaign has opened the necessary travel and exploration systems, so an incomplete main progression route can prevent the trip from functioning as expected.
How to Activate the Toll of Varnia Bell Tower
Reaching Varnia is only the first half of the job. The Toll of Varnia bell tower is a key map-reveal objective, and players often lose time because climbing the tower does not automatically trigger the bell. The actual interaction is a lever or bar mechanism at the top.
Route to the Tower
- Enter the route through Varnia Gorge.
- Follow the single pass through the gorge and cross the river using the route provided; swimming across is unnecessary.
- Continue up the main path toward Whitesand Retreat.
- Approach the bell tower and climb toward its upper section.
Inside stairs can take you upward, but scaling the outside of the tower is often the cleaner line to the upper mechanism. The important part is reaching the lever position, not simply standing on the highest visible platform.
Use the Lever to Reveal the Bell
At the top, interact with the wooden lever or bar mechanism. This opens the bell structure and reveals the Toll of Varnia objective. If the tower appears complete but the map fog has not changed, return to the top and check the mechanism again. The bell does not activate from climbing alone.
- Wrong approach: Crossing the desert directly and arriving from an awkward angle.
- Wrong assumption: Treating the tower summit as the final trigger.
- Correct solution: Follow the gorge route, reach the upper mechanism, and push the lever that exposes the bell.
How to Solve the Altar of Solitude Abyss Puzzle
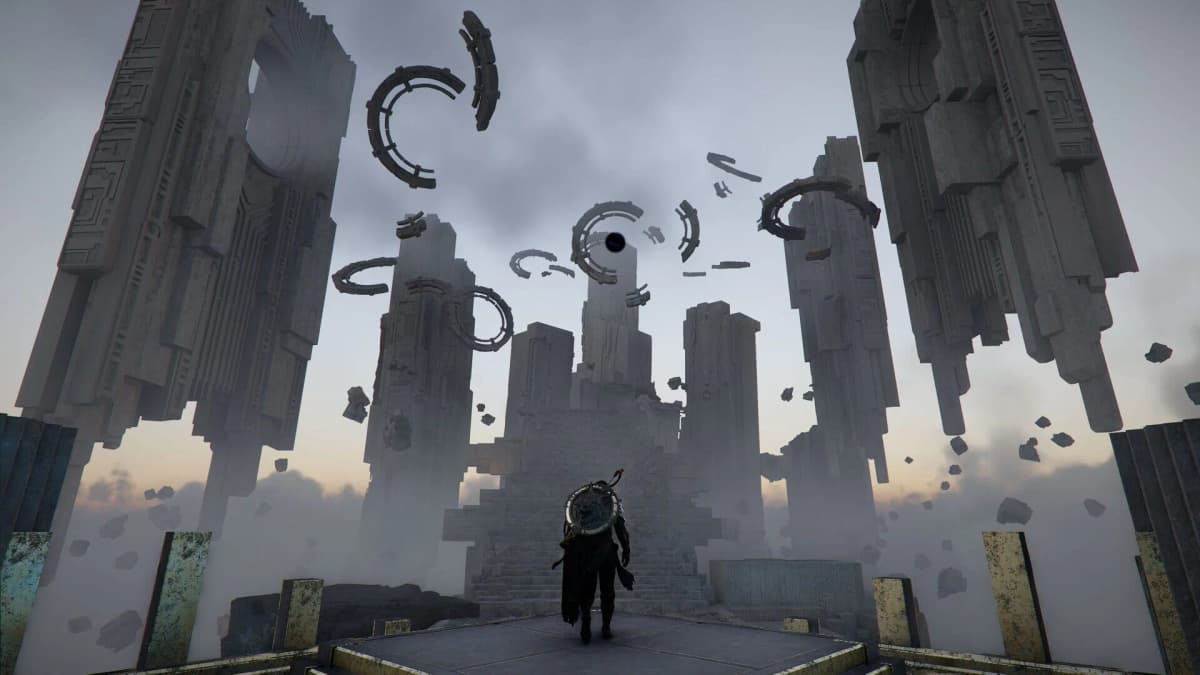
The Altar of Solitude is built around a controlled loop. The solution depends on using Axiom Force or Force Palm on the correct puzzle interactable, taking the nearby teleporter, and repeating the altered sequence until the altar path opens. Clearing enemies or searching for a conventional key will not change the puzzle state on its own.
The Altar of Solitude Loop, Step by Step
- Enter the Altar of Solitude Abyss and locate the object or node connected to the puzzle mechanism.
- Use Axiom Force or Force Palm on the interactable that responds to the skill.
- Take the teleporter that becomes available or is tied to that activation.
- On the other side, repeat the interaction sequence as the loop updates.
- Continue until the seal or route changes and the altar path opens.
The teleporter is part of the solution state. Returning through it can feel like the puzzle has reset, particularly when the destination resembles the room you left, but that repetition is the intended mechanic. The loop advances through the combination of correct targeting and teleport movement.
How to Tell You Targeted the Wrong Object
Abyss spaces contain scenery and props that can look mechanically important. Force Palm must hit the actual puzzle target. If there is no teleporter response, no environmental change, and no update to the altar route, stop trying random nearby objects and re-check the interactable closest to the puzzle structure.
- No visible progress after using Force Palm: You likely struck scenery instead of the intended node.
- The teleporter returns you to a familiar area: Continue the loop; the teleport is a required state change.
- Enemies are defeated but the path remains shut: Return to the Force Palm interaction. The Altar is governed by puzzle state, not combat completion.
- The loop seems unresponsive after several attempts: Leave the immediate area and re-enter to refresh the interaction sequence, then begin again from the correct target.
How to Unlock the Antumbra Sword Through Witch of Wisdom
The Antumbra Sword is a boss reward, not a weapon hidden in a chest. Its route runs through the Witch of Wisdom progression and leads to the Sanctum of Absolution in southwest Hernand, where the Antumbra’s Sword encounter becomes available.
Handle this as a dependency chain. The boss arena can be reached before every relevant quest condition is complete, which is why entering the Sanctum early can leave the encounter or reward state looking incomplete.
Antumbra Sword Unlock Path
- Advance the main and side progression required to open the Witch of Wisdom path.
- Continue the Witch of Wisdom sequence until it leads into the Sanctum progression.
- Travel to the Sanctum of Absolution in southwest Hernand.
- Complete the boss flow tied to the Antumbra’s Sword encounter.
- After the boss state changes, check for the Antumbra Sword reward or its associated weapon unlock trigger.
Why the Sanctum Can Seem Blocked
The Sanctum route is sensitive to progression order. Reaching the location does not replace the Witch of Wisdom prerequisites, and defeating unrelated enemies around the area will not advance the Antumbra reward. If the boss path fails to update, return to unfinished Witch of Wisdom and Sanctum-related objectives before attempting the encounter again.
- Entered the Sanctum but no proper boss progression: The Witch of Wisdom chain is not fully advanced.
- Defeated an encounter but no sword reward appeared: Confirm that the Antumbra’s Sword boss state, rather than an unrelated fight, was completed.
- Trying to find the weapon in the environment: Focus on the Sanctum boss flow; Antumbra is awarded through progression.
Keep the Three Objectives Separate
Varnia tests route discipline, the Altar of Solitude tests precise environmental interaction, and the Antumbra Sword tests quest progression. Stay on the Tommasso-to-Urdavah road through Trader’s Expanse for Varnia, use Force Palm and every required teleporter pass at the Altar, and finish the Witch of Wisdom requirements before committing to the Sanctum of Absolution. That sequence establishes the Varnia map reveal, opens the Abyss route, and leaves the Antumbra boss reward on the correct progression track.
FinalBoss // Gear
Level up your setup
01Top-rated gaming headsetson Amazon→02High-refresh gaming monitorson Amazon→03Gaming chairson Amazon→04Discounted game keyson Kinguin→
Affiliate links · As an Amazon Associate, FinalBoss earns from qualifying purchases.
Want to Level Up Your Gaming?
Get access to exclusive strategies, hidden tips, and pro-level insights that we don't share publicly.
Ultimate Guide Strategy Guide + Weekly Pro Tips