

The painful early-game loss in Crimson Moon usually comes one fight before safety: a bag full of rare gear, a drained life pool, and a Ward boss still standing between your Nephilim and Sanctus Clypeus. Treat every first Hunt as an extraction run. Build around gear you can use consistently, take a bounty before leaving the hub, collect Lore Scrolls when the route is safe, and protect your remaining lives until the boss is down. That boss clear is what turns a good run into permanent progress.
Table of Contents (8)
Start With an Extraction Build
Crimson Moon gives Nephilim no fixed classes. Your role changes from Hunt to Hunt through four connected choices: your purified gear, Weapon Arts, temporary Nexus Boons, and the Angel selected before departure. The early goal is not to chase a perfect damage setup immediately. It is to make a stable loadout that reaches the Ward boss often enough to bring new gear home.
At the start of the game, the available base loadouts are limited. That is fine. Every successful extraction expands your permanent collection, and each purified weapon, armor piece, trinket, or Weapon Art gives later builds more room to specialize.
- Gear sets the foundation. Weapons determine your basic combat rhythm, while armor and trinkets shape the stats and effects supporting it.
- Weapon Arts add your active combat tools. Keep them aligned with the weapon style you intend to use rather than treating them as separate damage buttons.
- Boons change the current Hunt. Nexus Gates offer temporary Boons that last only until the run ends, so choose ones that reinforce the direction already established by your loadout and Angel.
- Angels complete the build. Choose an Angel whose strengths support your plan for damage, survivability, or resource generation before entering a Ward.
Build discipline matters more than variety during a single run. Nexus Gates can tempt you into taking every strong-looking effect. A pile of disconnected Boons creates a diluted setup. If your weapon and Angel support sustained close-range fighting, prioritize Boons that strengthen that approach or keep you alive while doing it. If the run already leans toward safer resource play, keep feeding that synergy instead of pivoting for one flashy option.
Understand the Nine Gear Slots Before Chasing Drops
Each Nephilim can equip nine gear pieces: four armor pieces, two trinkets, and either a one-handed weapon with a shield or a two-handed weapon. That structure gives you enough slots to create a focused identity without locking you into a permanent archetype. A two-handed setup trades the shield slot for its weapon style, while a one-handed weapon and shield route gives you a different set of combat strengths and weaknesses.
Early on, favor the weapon type whose timing and range you can handle under pressure. Different weapons behave very differently, and a high-rarity drop is not automatically an upgrade if its moveset burns through your life pool. Keep gear that works with your preferred Weapon Arts and Angel, then spend Gold improving those purified pieces at the hub.
Use Each Ward for More Than Enemy Clears
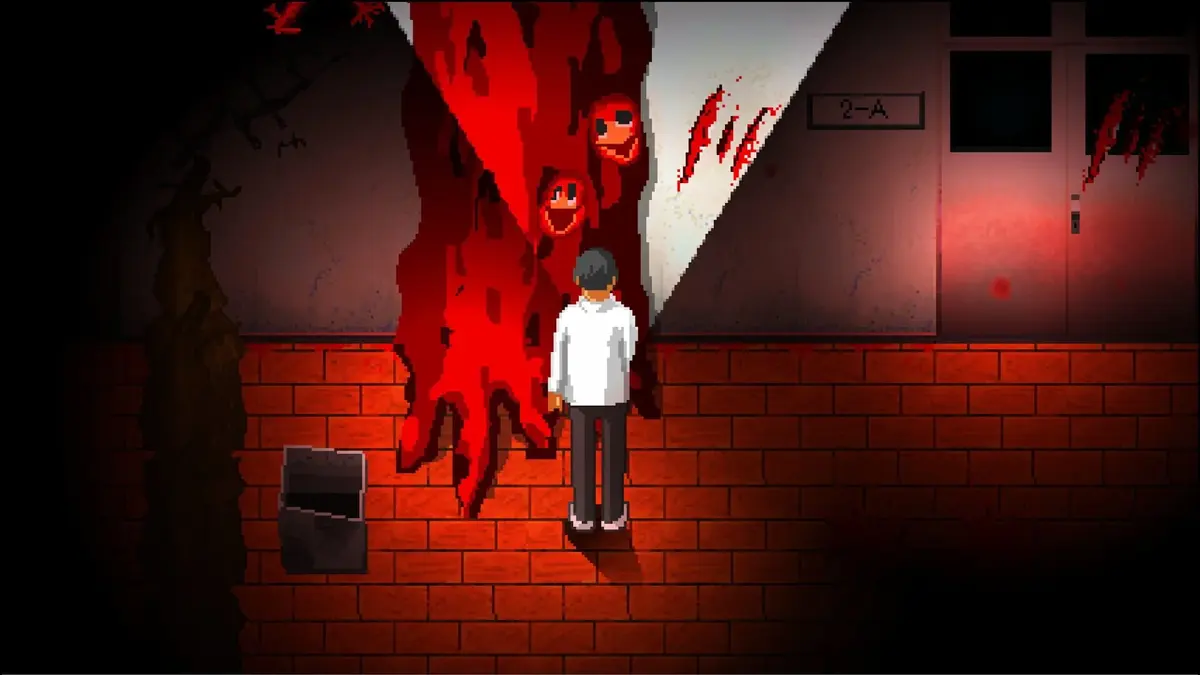
A Hunt moves through the dangerous districts of Gildenarch, called Wards. These are mission chains rather than short, isolated arenas: expect regular encounters, elites, minibosses, secrets, Nexus Gates, bounty targets, and a Ward boss at the end. The boss is the critical objective because its defeat lets you return to the hub and purify the gear in your bag.
That does not mean rushing past every side objective. The efficient early-game Ward loop is to take rewards that strengthen both the current run and future Hunts, then stop stretching the life pool once you are carrying gear worth saving.
- Pick up a bounty before the Hunt. Gallant, also identified as the Knight Commander, offers contracts for enemies and objectives you are likely to encounter naturally. They add extra XP and Gold to a run you were already taking.
- Look for Nexus Gates. Each Gate presents a choice of temporary Boons. Pick the one that reinforces your current weapon, Weapon Art, armor direction, or Angel.
- Prioritize Lore Scrolls when the detour is manageable. Bringing Scrolls back to Merida permanently expands the Boon pool that can appear at future Nexus Gates.
- Respect the final objective. Once rare, compatible gear is filling your bag and your life pool is low, reaching the Ward boss matters more than clearing every dangerous side encounter.
Rage gives you another reason to keep combat clean. Attacking and defeating enemies builds the Rage resource, which can be spent on an ultimate that transforms the Nephilim into an angelic form. Save that power for elite pressure, a miniboss, or the Ward boss when it helps preserve lives. Spending it to speed through a harmless encounter can leave you exposed when the Hunt finally demands it.
Purification Is the Line Between Temporary Loot and Real Progress
Purification is Crimson Moon’s central progression rule. Gear found in a Ward is temporary while it remains unpurified in your bag. Defeat the Ward boss, return safely to Sanctus Clypeus, and purify the items you recovered. Those weapons, armor pieces, trinkets, and Weapon Arts then enter your permanent collection and can be equipped at the beginning of future Hunts.
The trap is assuming a valuable drop is already yours. It is not secure until the Hunt is completed and the gear is purified at the hub. There is no documented mid-Ward banking option, so a run-ending death during an elite encounter or the boss fight can still erase every unpurified item currently carried.
| Progression element | What happens after a successful extraction | What happens if the life pool is depleted |
|---|---|---|
| Unpurified weapons, armor, trinkets, and Weapon Arts | Can be purified and added permanently to the collection | Lost with the failed Hunt |
| Purified equipment | Remains available for future loadouts | Remains permanently owned |
| Nexus Boons | End when the Hunt ends | End when the Hunt ends |
| Gold and XP | Banked as permanent progression | Still retained |
| Souls | Used as run-focused currency | Reset between Hunts |
Bag slots make this harsher. Crimson Moon does not use a traditional inventory structure for bringing every drop home; you have limited bag space for items you intend to carry back and purify. Reserve those slots for rare gear, useful Weapon Arts, and pieces that clearly fit a future loadout. Filling the bag with redundant low-value drops raises the odds that a genuinely valuable find has no place when it appears.
Manage the Life Pool Like a Banked Resource
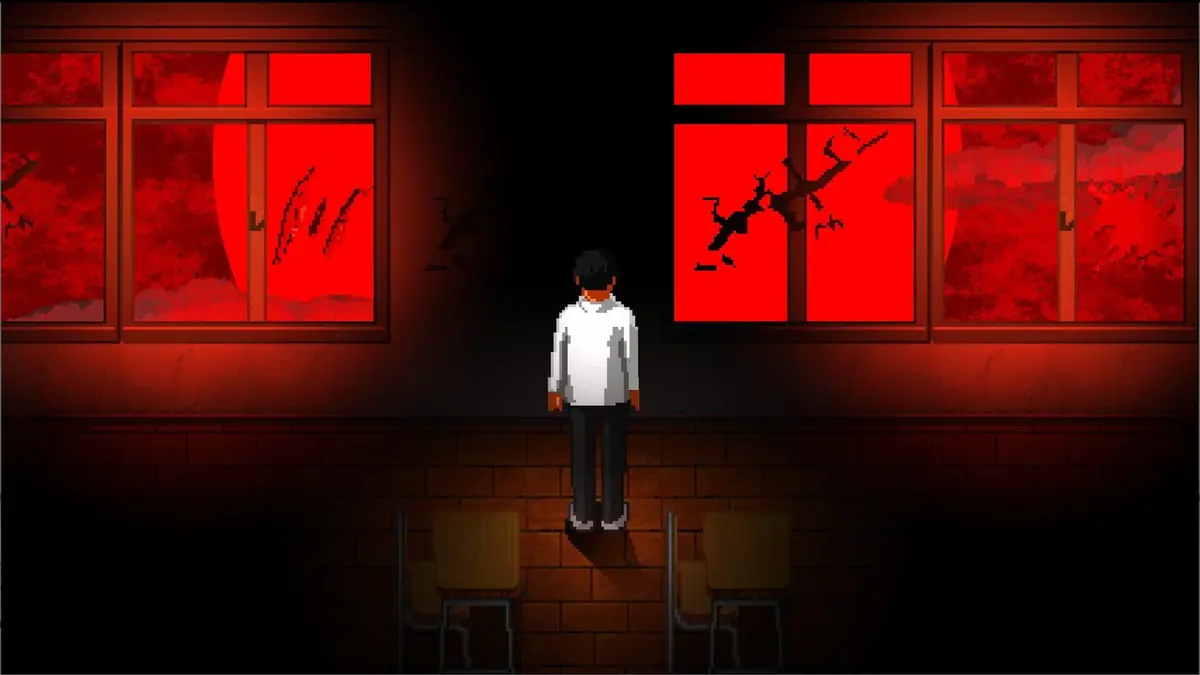
Deaths draw from a life pool rather than ending the run immediately. This gives a Hunt some recovery room, but it creates a dangerous false sense of safety. Every lost life reduces the margin available for the Ward boss, and when the pool is empty the Hunt ends at once. Any gear still waiting for Purification disappears with it.
XP and Gold persist after failure, so death does not erase your entire account progression. The real cost is delayed build growth. Losing a promising Weapon Art, armor set, or weapon means another Hunt before that option can become part of your permanent arsenal. Early players feel this most sharply because their collection is still small.
- Use healing, defensive, and control consumables from Lotte when they keep the life pool intact. Souls reset between Hunts, so hoarding them does not improve your next run.
- Once you find a major gear upgrade, reduce unnecessary risks. A complete extraction with one excellent item beats a spectacular run that ends before the boss.
- Leave higher-difficulty Wards until your purified collection has a dependable weapon, supporting armor, and several useful Boon options.
- Increase difficulty for higher-rarity drops only when your current build can consistently clear the normal Ward route.
Harder Hunts offer better rewards and rarer gear, but their value only becomes permanent after the boss clear. The correct time to push difficulty is after the foundation is built, not when one lucky drop makes a fragile loadout feel powerful for a few rooms.
Spend Hub Time Where It Creates Future Wins
Sanctus Clypeus is the space between Hunts where a Nephilim becomes stronger. Some materials also call the hub Sanctus Claritas, but the core functions are the same: configure a loadout, choose an Angel, purify recovered items, upgrade permanent equipment, unlock more Boons, buy supplies, and collect bounties before returning to Gildenarch.
- Gadulf, Gadrof, or Gajov: upgrades the rarity and stats of gear you have already purified. Put early Gold into the weapon and armor pieces that repeatedly carry successful Hunts.
- Merida or Mereda: accepts Lore Scrolls and unlocks additional Boons for the global Nexus Gate pool. This is one of the strongest long-term investments because it improves future run choices.
- Lotte: provides trinkets, consumables, throwables, and other practical supplies. Use these to protect a Hunt that is carrying valuable unpurified gear.
- Gallant: supplies pre-Hunt bounties for extra XP and Gold. Take one every time before leaving the hub.
Gold is permanent, so it belongs in long-term upgrades. Souls are Hunt-only currency, so use them to buy the immediate survival needed to reach purification. Lore Scrolls sit between those systems: they unlock Boons permanently, but their payoff comes through better choices inside later Wards.
Co-op Changes the Risk Calculation
Two Nephilim can coordinate Weapon Arts, Boons, armor synergies, and Angel selections in co-op, which opens stronger combinations than two players independently chasing the same effects. It also makes the life-pool rule more important. The team shares the pool, and a fallen partner can be revived, but every death moves both players closer to a failed Hunt.
Co-op groups should assign simple jobs before entering a Ward: one player can lean into survivability or control while the other uses the opening for damage, and both should avoid taking Boons that fight against the team’s plan. Revives are valuable, though they are never free from the shared risk. A reckless rescue can turn one downed teammate into a collapsed run and a bag of lost gear.
Early Mistakes That Cost the Most Progress
- Treating every gear drop as permanent. Loot only becomes yours after the Ward boss is defeated, you return to the hub, and it is purified.
- Ignoring Lore Scrolls. Scrolls unlock more Boons through Merida, expanding the choices offered by future Nexus Gates.
- Mixing incompatible Boons. Build around the weapon, Weapon Arts, and Angel already in play instead of chasing several unrelated effects.
- Entering a Hunt without a bounty. Gallant’s contracts reward combat objectives that overlap with normal Ward progress, making them efficient permanent XP and Gold.
- Saving temporary Souls for later. Spend them on the consumables and short-term boosts that help secure the boss clear.
- Pushing difficulty before the collection is ready. Higher rarity rewards cannot help if unpurified gear is lost before extraction.
FinalBoss // Gear
Level up your setup
01Top-rated gaming headsetson Amazon→02High-refresh gaming monitorson Amazon→03Gaming chairson Amazon→04Discounted game keyson Kinguin→Affiliate links · As an Amazon Associate, FinalBoss earns from qualifying purchases.
Want to Level Up Your Gaming?
Get access to exclusive strategies, hidden tips, and pro-level insights that we don't share publicly.
Ultimate Guide Strategy Guide + Weekly Pro Tips