
Cthulhu: The Cosmic Abyss – How to Master Early Chapters Fast
In Chapter 2 and 3 you’ll unlock additional sonar frequencies (like those tuned for different materials – copper, titanium, astral stone). The trick is:
- Use the default frequency to orient yourself and find paths.
- Switch to a specific material frequency only when you’re actively tracking that objective (e.g., following a copper vein through the maze).
- Once you’ve found what you need, switch back so you don’t miss generic interactables.
My early mistake was staying on a material frequency because it “looked cool”, then wondering why I kept running past doors and consoles.
Corruption – It’s Not a HP Bar, It’s a Grade for Your Choices
The corruption meter tracks how much you let the madness get to you. It goes up when you:
- Pick “give in to the horror” style dialogue options or interpretations
- Force bad conclusions in the Vault (dragging obviously weak clues just to see what happens)
- Follow hallucinations or disturbing prompts instead of rational alternatives
The key detail the game is cagey about: good outcomes can reduce corruption. If you piece together an investigation cleanly and choose the grounded, investigative reading of events, you’ll often see the meter nudge back down.
For the early “Mens Sana” style run (low-corruption ending), treat each chapter like a self-contained exam: aim to leave it with as little net corruption as possible. The global threshold is lenient, but stacking bad calls in Chapters 1–3 can put you on the back foot.
The Vault – Don’t Mash Clues, Build a Theory
Your Vault is the mind-palace where you drag clues into deduction slots. This is where I raised a ton of early corruption by “testing” combinations. Bad idea.
- Only drag clues you’re reasonably confident in. The game telegraphs the logic more than you think – stick to what’s explicitly hinted in notes and audio logs.
- If a deduction feels like a leap, it probably is. Wait until you’ve found one more physical clue before committing.
- Remember you can replay investigations later for trophies like solving 15 deductions, but on a clean story run you want minimal resets.
Once I started treating Vault sessions like actual case work instead of trial-and-error puzzles, my corruption stabilized and the story branches made a lot more sense.
Chapter 1 – The Awakening: Learning to Investigate Properly
Chapter 1 is set mostly in Mei’s place and the immediate surroundings, introducing Noah, Elsa, and the AI Key. It feels like a slow burn, but there are already several places where you can quietly mess up your sanity run.
What to Focus On in Chapter 1
- Getting comfortable inspecting every highlighted object thoroughly
- Using your early sonar prompts to learn what “clue echoes” look like
- Solving the first investigation in the Vault with no wasted attempts
- Finishing the small “portal” style puzzle logically rather than guessing combos
The investigation around Mei’s home is your first real test. Here’s what helped me keep corruption low:
- Clear the environment first: before opening the Vault, walk every accessible room once, interacting with anything remotely suspicious (notes, photos, strange stains, tech devices).
- Scan from the center of each room: one sonar ping from the middle usually reveals every interactable outline. I got into the habit of doing one ping, rotating 360°, then moving on.
- Only open the Vault when you’re “done” with the area: when you’re still missing half the context, that’s when you start brute-forcing deductions and eating corruption.
Portal Puzzle Mindset
The early portal-style puzzle (where you’re aligning or activating symbols to proceed) is designed to teach that puzzles in this game are solution-first, interface-second. Don’t spin things at random:
- Look for matching patterns in the environment – murals, scribbles, photos, or console readouts that echo the symbols.
- Use sonar once or twice around the device – it can highlight small markings you’d otherwise miss.
- When in doubt, back out and re-read any nearby notes. There’s almost always a direct hint.
Finishing Chapter 1 with effectively zero extra corruption is very doable if you resist the urge to “see what happens” with obviously unstable choices and you don’t brute-force the Vault.
Chapter 2 – Excavation: Sonar, Labyrinths, and Not Drowning in Corruption
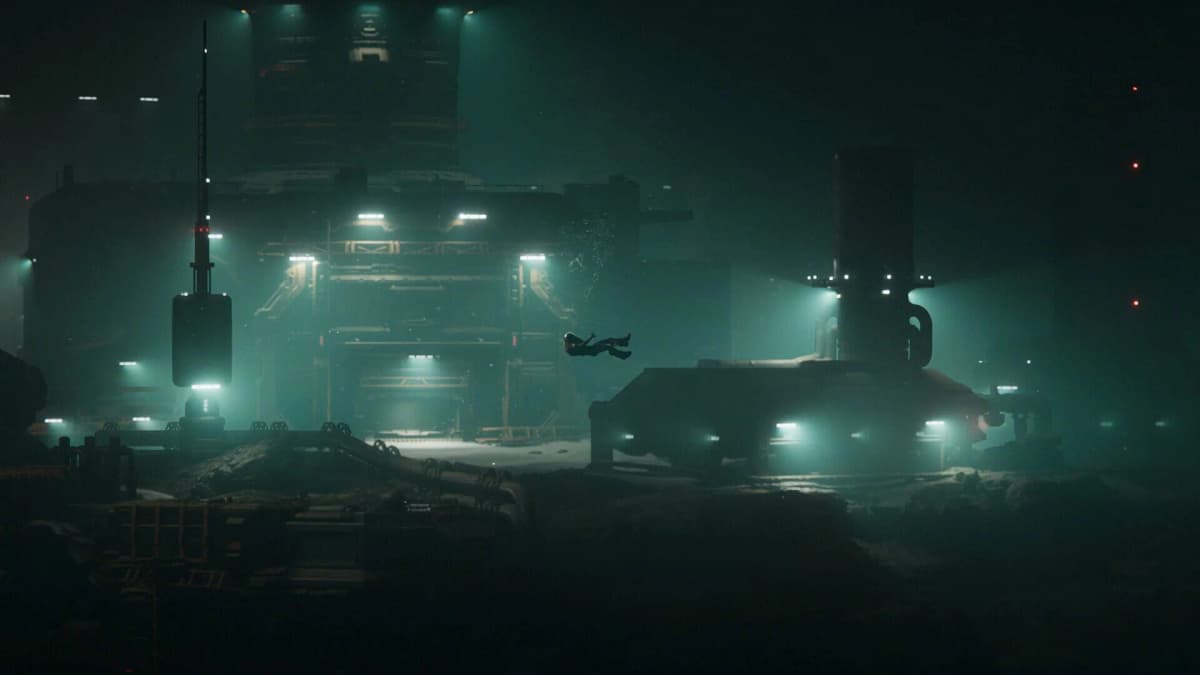
Chapter 2 is where the game stops holding your hand. You reach the Ocean-I excavation station, deal with hydrogen canisters, and start descending into a proper underwater maze using sonar and material frequencies.
Bringing the Station Back Online Without Wasting Time
The early generator section seems more intimidating than it really is. The pattern I follow now:
- Do one full loop of the main hub first, pinging sonar at intersections. Mark mentally where the locked doors and inactive consoles are.
- Grab hydrogen canisters on the way back, not immediately. That way you know exactly which consoles and machinery to feed once you’re carrying them.
- Only carry what you can slot in on a single route. I wasted a lot of time lugging extra canisters around without a clear plan.
Once power’s up, the map opens, and this is where it’s very easy to get lost, panicked, and corruption-happy.
Surviving the Sonar Maze and Material Frequencies
In the excavation tunnels, you’re often told to follow a specific ore or artifact trail (like copper or astral stone). The best rhythm I found:
- Stand at a junction and ping with the material frequency you’re tracking.
- Pick the path where that material glows brightest and most continuous instead of chasing every little flicker.
- As soon as you commit to a tunnel, swap to the default sonar to avoid missing side rooms and interactables.
- At each major landmark (big machinery, unique rock formations), mentally bookmark it as a return point. If you hit a dead end, you can navigate back using those anchors.
When I stopped swapping frequencies every five seconds and only used the specialized ones sparingly, my path through the maze became much more efficient.
Keeping Corruption Low During the Excavation Investigation
This chapter throws heavier narrative stuff at you: logs about missing crew (like Anastasia and Arif), hints of sabotage, and the first strong hallucination beats.
- In dialogues and Vault conclusions, lean on technical and human explanations first – malfunction, exhaustion, secrecy – rather than immediately blaming cosmic forces.
- When given a choice to trust a vision versus a physical clue, prioritize the physical world if you’re aiming for low corruption.
- If your deduction board is messy and you’re not sure, go find one more log or environmental clue instead of forcing a conclusion.
The game usually rewards restraint here by dropping your corruption slightly when you correctly piece together the mundane, tragic version of events instead of diving headfirst into cult paranoia.
Chapter 3 – The Temple: Two Paths, Same Sonar Discipline
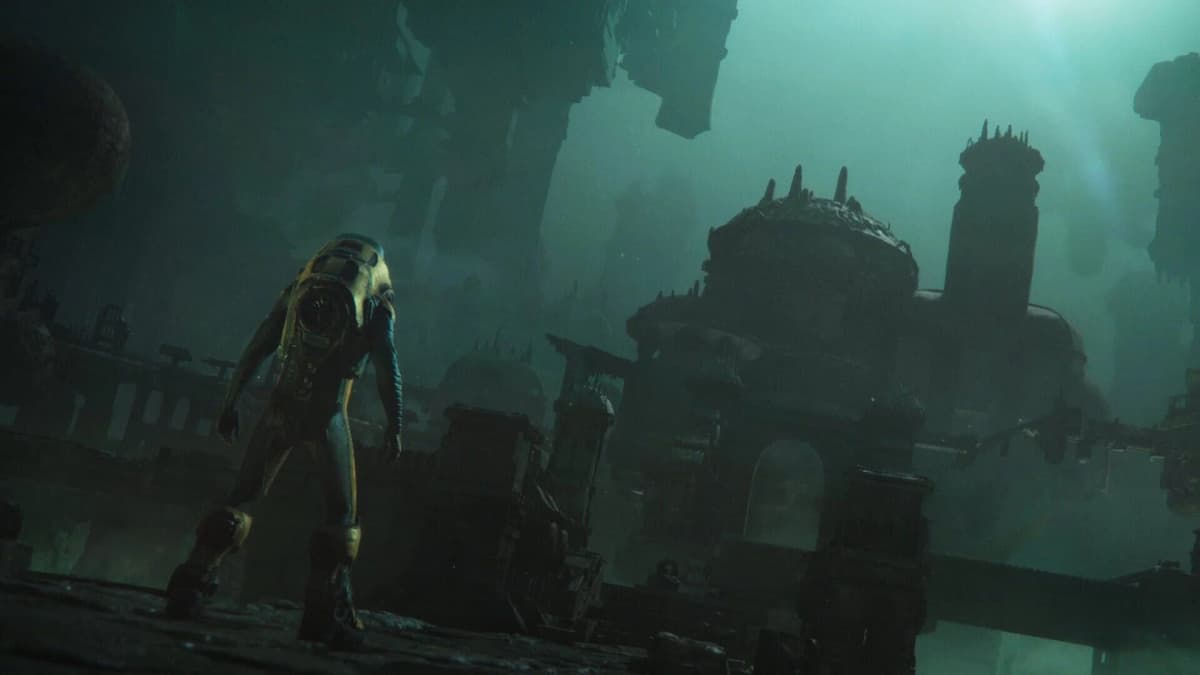
Chapter 3 takes you from Camp Mu to the Temple portal. This is where the game really splits into low- and high-corruption experiences. The geometry is more open, you’re juggling more sonar frequencies, and ancient R’lyeh-style puzzles start to appear.
Camp Mu to Temple: Clean Route Outline
- From Camp Mu, do a 360° sonar sweep to locate key supply crates, batteries, and the main path markers.
- Stick to the primary cable/pipeline route until you hit obvious branching points like broken walkways or collapsed tunnels.
- Use side paths only when you can see a distinct structure or stele (carved stone) with sonar. Wandering into the dark “just to see” is how you burn time.
- Keep one eye on your energy and corruption after each major set-piece – if both are creeping up, slow down, re-center, and avoid optional spooky interactions.
The environment here is designed to lure you away with eerie shapes and half-whispered cues. For a first low-corruption run, treat those as background flavor, not mandatory paths.
Steles, Bas-Reliefs, and the R’lyeh Puzzle
The central Temple sequence revolves around deciphering ancient steles and bas-reliefs to trigger the ritual and open the portal. What helped me avoid both frustration and corruption spikes:
- Every time you find a stele or carved wall, scan it in sonar first. The contours often reveal the layout or orientation you’ll need for the later puzzle.
- Take the descriptions in Noah’s notes seriously. He’ll mention recurring shapes (spirals, branching lines, eyes) – these are your alphabet for the final combination.
- In the Vault deduction for this section, match symbol meanings (e.g., “passage”, “sacrifice”, “guard”) based on how they’re used across multiple carvings, not just one.
- When aligning or activating the Temple device, apply that symbol logic consistently instead of trying random orders. The correct setup always has a clear narrative throughline (open → guide → protect, or similar).
This is the first time the game really makes you feel like you’re “reading” an alien language instead of just turning dials. Once that clicks, later puzzles become a lot less opaque.
Choosing the Low- vs High-Corruption Temple Path
By the time you stand before the Temple portal, your previous choices plus a few key decisions here will push you toward a lower- or higher-corruption route.
- Low-corruption path usually lines up with:
- Rejecting direct invitations to “embrace” or “merge” with whatever’s behind the veil
- Grounding yourself in memories of people (Mei, Elsa, crew) rather than cosmic entities
- Finishing the R’lyeh puzzle through logical symbol-reading, not bloodier “shortcuts”
- High-corruption path leans into:
- Trusting whispered promises over physical evidence
- Letting visions guide your route through the Temple regardless of danger
- Triggering obviously harmful or sacrificial mechanisms to force progress
For an early clean run aimed at the “true” low-corruption ending in Chapter 7, I strongly recommend staying disciplined here: treat the Temple as an archaeological site first, a shrine second. You still get plenty of cosmic horror – just with more control over Noah’s unraveling.
Putting It All Together for the Rest of the Game
Once you’ve cleared Chapters 1–3 with a solid handle on sonar, a cautious approach to Vault deductions, and a bias toward rational, human-centered explanations, the rest of Cthulhu: The Cosmic Abyss feels far less hostile.
- Your sonar discipline means future labyrinths become routes you can actually remember instead of endless fog.
- Your corruption profile stays flexible enough to absorb the occasional curiosity-driven mistake later without locking you out of better endings.
- Your puzzle mindset – read the environment, then touch the device – pays off as the game stacks more complex mechanics on top of what you’ve already seen.
The early chapters are less about raw difficulty and more about teaching you how the game expects you to think. Once that clicks, the abyss feels dangerous, but it stops feeling unfair.
Why the Early Chapters Matter (and How They Almost Broke Me)
The first time I hit the excavation section in Cthulhu: The Cosmic Abyss, I bounced off it hard. I was burning energy wandering dead-end corridors, my corruption meter quietly climbing, and I kept missing crucial sonar pings in the murk. The breakthrough came when I stopped treating Chapters 1-3 as “story prologue” and started playing them like a proper investigation with strict rules: scan deliberately, deduce carefully, and never take the creepy choice just to “see what happens” on a first run.
This guide walks you through a clean, low-frustration route for Chapters 1-3, with a focus on three things the game never fully spells out:
- How to use sonar efficiently without getting lost or wasting energy
- How to approach early Vault deductions so you don’t spike corruption
- How to pick low-corruption investigation paths while still seeing the cool cosmic horror stuff
I’ll go chapter by chapter, but keep an eye on the systems tips – once they click, the whole game stops feeling random and starts feeling like a very cruel but fair puzzle box.
FinalBoss // Gear
Level up your setup
01Top-rated gaming headsetson Amazon→02High-refresh gaming monitorson Amazon→03Gaming chairson Amazon→04Discounted game keyson Kinguin→Affiliate links · As an Amazon Associate, FinalBoss earns from qualifying purchases.
Want to Level Up Your Gaming?
Get access to exclusive strategies, hidden tips, and pro-level insights that we don't share publicly.
Ultimate Guide Strategy Guide + Weekly Pro Tips
Core Systems You Need to Respect from the Start
Sonar – Treat It Like a Flashlight, Not a Machine Gun
The sonar is your real “vision” in this game, especially from Chapter 2 onward. In Chapter 1 it’s just teased, but the habits you form there carry forward.
What finally worked for me was using a simple rule: short, deliberate pings, then move. Holding the button down or spamming pings just drowns you in noise and wastes time. After each ping, mentally sort what you see:
- Solid geometry outlines – walls, corridors, big props. Use these to build a mental map.
- Bright, tight echoes – interactables: doors, consoles, artifacts, debris you can inspect.
- Weird shimmering or irregular shapes – often clue objects, anomalies, or points that can trigger visions (and corruption if mishandled).
In Chapter 2 and 3 you’ll unlock additional sonar frequencies (like those tuned for different materials – copper, titanium, astral stone). The trick is:
- Use the default frequency to orient yourself and find paths.
- Switch to a specific material frequency only when you’re actively tracking that objective (e.g., following a copper vein through the maze).
- Once you’ve found what you need, switch back so you don’t miss generic interactables.
My early mistake was staying on a material frequency because it “looked cool”, then wondering why I kept running past doors and consoles.
Corruption – It’s Not a HP Bar, It’s a Grade for Your Choices
The corruption meter tracks how much you let the madness get to you. It goes up when you:
- Pick “give in to the horror” style dialogue options or interpretations
- Force bad conclusions in the Vault (dragging obviously weak clues just to see what happens)
- Follow hallucinations or disturbing prompts instead of rational alternatives
The key detail the game is cagey about: good outcomes can reduce corruption. If you piece together an investigation cleanly and choose the grounded, investigative reading of events, you’ll often see the meter nudge back down.
For the early “Mens Sana” style run (low-corruption ending), treat each chapter like a self-contained exam: aim to leave it with as little net corruption as possible. The global threshold is lenient, but stacking bad calls in Chapters 1–3 can put you on the back foot.
The Vault – Don’t Mash Clues, Build a Theory
Your Vault is the mind-palace where you drag clues into deduction slots. This is where I raised a ton of early corruption by “testing” combinations. Bad idea.
- Only drag clues you’re reasonably confident in. The game telegraphs the logic more than you think – stick to what’s explicitly hinted in notes and audio logs.
- If a deduction feels like a leap, it probably is. Wait until you’ve found one more physical clue before committing.
- Remember you can replay investigations later for trophies like solving 15 deductions, but on a clean story run you want minimal resets.
Once I started treating Vault sessions like actual case work instead of trial-and-error puzzles, my corruption stabilized and the story branches made a lot more sense.
Chapter 1 – The Awakening: Learning to Investigate Properly
Chapter 1 is set mostly in Mei’s place and the immediate surroundings, introducing Noah, Elsa, and the AI Key. It feels like a slow burn, but there are already several places where you can quietly mess up your sanity run.
What to Focus On in Chapter 1
- Getting comfortable inspecting every highlighted object thoroughly
- Using your early sonar prompts to learn what “clue echoes” look like
- Solving the first investigation in the Vault with no wasted attempts
- Finishing the small “portal” style puzzle logically rather than guessing combos
The investigation around Mei’s home is your first real test. Here’s what helped me keep corruption low:
- Clear the environment first: before opening the Vault, walk every accessible room once, interacting with anything remotely suspicious (notes, photos, strange stains, tech devices).
- Scan from the center of each room: one sonar ping from the middle usually reveals every interactable outline. I got into the habit of doing one ping, rotating 360°, then moving on.
- Only open the Vault when you’re “done” with the area: when you’re still missing half the context, that’s when you start brute-forcing deductions and eating corruption.
Portal Puzzle Mindset
The early portal-style puzzle (where you’re aligning or activating symbols to proceed) is designed to teach that puzzles in this game are solution-first, interface-second. Don’t spin things at random:
- Look for matching patterns in the environment – murals, scribbles, photos, or console readouts that echo the symbols.
- Use sonar once or twice around the device – it can highlight small markings you’d otherwise miss.
- When in doubt, back out and re-read any nearby notes. There’s almost always a direct hint.
Finishing Chapter 1 with effectively zero extra corruption is very doable if you resist the urge to “see what happens” with obviously unstable choices and you don’t brute-force the Vault.
Chapter 2 – Excavation: Sonar, Labyrinths, and Not Drowning in Corruption
Chapter 2 is where the game stops holding your hand. You reach the Ocean-I excavation station, deal with hydrogen canisters, and start descending into a proper underwater maze using sonar and material frequencies.
Bringing the Station Back Online Without Wasting Time
The early generator section seems more intimidating than it really is. The pattern I follow now:
- Do one full loop of the main hub first, pinging sonar at intersections. Mark mentally where the locked doors and inactive consoles are.
- Grab hydrogen canisters on the way back, not immediately. That way you know exactly which consoles and machinery to feed once you’re carrying them.
- Only carry what you can slot in on a single route. I wasted a lot of time lugging extra canisters around without a clear plan.
Once power’s up, the map opens, and this is where it’s very easy to get lost, panicked, and corruption-happy.
Surviving the Sonar Maze and Material Frequencies
In the excavation tunnels, you’re often told to follow a specific ore or artifact trail (like copper or astral stone). The best rhythm I found:
- Stand at a junction and ping with the material frequency you’re tracking.
- Pick the path where that material glows brightest and most continuous instead of chasing every little flicker.
- As soon as you commit to a tunnel, swap to the default sonar to avoid missing side rooms and interactables.
- At each major landmark (big machinery, unique rock formations), mentally bookmark it as a return point. If you hit a dead end, you can navigate back using those anchors.
When I stopped swapping frequencies every five seconds and only used the specialized ones sparingly, my path through the maze became much more efficient.
Keeping Corruption Low During the Excavation Investigation
This chapter throws heavier narrative stuff at you: logs about missing crew (like Anastasia and Arif), hints of sabotage, and the first strong hallucination beats.
- In dialogues and Vault conclusions, lean on technical and human explanations first – malfunction, exhaustion, secrecy – rather than immediately blaming cosmic forces.
- When given a choice to trust a vision versus a physical clue, prioritize the physical world if you’re aiming for low corruption.
- If your deduction board is messy and you’re not sure, go find one more log or environmental clue instead of forcing a conclusion.
The game usually rewards restraint here by dropping your corruption slightly when you correctly piece together the mundane, tragic version of events instead of diving headfirst into cult paranoia.
Chapter 3 – The Temple: Two Paths, Same Sonar Discipline
Chapter 3 takes you from Camp Mu to the Temple portal. This is where the game really splits into low- and high-corruption experiences. The geometry is more open, you’re juggling more sonar frequencies, and ancient R’lyeh-style puzzles start to appear.
Camp Mu to Temple: Clean Route Outline
- From Camp Mu, do a 360° sonar sweep to locate key supply crates, batteries, and the main path markers.
- Stick to the primary cable/pipeline route until you hit obvious branching points like broken walkways or collapsed tunnels.
- Use side paths only when you can see a distinct structure or stele (carved stone) with sonar. Wandering into the dark “just to see” is how you burn time.
- Keep one eye on your energy and corruption after each major set-piece – if both are creeping up, slow down, re-center, and avoid optional spooky interactions.
The environment here is designed to lure you away with eerie shapes and half-whispered cues. For a first low-corruption run, treat those as background flavor, not mandatory paths.
Steles, Bas-Reliefs, and the R’lyeh Puzzle
The central Temple sequence revolves around deciphering ancient steles and bas-reliefs to trigger the ritual and open the portal. What helped me avoid both frustration and corruption spikes:
- Every time you find a stele or carved wall, scan it in sonar first. The contours often reveal the layout or orientation you’ll need for the later puzzle.
- Take the descriptions in Noah’s notes seriously. He’ll mention recurring shapes (spirals, branching lines, eyes) – these are your alphabet for the final combination.
- In the Vault deduction for this section, match symbol meanings (e.g., “passage”, “sacrifice”, “guard”) based on how they’re used across multiple carvings, not just one.
- When aligning or activating the Temple device, apply that symbol logic consistently instead of trying random orders. The correct setup always has a clear narrative throughline (open → guide → protect, or similar).
This is the first time the game really makes you feel like you’re “reading” an alien language instead of just turning dials. Once that clicks, later puzzles become a lot less opaque.
Choosing the Low- vs High-Corruption Temple Path
By the time you stand before the Temple portal, your previous choices plus a few key decisions here will push you toward a lower- or higher-corruption route.
- Low-corruption path usually lines up with:
- Rejecting direct invitations to “embrace” or “merge” with whatever’s behind the veil
- Grounding yourself in memories of people (Mei, Elsa, crew) rather than cosmic entities
- Finishing the R’lyeh puzzle through logical symbol-reading, not bloodier “shortcuts”
- High-corruption path leans into:
- Trusting whispered promises over physical evidence
- Letting visions guide your route through the Temple regardless of danger
- Triggering obviously harmful or sacrificial mechanisms to force progress
For an early clean run aimed at the “true” low-corruption ending in Chapter 7, I strongly recommend staying disciplined here: treat the Temple as an archaeological site first, a shrine second. You still get plenty of cosmic horror – just with more control over Noah’s unraveling.
Putting It All Together for the Rest of the Game
Once you’ve cleared Chapters 1–3 with a solid handle on sonar, a cautious approach to Vault deductions, and a bias toward rational, human-centered explanations, the rest of Cthulhu: The Cosmic Abyss feels far less hostile.
- Your sonar discipline means future labyrinths become routes you can actually remember instead of endless fog.
- Your corruption profile stays flexible enough to absorb the occasional curiosity-driven mistake later without locking you out of better endings.
- Your puzzle mindset – read the environment, then touch the device – pays off as the game stacks more complex mechanics on top of what you’ve already seen.
The early chapters are less about raw difficulty and more about teaching you how the game expects you to think. Once that clicks, the abyss feels dangerous, but it stops feeling unfair.