
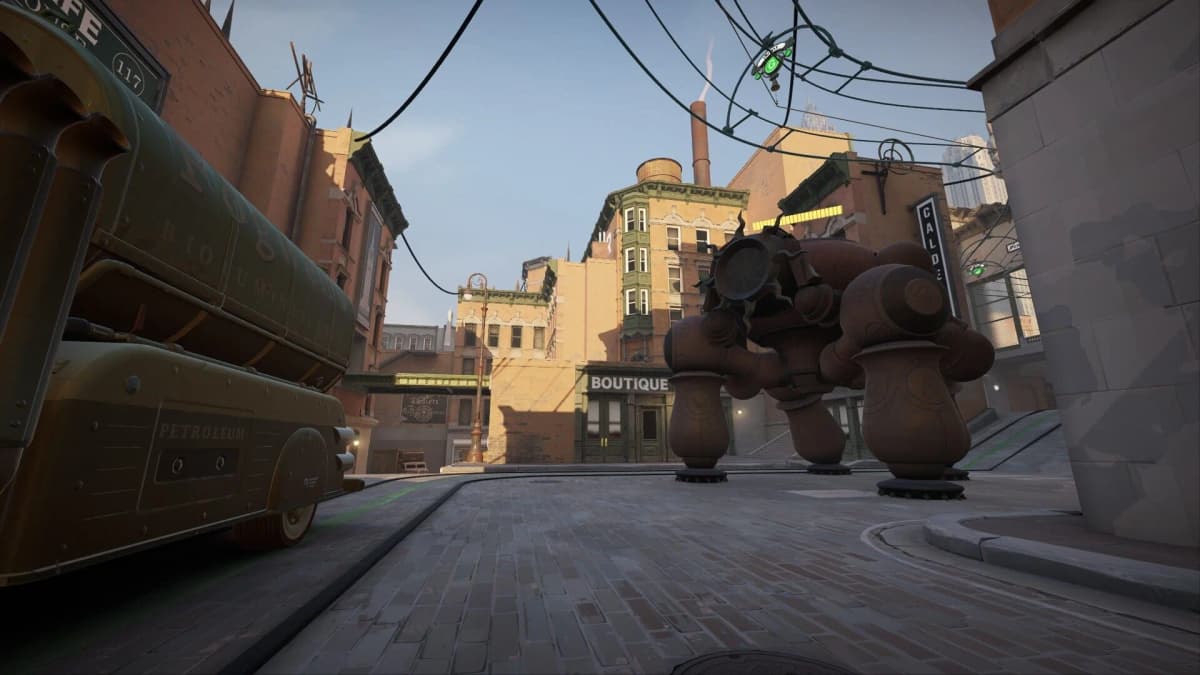
City Never Sleeps redesigned Deadlock’s Cursed Apple and introduced six heroes through a vote-based rollout. Deadman Danny, the explosive skeleton mascot of Fairfax Industries, brings a kit built around attacking those spaces from above. For your first matches, prioritize missile placement and charged-shot follow-ups; use his movement to support that damage rather than constantly chasing a dive.
Danny has two movement costs to manage: rocket jumps spend health, while jetpack flight accumulates heat. His most dangerous mistakes happen when those costs overlap with a missed attack, leaving him exposed without the movement needed to recover.
Table of Contents (6)
Build your damage around Strix Salvo and charged rockets
Danny’s primary weapon, Chimera Peace Bringer, fires individual rockets with a tap and charges an explosive projectile when you hold fire. The charged shot has a specific role in his kit: it consumes a Strix Salvo mark for bonus Spirit damage and a brief, fading slow.
Strix Salvo launches an adjustable line of Spirit missiles that lodge in the ground. They explode after a delay or when they detect an enemy, dealing Spirit damage and marking the target. Adjusting the line before release lets you cover different approaches instead of committing every missile to the same narrow angle.
Place that line across the opponent’s likely escape path. Dropping it directly beneath a moving hero gives them an opportunity to leave before it becomes useful. Covering the route ahead makes their next decision more predictable: cross the missiles, wait, or take a detour. Narrow passages make this especially valuable because there is less room to move around the line.
Once the mark lands, connect a charged rocket to convert the setup into additional damage and a slow. That slow creates a better opportunity for another shot or a movement commitment. Keep track of whether the target actually triggered the missiles; firing a charged rocket before the mark is applied loses the mark-consumption payoff.
Elevated angles support this sequence by giving Danny a different view of the target’s route and nearby terrain. Aim around where the opponent must move, using the wave and surrounding geometry to constrain their choices. A missile line can still earn space even when nobody triggers it immediately, so avoid abandoning a useful firing position simply to chase a detonation.
Rocket jumps and jetpack flight have different risks
A self-damaging rocket jump trades health for position. The trade is strongest when the destination gives you sustained pressure: an elevated angle over a constrained opponent, for example, rather than a position that offers only one speculative shot. Repeated jumps during an early lane exchange can leave Danny easier to finish even when the movement itself succeeds.
The Chimera Mk1 jetpack uses heat instead of a conventional fuel meter. Holding the jump input lets Danny fly, and continued flight builds heat. Short bursts are useful for changing your firing angle without immediately forcing the jetpack into its overheat sequence.
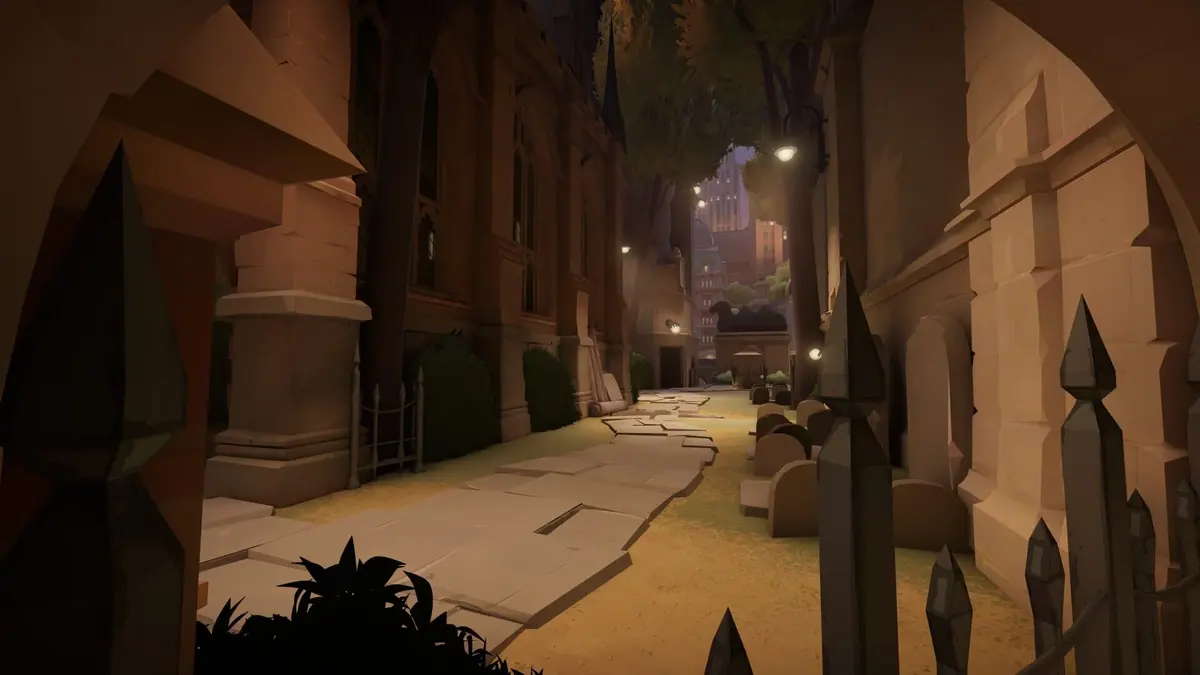
At maximum heat, Danny overheats and, after a short delay, dives into the ground. The impact creates an explosion that damages and launches nearby enemies while also launching Danny. You can press Ability 2 to dive early, giving you control over the commitment instead of waiting for maximum heat.
The landing is the critical decision. If the impact hits no enemy, Danny can stun himself. After overheating, the jetpack also remains unavailable until it fully cools. An empty landing can therefore leave you disabled and unable to immediately fly away.
Choose the landing zone while you still have control over the approach. A target already slowed by a mark detonation is a better prospect than an opponent with open space to escape. Dive early when the impact will connect or create useful displacement; stay with ranged pressure when reaching the ground would put you among several enemies without follow-up damage.
Slows still affect Danny while airborne. Flight does not guarantee separation from a pursuer, and being slowed can make a planned landing harder to reach. If your approach changes, reassess the impact area rather than continuing toward the original target until heat forces the dive.
Use Jettison Fuel for bullet pressure and backward separation
Jettison Fuel deals damage over time, reduces bullet resistance by 15%, and launches Danny backward. Its damage and movement deserve separate consideration: catching an enemy in the blast can improve the damage exchange while moving Danny away from the position he currently occupies.
The resistance reduction benefits bullet damage. Strix Salvo and its mark detonation deal Spirit damage, so the debuff does not amplify those parts of the combo. Jettison Fuel is particularly useful when the affected enemy will remain exposed to weapon fire from Danny or his teammates.
Account for the backward launch before using it. During a retreat, that movement can help create separation while leaving damage on the pursuer. During a chase, it can pull Danny away from the target and interrupt the pressure he was trying to maintain. Check the space behind you, especially when fighting near a position you want to hold.
Save the grab ultimate for a target worth committing to
Danny’s ultimate uses a tight cone to close on an enemy, grab them, carry them upward, and crash back down. It can finish a weakened target or isolate a hero whose removal would decide the skirmish, but it commits Danny to a visible flight path.
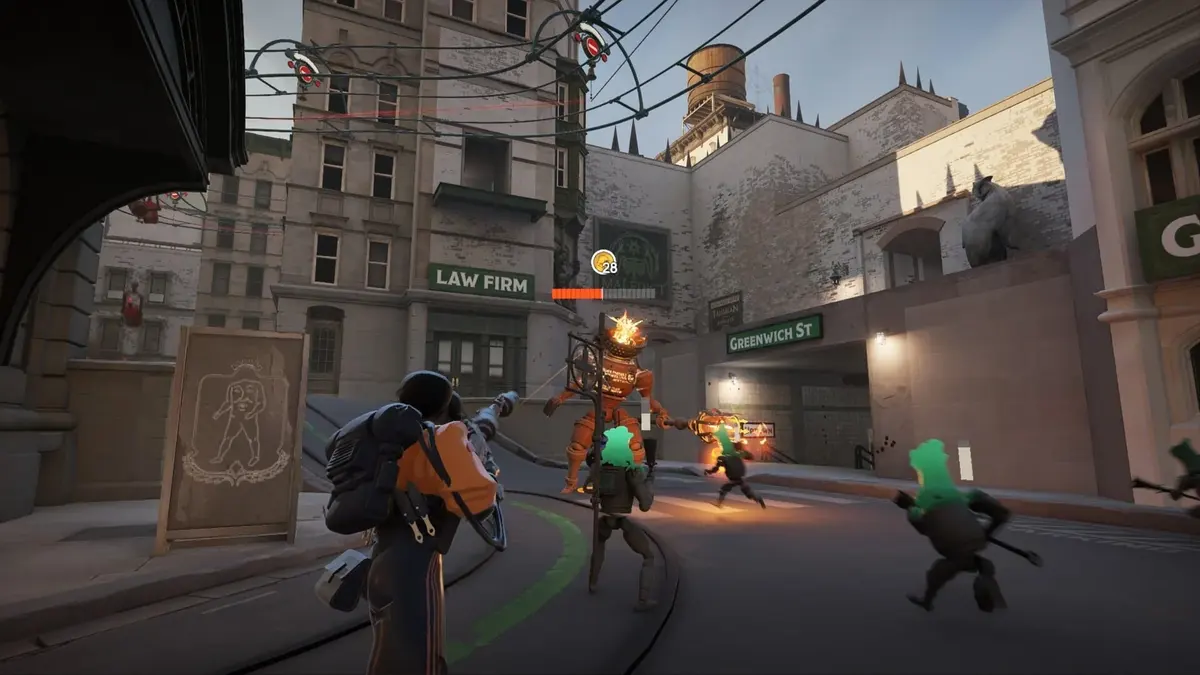
A slowed, isolated opponent is a cleaner target than the first full-health hero who enters range. Strix Salvo’s mark conversion helps establish that opening: the bonus damage weakens the target, and the fading slow briefly makes their movement easier to read. Allies positioned to damage the crash area also improve the value of the commitment.
Look beyond the grab itself. Catching someone in the middle of their team can deliver Danny into several enemies who are ready to punish the landing. Spend the ultimate there only when removing or displacing that particular hero creates enough advantage to justify the exposure.
Early-match priorities: hold the angle, then commit
In lane, use missiles to influence where the opponent can contest the wave and how they can retreat. Protecting your own exit with a salvo can be more valuable than placing every missile aggressively, particularly when a self-damaging jump has already reduced your health.
During skirmishes, entering after an opponent has spent a movement or crowd-control ability reduces the ways they can spoil your approach. Start from an off-angle, threaten the marked-shot conversion, and keep the dive available until there is a clear landing. A successful impact or ultimate displacement then creates a follow-up opportunity for your launcher.
The main judgment is whether closing distance improves the fight. If charged rockets are already landing and the opponent must respect a missile-covered exit, remaining above or outside the immediate exchange preserves that advantage. Commit when the impact secures damage, disrupts an important enemy, or gives allies a target they can finish.
What to practice in the training room
The updated training room supports recorded bot actions, speed graphs, DPS meters, and a full combat log. Recorded movement is useful for rehearsing Strix Salvo placement across an escape route, rather than learning only against a stationary target. Use the combat log to inspect the damage after a charged follow-up.
For movement practice, compare short flight bursts, an early manual dive, and a full overheat. Focus on the delay before the forced dive, where the impact lands, and when flight becomes available again. Those are the limits you need to recognize before committing above an enemy team.
FinalBoss // Gear
Level up your setup
01Top-rated gaming headsetson Amazon→02High-refresh gaming monitorson Amazon→03Gaming chairson Amazon→04Discounted game keyson Kinguin→Affiliate links · As an Amazon Associate, FinalBoss earns from qualifying purchases.
Want to Level Up Your Gaming?
Get access to exclusive strategies, hidden tips, and pro-level insights that we don't share publicly.
Ultimate Guide Strategy Guide + Weekly Pro Tips