
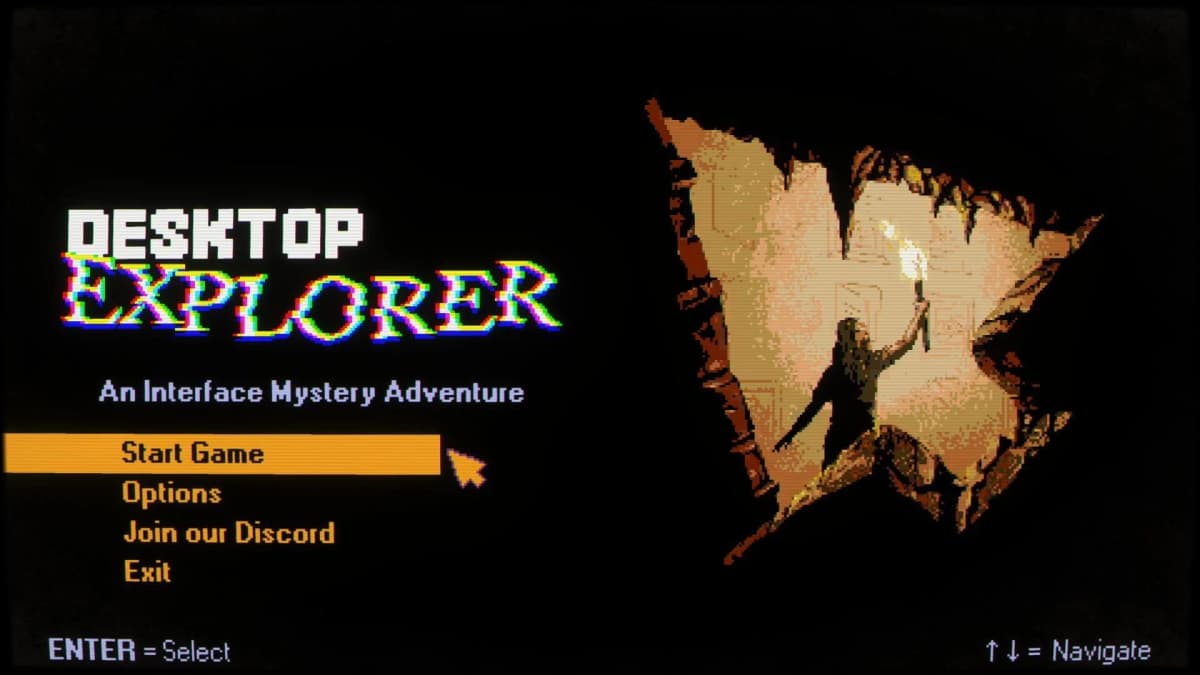
For the next Desktop Explorer puzzle stages, work in this order: unlock Halibut’s second session, clear the The Temple folder by following its Colorlens-led file clues, then move into NextRooms Mall F1 Court with a written compass map and a separate record of every shop clue. The main trap is treating the desktop like a static menu. These puzzles expect you to read files closely, alter the specific targets they identify, and carry passwords and code fragments forward.
Table of Contents (11)
Before You Start: Confirm Your Halibut Desktop Is Ready
This route assumes you have already logged in as Halibut, installed DesktopExplorer through DE_Installer.exe, and completed the first group of Halibut puzzles, numbered 1 through 10. You should also have used Chronolog for Guppy’s Journal at least once.
Those earlier steps matter because Desktop Explorer builds its mystery through the computer itself. A program, document, password, or folder that looked incidental in the opening puzzles can become the key to the next stage. Keep the desktop organized enough that you can identify new files and folders as soon as they appear.
- Log into the Halibut account.
- Make sure DesktopExplorer is installed and launches correctly.
- Confirm Chronolog has been opened for Guppy’s Journal.
- Complete Halibut puzzles 1-10.
- Unlock Halibut’s second login session.
- Look for the
The Templefolder that appears on the desktop.
If The Temple is absent, do not start searching unrelated folders for a replacement route. Return to the first Halibut puzzle batch and confirm the second login session has been unlocked. The folder is the progression marker for this section.
Halibut The Temple: Read the Clue Before Editing Anything
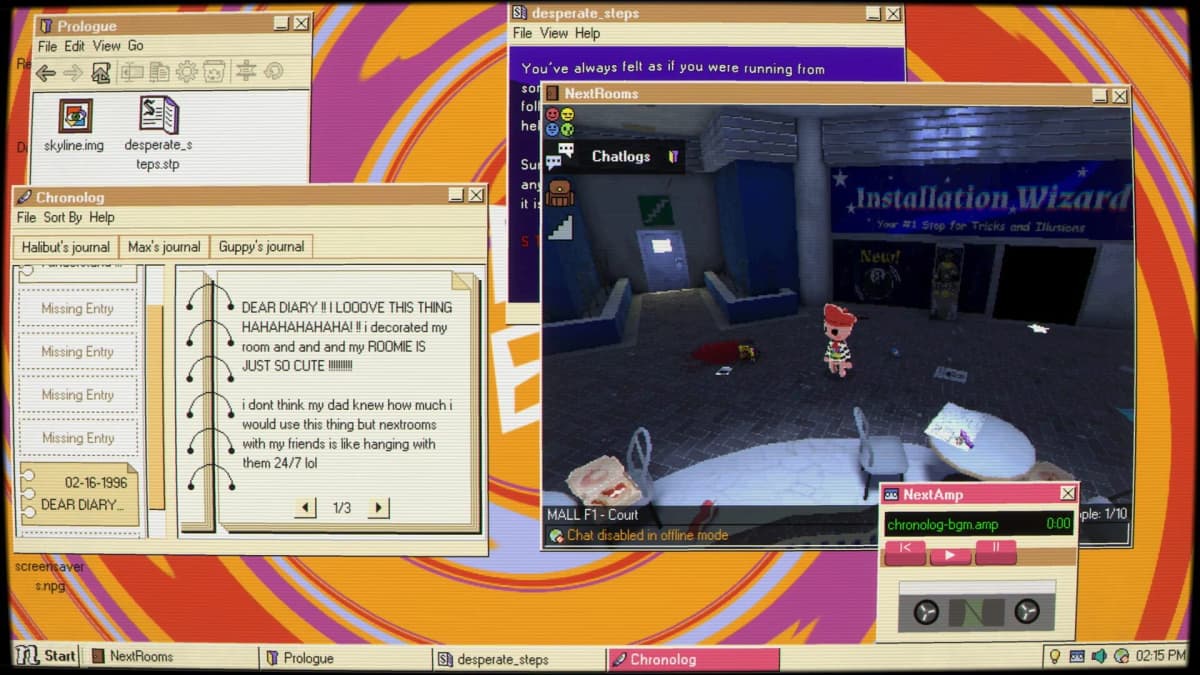
Open The Temple and treat every file as a possible instruction, not merely background lore. This stage uses the desktop’s file structure as part of the puzzle, including documents that direct you toward other files and source-code-style material that must be changed in the correct place.
The efficient approach is to make a small note of each file’s name, extension, visible text, and any word or colour that stands out. You are looking for a chain: one clue identifies a target, the target reveals the next instruction, and the final instruction tells you what to change or which password to use.
Use Colorlens as Your Targeting Tool
Colorlens is important in The Temple because the colour treatment points you toward the relevant target. Do not skim coloured text as flavour. Compare the highlighted wording with file names, labels, terms inside documents, and text inside the source material. The clue is there to narrow your search so you are not randomly editing every file in the folder.
- Open the Colorlens clue and note the exact highlighted word, phrase, or colour association.
- Check file names first, since the clue may identify the correct document directly.
- If no filename matches, search the text inside the Temple files for the same wording or a close thematic match.
- When you find the matching target, read its full contents before changing anything.
- Follow the instruction from that target rather than modifying unrelated text.
Working from the Colorlens clue is safer than guessing because a wrong edit can leave you unsure whether you have made progress or simply changed a file the puzzle never intended you to touch. Keep changes narrow: alter the line, value, or section identified by the clue, then check whether the game exposes a new response, file, or access path.
Handle the Source-Code Edits Carefully
The Temple’s code-editing puzzles are about precision. Read the nearby comments, labels, and variable-like text as puzzle language. The correct change comes from the chain of clues you have already uncovered; it is not a reason to rewrite large sections of a file.
Before making an edit, record the original text in a note. Then change only the clue-linked part and save. This gives you a clean way to undo a typo or a misread instruction without losing track of what the file originally contained.
- Do not change multiple lines at once.
- Preserve punctuation, spacing, and capitalization unless the puzzle specifically directs otherwise.
- Use the clue chain to identify the intended edit; avoid trial-and-error changes to every available value.
- After saving, reopen the file or return to the relevant program to check for the next prompt.
- If nothing changes, verify that you edited the exact file named or implied by Colorlens.
Desktop Explorer’s vintage-computer framing makes it tempting to treat an editable file as a free-form sandbox. In this route, the useful changes are deliberate and clue-driven. A clean record of what you touched prevents the Temple section from turning into a guessing exercise.
Passwords: Keep a Running List, Including Reset Results
Passwords remain part of the Halibut route, especially around password-backed .stp files. Keep the password itself, the file it opens, and the place where you found the clue together in one note. The password is often less useful as an isolated word than as proof of which clue chain you have completed.
Two useful references from the earlier desktop trail are:
LostOnTheShore.stpuses the passwordfortuna.long_scroll.npgleads toInanna.
When a puzzle asks you to reset a password, treat the replacement as the current answer from that point forward. Write it down immediately and stop retrying the old credential. Repeatedly entering an earlier password after a reset is one of the easiest ways to lose the thread of a file-based puzzle chain.
Use lower-case spelling exactly where the desktop prompt requires it. Password puzzles tend to punish minor transcription errors more than interpretation errors, so check letters twice before assuming a clue is wrong.
When The Temple Stalls: Check the Route, Not Every File
If you reach a dead end in The Temple, backtrack through the last confirmed sequence: Colorlens clue, target file, text or code instruction, required edit or password prompt. You are usually missing a connection between two of those steps rather than a completely hidden new system.
- Colorlens clue has no obvious answer: compare its highlighted wording with both filenames and text within documents.
- An edit produced no result: undo it, reread the target file, and confirm you did not change a similarly named but incorrect file.
- A password fails: verify the file extension and prompt, then recheck spelling and whether a password-reset event replaced the old answer.
- You found a new file but do not know its purpose: read it before returning to older puzzles; new material generally continues the active chain.
The objective is to preserve momentum. Once the Temple sequence yields its next access point, move on rather than reopening every prior Halibut document looking for extra interpretation. Desktop Explorer’s puzzle structure rewards following the newest confirmed lead.
NextRooms Mall F1 Court: Navigate With a Compass Map
NextRooms Mall F1 Court changes the type of problem. The Temple teaches you to manipulate information on the desktop; the mall asks you to navigate a maze-like space while collecting clues from its shops. Start the F1 Court route with a simple map on paper or in a text document. Relying on memory is where most of the wasted movement happens.
Use the compass as your fixed reference. Every time you move, record your direction and where it led. You do not need an artistic map; a compact trail such as N → E → shop → S is enough to show which routes are new, which paths loop, and which locations still need to be checked.
Build the Map as You Move
- Mark your entry point as the center of the map.
- Write the compass direction for each move.
- Give each discovered shop or landmark a short label.
- Mark dead ends clearly so you do not recheck them without a new clue.
- Note any locked route, code prompt, or suspicious detail beside the location where you found it.
Keep the compass notation consistent. If you write north as N at the start, do not later switch to “up” or “forward.” The F1 Court puzzle flow becomes much easier once each route has a stable direction attached to it.
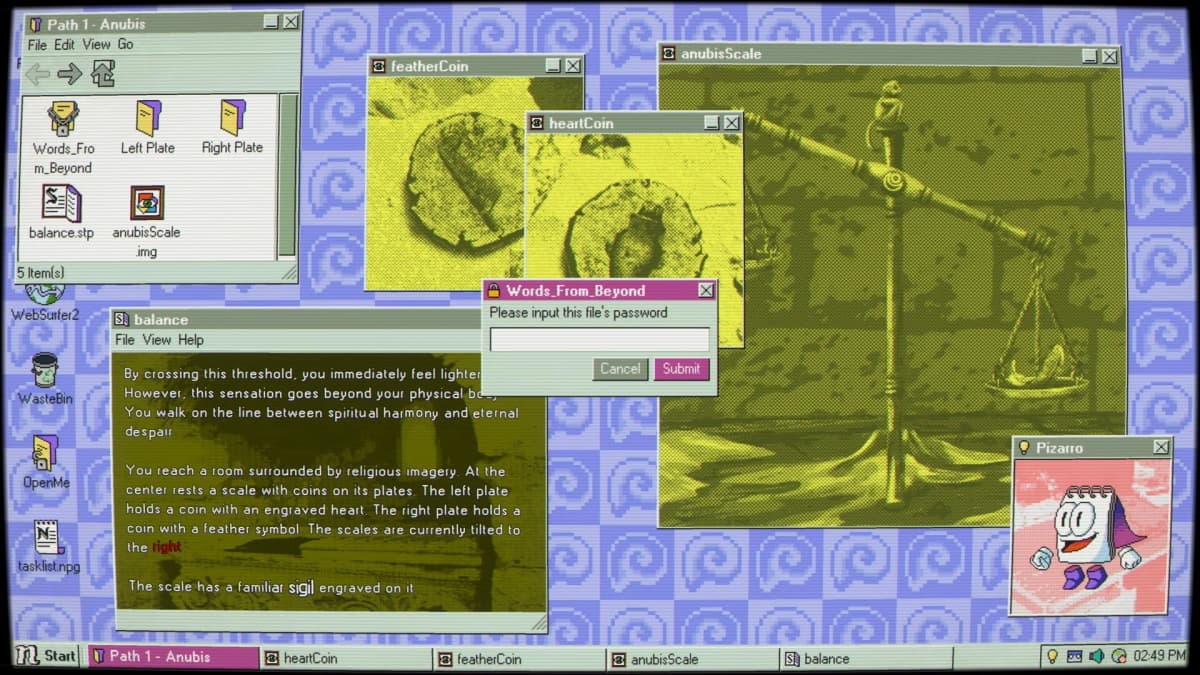
Do not rush toward the first obvious code input. A mall code puzzle is often solved by gathering information across multiple shops, then putting the fragments into the right order. The map tells you what you have visited; a separate code note tells you what each place contributed.
Solve the Mall Shop Codes Without Losing the Order
At each shop in NextRooms Mall F1 Court, read all available text before you decide you have the code. Store names, labels, displayed words, numbers, and repeated motifs can all be part of the intended solution. Record the clue exactly as shown rather than translating it into a guess too early.
Separate collection from entry. First visit the available shops and gather their details. Then compare the notes for an obvious sequence, relationship, or missing piece. This avoids the common loop of entering partial codes, forgetting what you tried, and revisiting the same location without new information.
- Record each shop’s clue under its map label.
- Keep numbers, letters, symbols, and word order exactly as presented.
- Look for repeated terms between shops before combining anything.
- Use the compass map to establish order when the route itself provides a sequence.
- Enter a code only after you can explain where every part of it came from.
If a code is rejected, do not immediately assume the shop clues are wrong. Check the order in which you wrote them, whether the maze route implies a direction-based sequence, and whether you copied a character incorrectly. A clean set of notes makes these corrections quick.
Why This Route Fits Desktop Explorer’s Mystery Structure
Desktop Explorer is a point-and-click mystery/horror game built around a retro PC left behind by the player character’s uncle. Its missing-person investigation unfolds through the computer’s programs, folders, documents, and puzzle software, so the interface is part of the world rather than a layer between you and the game.
That structure explains the shift from Halibut’s password-backed files and code edits to NextRooms’ navigational maze and shop codes. Both sections use the same core skill: observe what the simulated computer is telling you, record details accurately, and follow the active clue chain instead of guessing at every interaction.
Desktop Explorer launches July 17 on PC and Mac through Steam. A demo is available ahead of Steam Next Fest. The game was announced at the Latin American Games Showcase and is co-funded by Outersloth and Casey Yano of Mega Crit.
Practical Route Summary
Finish Halibut puzzles 1-10, unlock the second Halibut session, and open The Temple. Use Colorlens to identify the correct file targets, make only the clue-directed source edits, and maintain a clear password log that includes reset results. Then enter NextRooms Mall F1 Court with a compass-based map and a separate shop-clue list. That record-keeping turns both stages from opaque desktop puzzles into a straightforward chain of confirmed next moves.
FinalBoss // Gear
Level up your setup
01Top-rated gaming headsetson Amazon→02High-refresh gaming monitorson Amazon→03Gaming chairson Amazon→04Discounted game keyson Kinguin→Affiliate links · As an Amazon Associate, FinalBoss earns from qualifying purchases.
Want to Level Up Your Gaming?
Get access to exclusive strategies, hidden tips, and pro-level insights that we don't share publicly.
Ultimate Guide Strategy Guide + Weekly Pro Tips