Diablo IV: How to Survive Elite Affixes in Lord of Hatred – Defensive Playbook
Surviving Elite packs in Diablo IV: Lord of Hatred under the revamped Elite Affix system no longer hinges on out-leveling the content. Torment tiers 1 through 12 apply unified scaling that keeps affixes lethal no matter how high your item level climbs. The safest approach is to treat every rare pack as a combo check: stack specific defensive layers, identify the two-to-three affixes active on the pack, and adjust your positioning before the first hook or saw blade appears. If you wait until red circles fill the ground, the damage has already scaled beyond the point where a single potion or dodge will save you.
Why Elite Affixes Kill You Now
In the revamped endgame, monster health and damage grow aggressively as you climb Pit levels and raise the Torment tier. The unified Torment 1-12 system means you cannot overlevel or out-gear lower content to the degree you could in previous seasons. Elite affixes that once tickled for negligible damage now retain full relevance, and the tight timers in activities like Infernal Hordes pressure you to stand still and trade damage instead of kiting. That greed is the leading cause of sudden deaths. Affixes do not simply hurt more in higher tiers; they scale in a way that turns overlapping mechanics into guaranteed one-shots if you lack the correct defensive layers.
The Lethal Combos That Delete Players
Individual affixes are manageable. The danger appears when two or three synergize to remove your escape options. Recognizing these combinations before you commit to the fight is half the battle.
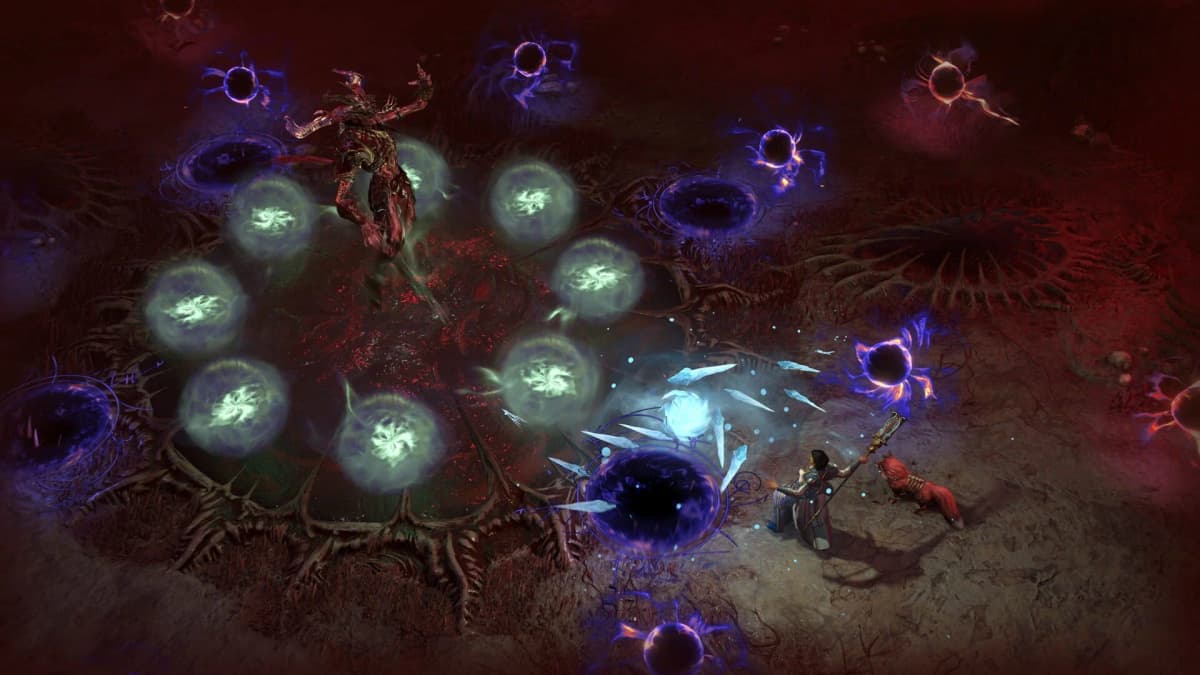
Saw Blades and Burst Zones
Saw blades spawn persistent slicing projectiles that track movement, while explosive burst zones create delayed high-damage circles on the ground. Together they compress the safe space in the arena until a single mistimed dash places you inside two overlapping damage fields. The burst zone detonates exactly when the blade wall forces you to step forward.
Chain Hooks Into Crowd Control
Chain hooks physically drag you into the center of the Elite pack. If the same group rolls Jailer, Frozen, or Nightmarish, the hook lands you in a stunlock that prevents cleansing or dashing away. By the time control returns, the second wave of hooks or a ground effect has already procced.
CC Stacking Without a Hook
Even without a hook, multiple CC affixes on the same pack create chain interrupts. A Frozen orb into a Jailer lock leaves you standing inside a burst zone with no ability to drink a potion. The game does not grant invulnerability frames after a hard CC ends, so the transition window is enough to kill a fully geared character.
Defensive Playbook – Stats and Layers
Damage reduction in Lord of Hatred is not a luxury for hardcore players; it is the baseline cost of entry for Torment tiers beyond your current farm level. You need layered defenses that address both the raw numbers and the crowd-control uptime.
Priority Defensive Stats
- Armor and Resistances: These mitigate the baseline spell and physical damage from affixes. They will not let you face-tank, but they buy the extra half-second needed to escape an overlap.
- Damage Reduction from Elites: A separate multiplier that applies specifically to rare and champion enemies. This is one of the most efficient stats for affix survival because it directly reduces the damage source that matters.
- Maximum Life: Functions as a buffer against burst, yet it is less efficient than reduction. Use it to survive the initial hook, not to absorb prolonged ground effects.
- CC Reduction: Often overlooked, this stat shortens Jailer and Frozen durations. Against lethal combos, being able to act one frame earlier is the difference between dashing out and watching the death screen.
Uniques, Aspects, and the Horadric Cube
Build flexibility in Lord of Hatred lets you socket defensive legendaries without destroying your core rotation. Look for aspects that grant a barrier on cooldown use, damage reduction while injured, or automatic cleanse when hit by hard CC. If your current gear lacks these layers, use the Horadric Cube to extract a defensive aspect from an otherwise useless legendary and imprint it onto a well-rolled piece of armor. The best defensive unique effects are those that proc automatically; manual activation is unreliable when you are already stunned.
FinalBoss // Gear
Level up your setup
01Top-rated gaming headsetson Amazon→02High-refresh gaming monitorson Amazon→03Gaming chairson Amazon→04Discounted game keyson Kinguin→
Affiliate links · As an Amazon Associate, FinalBoss earns from qualifying purchases.
Mercenary and Squad Positioning
Your mercenary or party members can absorb some pressure, but Elite mechanics in Lord of Hatred frequently target the player directly. Do not rely on a mercenary to tank saw blades or chain hooks off you indefinitely.
- Mercenary setup: Choose a follower who provides a taunt or a party-wide barrier. Position them between you and the pack at the start of the pull so the first wave of projectiles collides with the companion.
- Party coordination: In squads, assign one player to bait CC-heavy packs while the others clear from max range. Splitting elite packs is often safer than stacking them in one cluster where affixes overlap.
- Squad composition: If you are running with the new Warlock or Paladin classes, leverage their flexible skill trees to slot a group cleanse or defensive aura for the specific encounter rather than pure damage amplifiers.
Want to Level Up Your Gaming?
Get access to exclusive strategies, hidden tips, and pro-level insights that we don't share publicly.
Ultimate Guide Strategy Guide + Weekly Pro Tips
Mid-Fight Adjustments by Affix
Reading the affix text under the enemy health bar is not enough. You need to change your behavior the moment the combat starts.
Saw Blades
Stop any channeled abilities immediately. Save your mobility skill for repositioning around the blade orbit, not for engaging. Kite in wide, predictable circles rather than cutting back and forth, because erratic movement causes the blades to cluster in your path. If blades spawn on a narrow doorway or corridor, pull the pack backward into open space before committing cooldowns.
Chain Hooks
Keep a dash or unstoppable skill off cooldown specifically for the hook animation. If you are dragged, use the cleanse instantly; do not wait to see what follows. Position yourself with a wall or pillar at your back so the hook fails to pull you the full distance into the pack.
Explosive Burst Zones
These operate on a rhythm. Watch for the initial ground telegraph and move early. Never stand in overlapping burst zones from two different elites, as the damage stacks. If the pack is dense, focus fire one elite down to reduce the number of active zones rather than spreading damage evenly.
CC Stacking
When Jailer and Frozen appear together, engage at maximum range and kill that pack first. If you lack sufficient CC reduction on your gear, skip the pack entirely. Do not burn your ultimate on a group that can lock you out of the animation; save your biggest cooldowns for after the pack is thinned or crowd-controlled itself.
Timer Pressure and Disengage Discipline
The countdown in high-tier Pits and Infernal Hordes creates an illusion that standing in bad is faster than kiting. In practice, a death costs more time than a controlled pull. When pushing into a new Torment tier, pull one elite pack at a time. Skip triple-affix packs that combine Hook, Blade, and Burst. Use doorways and line-of-sight to reset fights if your health drops below half before the pack is broken. Discipline in the first thirty seconds of a map determines whether you clear on time or spend the run repairing gear.
Expectation Check for Higher Torment
Pushing into higher Torment tiers in Lord of Hatred is a defensive check first and a damage check second. The revamped Elite Affix system punishes anyone who assumes gear alone will trivialize mechanics. Stack armor, elite reduction, and CC reduction. Read every pack before you attack. Adjust your spacing the moment the wrong affixes appear. That restraint is the only reliable way to turn corpse runs into clean clears.