
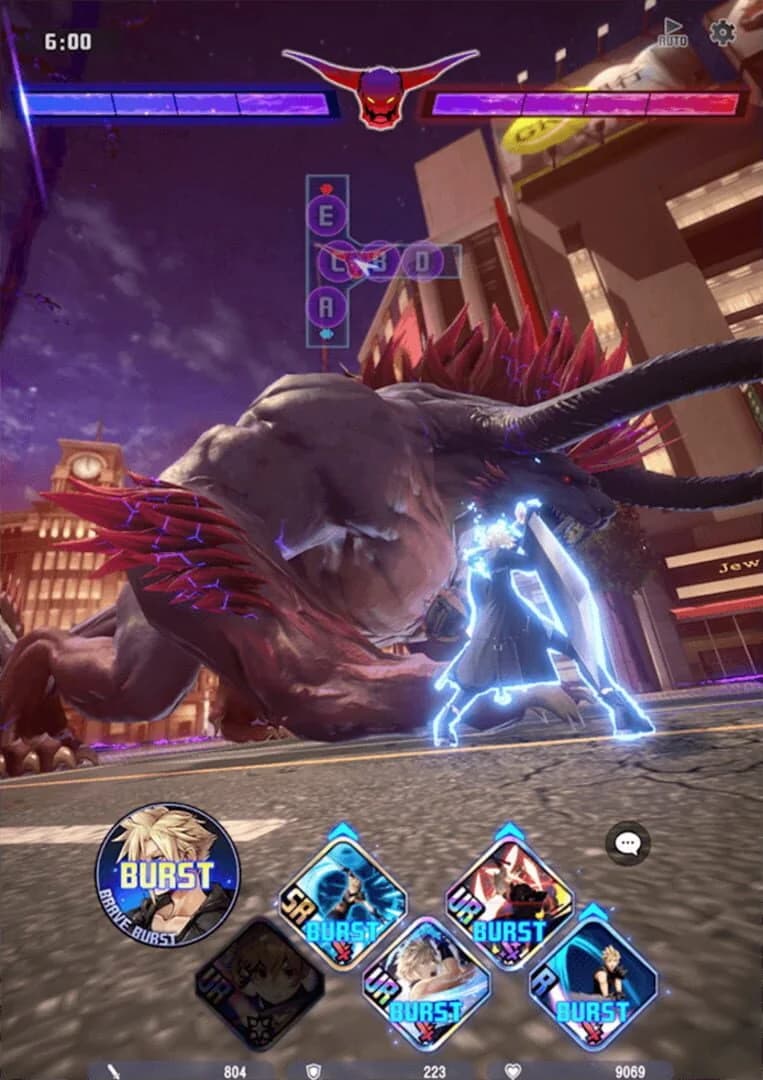
Dissidia Duellum Final Fantasy turns modern Tokyo-inspired arenas into a 3v3 PvPvE boss race: farm Bravery from monsters, crystals, and enemy players, then spend a well-timed Bravery Burst to damage the central boss before the other team does. The fastest way to get comfortable is to learn that loop first, build one strong starter account around it, and use Challenges to rehearse it before taking the pressure into live matches.
Important context: “Tokyo battles” describes the game’s Tokyo-themed battlefield setting rather than a separately named queue. The same core priorities apply across these urban arenas: reach 9,999 Bravery efficiently, deny the opposing team their own Burst timing, and arrive at the boss with your abilities ready.
Table of Contents (8)
How a Tokyo boss race works
You enter each match controlling one character within a three-player team. Movement uses the thumb pad, while approaching an enemy triggers regular attacks automatically. Quick taps inside the movement pad increase the speed and power of those regular attacks, and abilities are activated by swiping upward on the interface.
The opening phase is about creating a Bravery lead. Defeat roaming monsters, purify crystals, and pressure opponents to fill your Bravery gauge. Once your character reaches 9,999 Bravery, tap or flick the character portrait to activate Bravery Burst. This is the limited damage window that lets your attacks and skills hurt the boss directly. When Burst ends, the match returns to the farming-and-denial phase until the next window.
- Farm phase: Kill monsters, purify crystals, and contest enemy players for Bravery.
- Boss phase: Activate Bravery Burst at 9,999 Bravery and convert it into boss damage.
- Reset phase: Rebuild Bravery while stopping the other team from setting up an uncontested Burst.
The boss race rewards clean cycles more than random fighting. A player who keeps reaching 9,999 Bravery at useful moments contributes far more than one who chases isolated duels while the boss is about to spawn.
Tip 1: Treat 9,999 Bravery as your first real objective
Early in a match, do not run straight toward the boss area waiting for action. Bosses are stronger than regular enemies, and they only take meaningful damage during Bravery Burst. Your first priority is therefore reaching the 9,999 cap with enough time and positioning to use the Burst on the boss.
Build Bravery through the fastest safe targets available: nearby roaming monsters, open crystal nodes, and enemy players who have drifted away from their allies. The PvP side matters because attacking an opponent disrupts their Bravery progress as well as advancing yours. In a close race, denying one enemy Burst can matter as much as landing your own.
Practical rule: avoid spending a Burst simply because it becomes available. Save it for a boss-damage opportunity. A Burst triggered into stray mobs or while the boss cannot be reached burns through the resource your team needs to win the race.
Make the Burst window count
Bravery Burst empowers your regular attacks for a limited time. Have your special abilities ready before activating it, then use them in sequence during the window. Chaining special abilities prolongs the effect, which gives you more time to turn Bravery into direct boss damage. Entering Burst with key abilities still unavailable creates a short, low-value damage phase.
Tip 2: Win the opening rotation with crystals, mobs, and 2v1 fights
Tokyo’s dense arenas can make the first minute look chaotic, especially with monsters roaming between crystal routes. Keep the opening simple: spread out to collect Bravery efficiently, then converge when the boss phase becomes relevant. Three players shadowing the same early monster waste the map’s resources and leave crystals uncontested.
On Tokyo-style layouts with A and E crystal nodes, these outer crystals provide higher Bravery gains when purified. They are worth the extra route length when they are open. A clean early rotation commonly means taking an available high-value crystal, clearing nearby roaming monsters, then moving toward teammates rather than wandering through the middle looking for a fair fight.
- Prioritize A and E crystals when your team can reach them without walking into a bad fight.
- Clear nearby monsters while moving between nodes; they keep Bravery climbing instead of creating dead travel time.
- Collapse on overextended enemies with an ally to create a 2v1 instead of accepting isolated 1v1s.
- Regroup around the boss area once players are nearing 9,999 Bravery and the boss is due to matter.
A 2v1 skirmish is especially valuable because it can remove an opponent’s space to farm, force them away from a crystal, and delay their route to Burst. The goal is not to chase them across the whole map. Take the Bravery swing, secure the nearby objective, then reset toward the boss race.
Tip 3: Use the unlimited tutorial rerolls before binding your account
Dissidia Duellum Final Fantasy gives new accounts unlimited retries on their initial pulls during the tutorial. Use that advantage. The tutorial flow begins with a starter-character choice, continues into a rerollable ability 10-pull, and then provides a rerollable guaranteed character pull. There is no need to delete and recreate an account for the initial reroll process.
The 10-pull deserves the most patience because UR abilities drive your early power more reliably than collecting extra characters. Aim for at least two UR abilities, with at least one UR tied to the character you intend to main. Players prepared to reroll longer can target three UR abilities, but two useful URs for the same main is the practical starting line.
Lock in the ability pull first, then use the character reroll to secure a character you genuinely plan to use. Character-specific abilities are part of the gacha pool, so splitting your early resources across several favorites leaves your best character under-equipped. Keep the account unbound until you have accepted the rolls you want.
Reroll priority: a focused main with matching UR abilities beats a scattered collection of characters with no coherent kit. The tutorial takes roughly 15 minutes, which makes taking a few extra retries much cheaper than rebuilding a weak opening setup later.
Tip 4: Pick one starter based on the job you want in the race
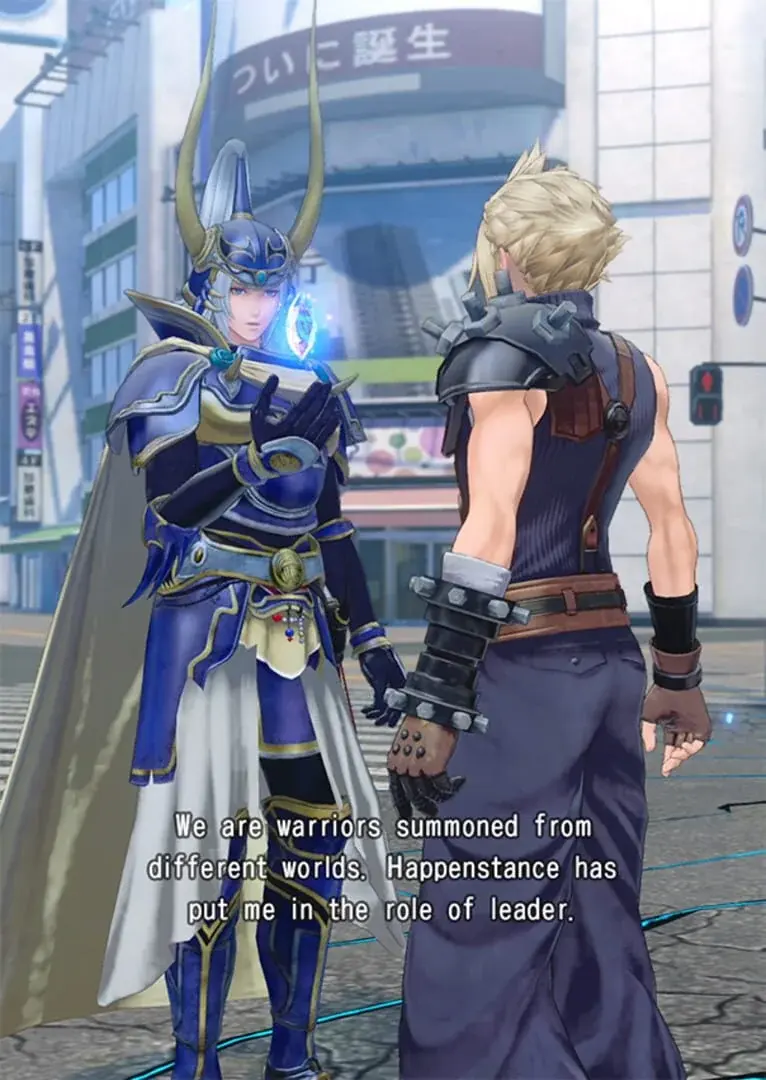
Your opening roster includes Warrior of Light, Cloud Strife, Lightning, and Terra Branford. Pick one character to invest in first, then pursue ability pulls that support that choice. The table below makes the early decision clearer.

| Starter | Best early role | Why the pick works | Beginner priority |
|---|---|---|---|
| Cloud Strife | Boss finisher | Cloud has a passive that increases damage against bosses, directly supporting the central win condition. | Choose Cloud for a straightforward damage-focused main and seek Cloud-specific UR abilities. |
| Lightning | Roaming hunter | Her high mobility and dash-based tools help her contest crystals and reach roaming monsters quickly. | Choose Lightning for map control, fast rotations, and learning where Bravery is available. |
| Warrior of Light | Frontline anchor | His durable generalist profile suits players who want to hold space, survive pressure, and peel for allies. | Choose him for a steadier close-range role rather than a high-mobility rotation style. |
| Terra Branford | Starter choice tied to kit synergy | Terra is part of the initial four-character selection, making matching ability pulls especially important. | Commit if you want Terra as your main and secure UR abilities that belong to her kit. |
Cloud is the cleanest recommendation for players focused entirely on the boss race. Lightning is the stronger fit for players who enjoy moving between crystals, mobs, and skirmishes. Warrior of Light offers a more forgiving front-line approach. Terra remains a valid choice when the reroll gives her the UR kit you want to build around.
For the first week, resist the urge to level every character evenly. One well-supported main reaches useful Burst windows faster and makes it easier to understand whether a loss came from routing, timing, or loadout quality.
Tip 5: Rewatch Help tutorials, then learn the loop in Challenges
The opening tutorial covers movement, attacks, crystal purification, and a first boss encounter, but its most important lesson can be easy to miss during a new-account rush: Bravery is the gate to boss damage. Revisit the in-game Help explanations whenever the 9,999 threshold, Burst activation, crystal icons, or boss-phase cues stop making sense.
This matters in Tokyo arenas because urban scenery, vertical routes, and roaming enemies can obscure the practical map cues you need to follow. Help tutorials clarify the icons for crystal nodes and boss areas, which makes it easier to plan a route instead of reacting late.
After the tutorial and rerolls, make Challenges your first destination. They provide a low-pressure space to test your UR abilities, learn when a boss phase is dangerous, and practice the full Bravery-to-Burst cycle without rank pressure. Repeat a Challenge until the following sequence feels automatic:
- Farm mobs and crystals until you are close to 9,999 Bravery.
- Move into boss range rather than activating Burst from across the arena.
- Enter Bravery Burst with your special abilities available.
- Swipe upward to use abilities in sequence and extend the Burst damage window.
- Return to farming immediately after the window ends.
Casual Battles can place a new player against opponents with much higher power, so they are a poor substitute for controlled practice. Ranked matches add competitive stakes before you have internalized rotation timing. Challenges let you solve the mechanical problem first: reaching 9,999 Bravery consistently, spending it correctly, and recognizing when a Burst should be held.
Mobile setup and first-week priorities
Dissidia Duellum Final Fantasy is available on iPhone, iPad, and Android devices. Android requires Android 10.0 or later and at least 2 GB of RAM. Since the combat relies on quick thumb movement, automatic attack positioning, and upward ability swipes, a stable device setup matters more than it would in a turn-based mobile game.
- Finish the tutorial with a clear understanding of the 9,999 Bravery threshold.
- Reroll until your chosen main has a useful UR foundation, ideally two UR abilities.
- Commit to Cloud, Lightning, Warrior of Light, or Terra based on the role you plan to play.
- Practice crystal routes, roaming-monster clears, and Burst timing in Challenges.
- Enter live matches focused on coordinated boss damage rather than random PvP chasing.
FinalBoss // Gear
Level up your setup
01Top-rated gaming headsetson Amazon→02High-refresh gaming monitorson Amazon→03Gaming chairson Amazon→04Discounted game keyson Kinguin→
Affiliate links · As an Amazon Associate, FinalBoss earns from qualifying purchases.
Want to Level Up Your Gaming?
Get access to exclusive strategies, hidden tips, and pro-level insights that we don't share publicly.
Ultimate Guide Strategy Guide + Weekly Pro Tips