
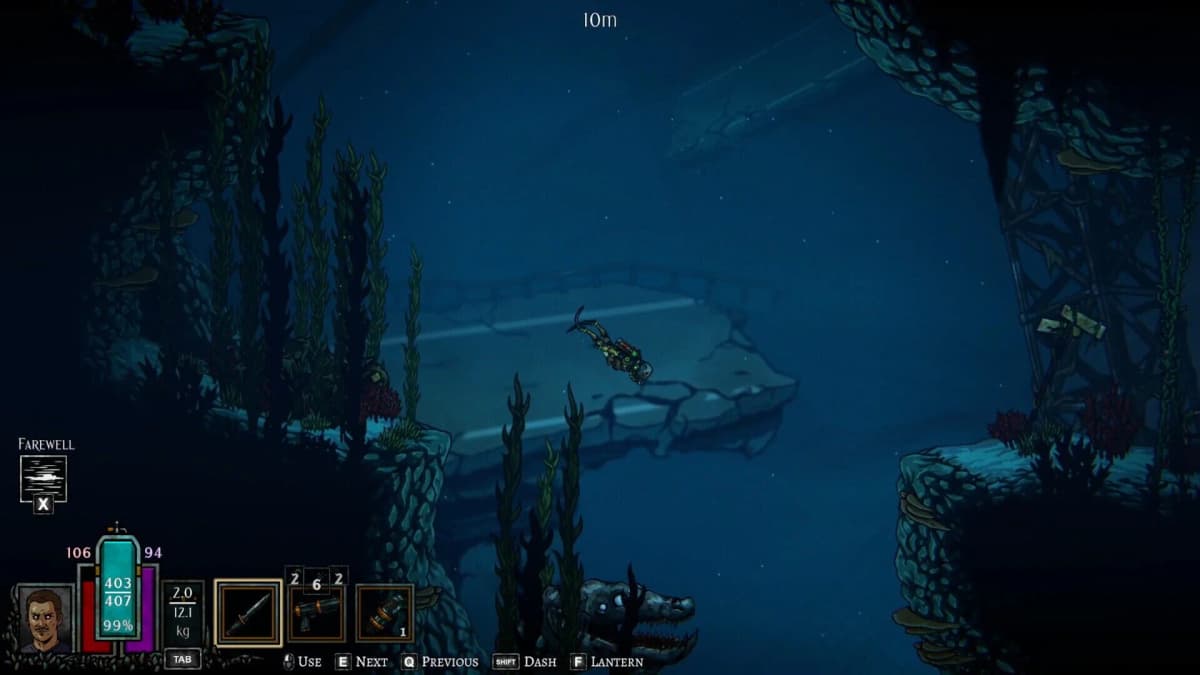
In Dive or Die: Children of Rain, the Abyssal Pool punishes wasted movement long before the final descent. You have 40 days-or 30 days on Normal difficulty-to collect and offer eight Eldritch Idols before diving to the bottom of the Abyssal Pool and satisfying the Rainmaker. That pressure makes Stalkers dangerous: a bad encounter can consume supplies, break a productive route, and leave a biome unfinished.
The reliable answer is to treat every Stalker encounter as a routing problem. Stalkers are attracted to light, Stalker Wells are dedicated Stalker biomes, and side structures can break both line of sight and pathing. Keep the Lantern from becoming your destination, use cover before panic sets in, and deploy a Flare only when it creates a safe lane toward your next structure or exit.
Table of Contents (15)
The Stalker Rules You Need to Remember
- Light draws Stalkers. Illumination is useful information, but it also creates danger.
- Stalker Wells are dedicated Stalker biomes. Enter them expecting the encounter to shape the entire route.
- Side structures are your best cover. They interrupt a Stalker’s line of sight and interfere with its pathing.
- Flares are directional tools. Their value comes from pulling attention away from the lane you intend to use.
- The Lantern is a trap for your decision-making. Do not let the comfort of visible light pull you into an exposed route.
Recognize a Stalker Well Before You Commit to the Open
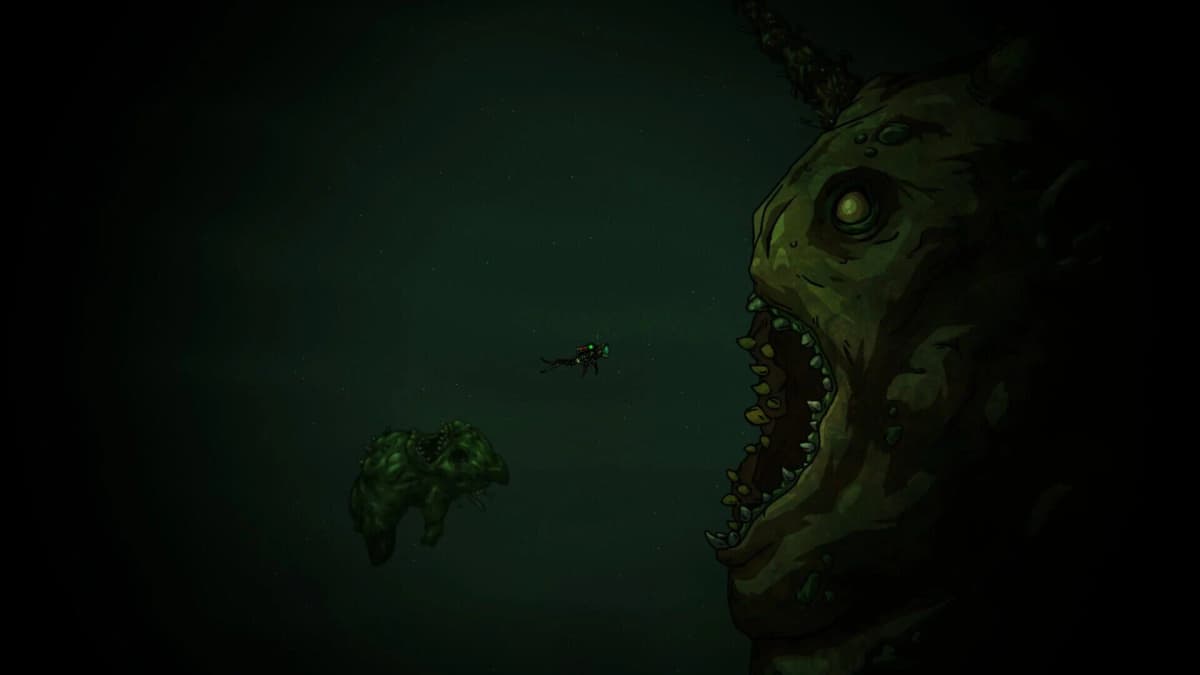
A Stalker Well needs a different mindset from an ordinary biome. Since it is a dedicated Stalker biome, the question is no longer whether a Stalker could interrupt your dive. The question is where you will go when the Stalker begins using the light around you as a cue.
The opening mistake is moving into the first available open lane and deciding on cover later. Instead, pause at the edge of the route and build a simple mental map: identify the nearest side structure, the next piece of cover beyond it, and the direction you would take if you had to retreat. You are creating an escape route before the encounter demands one.
Enter a Stalker Well With a Cover Chain
- Locate a side structure you can reach without crossing a long exposed lane.
- Identify a second structure or safe direction beyond the first one.
- Keep your planned exit lane separate from the light source you may use as a distraction.
- Move from cover to cover instead of trying to cross the whole biome in one clean line.
- Save a Flare for the moment your current route is no longer safe, not for the moment you first feel nervous.
This approach works because a side structure does more than hide you briefly. Breaking line of sight denies the Stalker a direct read on your position, while the altered pathing makes its approach less immediate. That extra beat is where you choose the next move instead of reacting to the enemy’s.
Why the Lantern Is a Psychological Trap
The Lantern is dangerous because it feels like certainty. In a dark, hostile dive, the natural reaction is to move toward the light, stay near it, or use it as the center of your route. Against Stalkers, that instinct puts you in the wrong place: light attracts the threat you are trying to avoid.
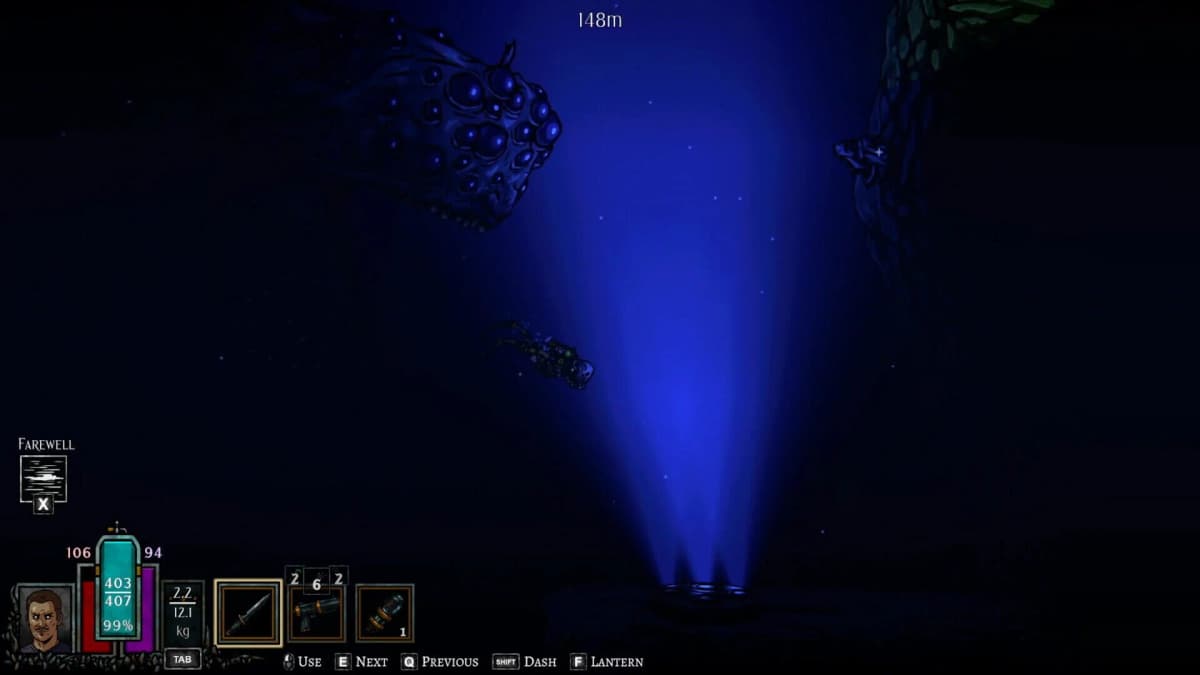
Do not make the Lantern your navigation anchor in a Stalker Well. Treat it as a hazard marker that tells you to plan more carefully. Before moving toward any illuminated area, decide which side structure will break sight once you leave it. If there is no cover chain, the light is offering comfort without a safe follow-up.
Use Light Deliberately, Never Emotionally
- Do not linger in an illuminated lane while deciding where to go next.
- Do not rush directly toward the Lantern simply because it is visible.
- Do not let a light source sit between you and your intended retreat route.
- Do use structures to separate your position from the light attracting the Stalker.
- Do make your next cover choice before you expose yourself.
The goal is not to avoid every light source at all costs. That would turn a Stalker Well into a slow, indecisive crawl. The goal is to prevent light from dictating your route. You decide where the danger is looking; the Stalker should not decide where you travel.
Flare Timing: Pull the Stalker Sideways, Then Move
A Flare is the controlled exception to the rule that Stalkers follow light. Its job is to create a distraction away from your intended route. The common waste is deploying one while you are still standing in the same exposed lane, with no structure ready to break sight afterward. That spends the tool without changing the geometry of the encounter.
Use a Flare once you have a destination, not when you are merely afraid. Pick the side structure or exit lane you want to reach first. Then place the Flare away from that route, allowing the Stalker’s attention to shift toward the light while you move in the opposite direction.
The Safe Flare Sequence
- Identify the structure that will become your next cover point.
- Choose a Flare position away from that cover and away from the lane you need to travel.
- Deploy the Flare to pull attention sideways rather than forward into your route.
- Move immediately toward the structure instead of watching the distraction work.
- Break line of sight, reassess the Stalker’s likely path, and continue through the next cover point.
The important detail is direction. A Flare placed directly along your intended route can turn the path into a collision course. A Flare placed beyond the route can also leave you with too much exposed ground. Keep the distraction offset from your movement, then use a side structure to make the separation matter.
A good Flare preserves biome progress because it buys a clean continuation. A poor Flare buys a few seconds but leaves you trapped in the same stretch of open water, forced to spend more time and attention solving the identical problem again.
How Blessed Biomes Change the Route Plan
Blessed biomes add Beacon Jellyfish, which makes them a distinct part of dive planning. The presence of a Blessed biome is a reason to be more disciplined about your objective, especially when you are balancing survival with the need to collect upgrade materials.
There are two practical paths for farming Blessed Items as the campaign advances: permanent biome blessing and event-based moonbeam targeting. Permanent blessing is the long-term route when you want a biome to remain productive across future dives. Moonbeam targeting is the focused route when an event gives you a chance to direct a run toward a specific Blessed Item need.
Do not let a valuable Blessed biome turn a Stalker encounter into an all-or-nothing gamble. If the route is becoming unsafe, use the same priorities as any Stalker Well: preserve your cover chain, keep light away from your exit, and spend a Flare only if it converts danger into forward movement. Materials matter, but losing control of the route costs more than postponing one farming opportunity.
Prepare Between Dives Instead of Forcing Bad Routes
Stalker counterplay is mainly about movement discipline, but campaign preparation still matters. The Reinforced Diving Suit is available from the Altar through the Obsidian Key upgrade, making it a worthwhile progression objective as the Black Rain and Flood raise the stakes of each dive.
Do not treat preparation as permission to ignore Stalker rules. Better equipment does not replace cover, and it does not make the Lantern a safe destination. The practical advantage of preparing before a difficult route is that you can keep your dives focused: collect what the current biome offers, leave when the route becomes inefficient, and return to the Abyssal Pool with progress intact.
Quick Stalker Decision Rules
- Entering a Stalker Well: Find side structures before crossing open space.
- Seeing a Lantern: Plan around it; do not run toward it by instinct.
- Stalker has a clear lane to you: Move behind a side structure to break sight and pathing.
- You need to cross exposed ground: Use a Flare away from your intended direction, then move to cover.
- You are in a Blessed biome: Keep the farming objective secondary to surviving the route cleanly.
- You lose the safe lane: Return to the last useful structure rather than forcing a direct open crossing.
Stalker Mistakes That Waste Entire Dives
Using a Flare Before Choosing an Exit
A Flare needs a destination attached to it. Throwing one without knowing where you will move next can pull the Stalker’s attention into a space you still need to cross. Pick cover first, then place the distraction away from it.
Waiting Beside the Lantern
The Lantern encourages hesitation because it feels familiar and readable. In a Stalker encounter, standing near the light gives the enemy a more predictable target. Use the moment to identify cover, then leave the illuminated lane with purpose.
Ignoring Side Structures Until the Last Second
Cover works best as part of a route. If you only notice a side structure after the Stalker has already forced you into open space, you may have no clean way to reach it. Start every Stalker Well by identifying the first two useful structures.
Turning a Farming Run Into a Chase
Blessed Items and Beacon Jellyfish can make a biome feel too valuable to leave. Keep the objective in perspective. A permanent blessing or a moonbeam-targeted opportunity is useful only when you can complete the route without burning through every survival tool in a single encounter.
FinalBoss // Gear
Level up your setup
01Top-rated gaming headsetson Amazon→02High-refresh gaming monitorson Amazon→03Gaming chairson Amazon→04Discounted game keyson Kinguin→
Affiliate links · As an Amazon Associate, FinalBoss earns from qualifying purchases.
Want to Level Up Your Gaming?
Get access to exclusive strategies, hidden tips, and pro-level insights that we don't share publicly.
Ultimate Guide Strategy Guide + Weekly Pro Tips