

The safest way to beat Stalkers in Dive or Die: Children of Rain is to deny them a clean lock-on rather than force a direct fight. Identify a Stalker Well, turn your Lantern off before entering its dark interior, use nearby side structures to break their approach, and throw a Flare only when you need to create space to leave. The main trap is keeping the Lantern on: inside a Well, its light effectively advertises your position and makes Stalkers far more aggressive.
Table of Contents (8)
Recognize a Stalker Well Before You Commit
Stalkers are tied to specific hazard zones called Stalker Wells. These areas are usually dark, vertical or cylindrical structures rather than ordinary open-water routes. The sooner you identify one, the more control you have over the encounter.
Look for broken piping, thick fog, unusually heavy darkness, and the faint moaning ambience that builds around the structure. Treat that combination as a warning that a Stalker can spawn nearby. If the objective does not require you to enter, route around the Well and preserve your oxygen, supplies, and focus for the rest of the dive.
- Dark cylindrical or deep vertical structures signal a possible Well.
- Broken pipes and dense fog make the area easier to identify at a distance.
- Faint moaning audio is the last cue to slow down and decide whether entry is worth it.
- Extra ambient darkness means the Lantern becomes a bigger tactical decision.
Do not drift into a Well with your route already committed. Pause outside it, check for a bypass lane, and remember where the nearest pieces of cover are. A little pathing discipline prevents the panic that causes most Stalker deaths.
Turn the Lantern Off Before Entering
The Lantern is the key Stalker mechanic. It makes navigation easier in the dark, but inside a Stalker Well it also functions like a beacon. A lit Lantern repeatedly gives away your position, letting the Stalker find and lock on to you much faster.
Extinguish the Lantern before you cross into the Well. With the light off, Stalkers receive dramatically fewer location pings and take longer to establish a lock-on. That delay is your opening to move through the zone quietly, reach the resource or passage you need, and leave before the encounter becomes a chase.
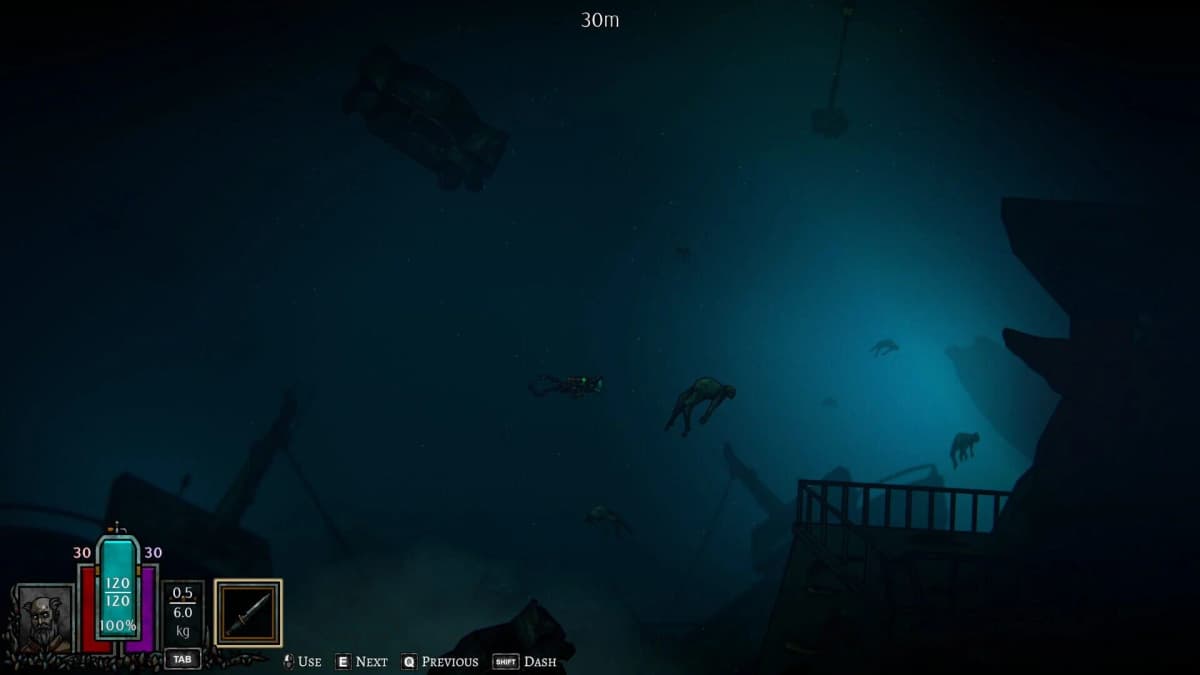
- Approach the Well with the Lantern on only long enough to orient yourself.
- Memorize the direction of the entry route, cover, and exit.
- Turn the Lantern off before moving into the darkest section.
- Keep moving with purpose; darkness is safer than standing still in an exposed lane.
- Turn the Lantern back on once you are clear of the Well or need to reset your route.
The difficult part is resisting the urge to relight the Lantern the instant visibility gets uncomfortable. That reaction gives up the advantage you created. Use the Well’s shapes, pipes, and side rooms as navigation landmarks instead of relying on constant light.
Use Side Structures to Break the Stalker’s Path
A Stalker Well is dangerous when you travel through its center with nowhere to change direction. Side structures give you cover and force the Stalker to spend time repositioning. When a Stalker closes in, move around a pipe cluster, wall edge, or side section rather than continuing straight down an open corridor.
This works best when you plan the cover before the Stalker is on top of you. As you enter a Well, identify one structure behind you and another closer to the exit. You are building a short escape route: enter quietly, collect or pass through, then use cover to redirect the Stalker if it begins tracking you.
When a Stalker Starts Closing In
- Keep the Lantern off; relighting it makes the pursuit easier for the Stalker.
- Move toward a side structure instead of retreating through the center of the Well.
- Break line and change direction around the structure.
- Head for the exit after creating separation rather than circling deeper into the zone.
- Use a Flare if you need a brief distraction to complete the escape.
Do not turn a bad approach into a longer fight by repeatedly looping the Well. Stalkers are a biome hazard to manage, and the objective is to leave their spawn zone with the smallest possible loss of dive time and resources.
Use Flares as an Exit Tool, Not an Opening Move
Flares are most valuable when a Stalker has already disrupted your route. Throw one to distract it, then use the opening to reach cover, grab the final objective, or leave the Well. Spending a Flare immediately on entry can create a little comfort, but it leaves you without a reliable reset when the Stalker actually catches your route.
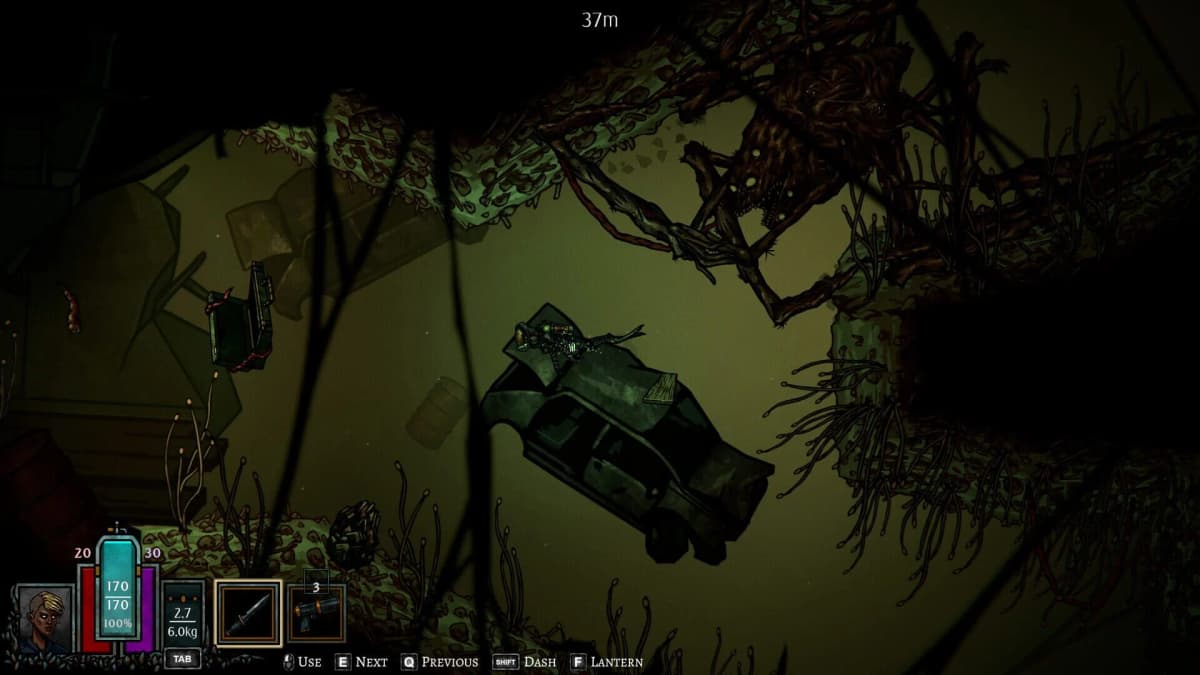
In practice, save Flares for three situations: a Stalker blocks the only safe exit, it is about to force you through an open section of the Well, or you have finished the necessary task and need to get back to the wider biome quickly. Each use should buy a specific movement decision, not simply delay the enemy.
Decide Whether the Well Is Worth the Risk
Late-biome dives put pressure on oxygen and other survival needs, so every detour has a cost. If a Stalker Well sits between you and a required objective, take the controlled route: Lantern off, cover mapped, Flare held for the exit. If it is guarding an optional detour, bypassing it is often the efficient play.
That matters because each dive feeds the wider survival loop. You are working toward stopping the Rainmaker’s flood before the 40-day countdown expires, collecting Eldritch Idols, and keeping the settlement functional between expeditions. Losing a run’s momentum inside an optional Well can cost more than the reward is worth.
Stalker Mistakes That Get Runs Killed
- Entering with the Lantern lit: this gives the Stalker repeated position pings and speeds up its lock-on.
- Exploring the middle of the Well first: open central routes leave little room to hide or redirect.
- Using a Flare without an escape route: a distraction only matters if you move to cover or an exit immediately afterward.
- Panicking and relighting the Lantern: visibility improves, but so does the Stalker’s ability to locate you.
- Farming an optional Well during a pressured dive: take the bypass when oxygen or your broader objective is more important.
Repeatable Stalker Well Route
Use the same sequence every time a Well blocks progress: spot the environmental cues, stop outside the entrance, identify cover and the exit direction, extinguish the Lantern, move through the edge of the structure, and save a Flare for a Stalker that cuts off the retreat. This turns a frightening enemy encounter into a manageable route check during an already demanding dive.
FinalBoss // Gear
Level up your setup
01Top-rated gaming headsetson Amazon→02High-refresh gaming monitorson Amazon→03Gaming chairson Amazon→04Discounted game keyson Kinguin→
Affiliate links · As an Amazon Associate, FinalBoss earns from qualifying purchases.
Want to Level Up Your Gaming?
Get access to exclusive strategies, hidden tips, and pro-level insights that we don't share publicly.
Ultimate Guide Strategy Guide + Weekly Pro Tips