
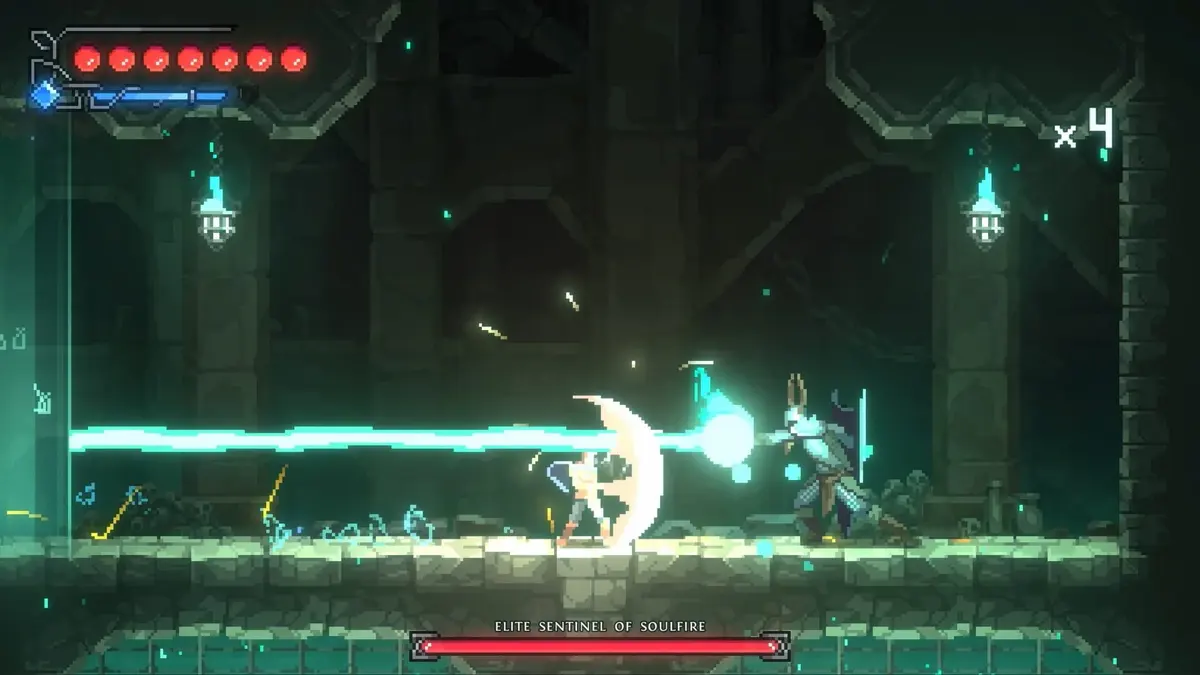
Prioritize traversal before damage in Divinum. Clear the Prologue’s combat lessons, then use each new movement tool to revisit blocked paths while collecting Gray Chasm’s key items, escaping Slumbering Depths with Incinerate, and opening Dim Crossing’s two-key gate. Most route stalls come from treating a movement gate as a damage check.
This route covers the connected progression work across the Prologue, Gray Chasm, Slumbering Depths, and Dim Crossing. The named regions do not all sit in the same order as the base island progression list, so use this as a practical chapter sequence and checklist when those areas become available in your build.
Table of Contents (7)
Start in the Prologue: Unlock Movement Before Building Damage
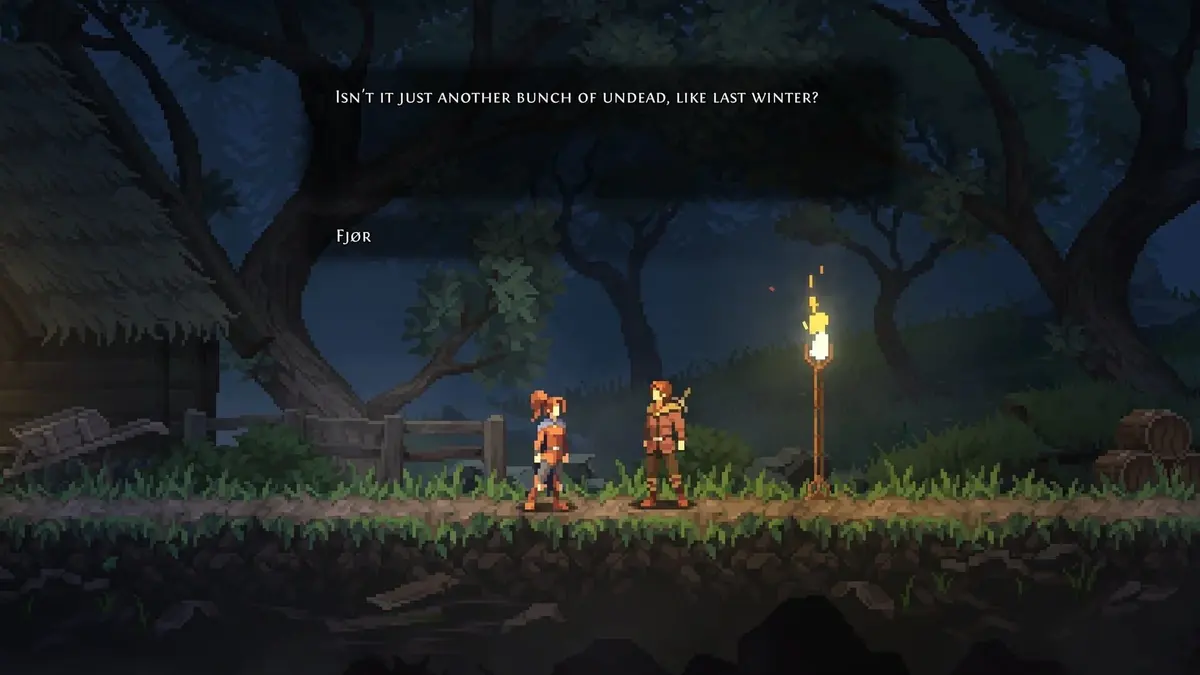
The Prologue gives Fjor a basic sword, limited mobility, and encounters designed to teach the essentials: simple combos, enemy tells, spacing, dodges, and parries. It generally takes around one to two hours to clear the opening area and reach the first substantial ability gate.
Spend the opening stretch learning how far your basic attacks carry Fjor. The safest habit is to finish a short combo, create space, and wait for the next enemy animation instead of extending every opening into a full damage string. Divinum’s tougher encounters punish bad positioning much more heavily than modest damage deficits.
When the route branches, take movement upgrades ahead of pure combat upgrades. Double Jump, Dash, and Wall Climb or Wall Jump determine which gaps, cliffs, and vertical routes you can use. A single movement unlock can open two or three earlier blocked paths, while a damage increase only makes already-accessible fights faster.
- Clear nearby blocked ledges and doors after earning any traversal skill.
- Mark unreachable pickups instead of repeatedly attempting impossible jumps.
- Keep at least one return route in mind before dropping into a deep combat room.
- Use early fights to practice dodge and parry timing rather than spending resources on brute-force upgrades.
Gray Chasm Route: Take the Core Items Before Pushing Forward
Gray Chasm is the first major item-check region in this route. Its important pickups are the Hero Sacrament, Manastone Shard, and Cursed Seal. Collect all three before treating the region as complete; leaving with only the obvious progression reward creates unnecessary backtracking through its combat spaces.
Restore the local Glyph when you reach it. This is the point to reset your route and check the immediate surrounding rooms for paths that were previously unsafe or inaccessible. If you find an area that clearly needs a later movement skill, mark it and move on. Gray Chasm contains return targets, and forcing a route before you have its traversal requirement wastes more time than a clean revisit.
Beat Imperial Tracker Rufus Without Chasing His Kusarigama
Imperial Tracker Rufus is the region’s key combat check. His Kusarigama pressure is dangerous when you retreat in a straight line, because it lets him keep you at the edge of its effective range. Play closer than feels comfortable only after he commits to an attack, evade the active swing, then counter from the side or behind him.
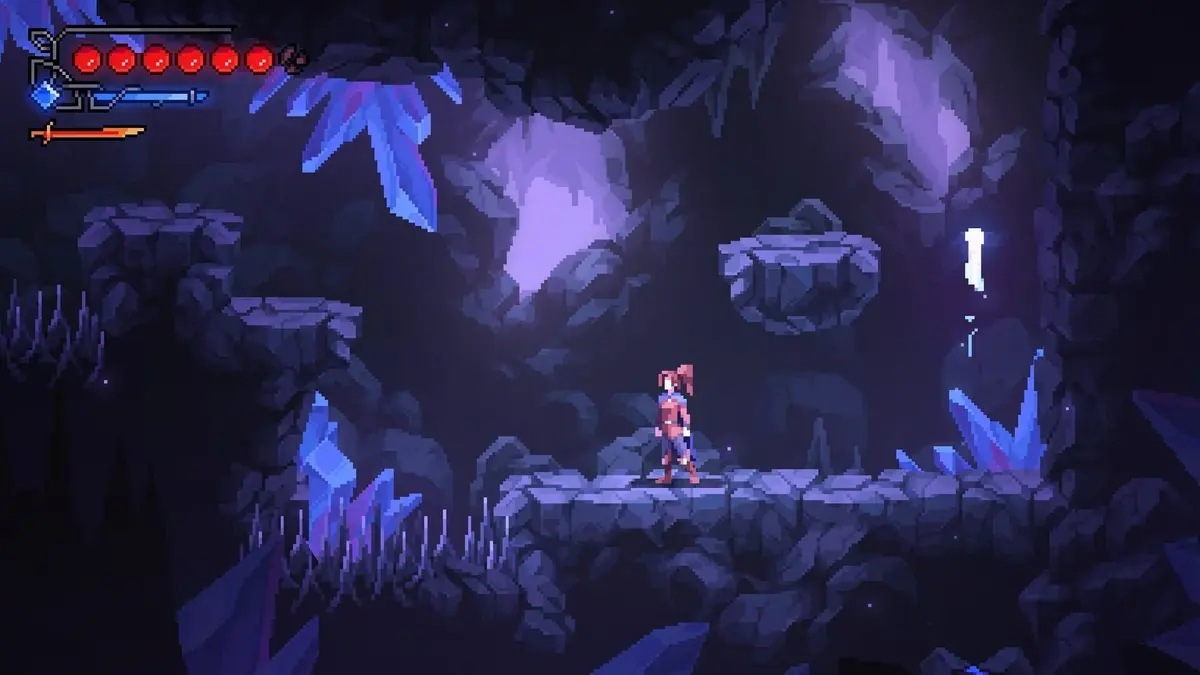
Do not spend the entire fight trying to out-range the weapon. Wait for the end of Rufus’s committed Kusarigama sequence, take a compact punish, and reset your position. The goal is consistency: one safe counter window is more valuable than eating a hit to force a longer combo.
Defeating Rufus unlocks Impale. Add it to your combat rotation for enemies that leave a clear opening after a lunge, slam, or extended weapon sequence. It is especially useful when a normal sword string would keep Fjor exposed for too long.
- Grab the Hero Sacrament, Manastone Shard, and Cursed Seal.
- Restore the Glyph before leaving the central route.
- Record inaccessible side paths for a later movement-upgrade return.
- Defeat Imperial Tracker Rufus and collect Impale.
Slumbering Depths: Escape First, Then Sweep the Dungeon
Slumbering Depths begins after Fjor is captured by Imperial soldiers, shifting the immediate objective toward escaping the dungeon. Treat the first pass as an escape route rather than a completionist clear. Secure the paths that restore reliable movement through the area, then circle back for side resources and Cursed Seal challenges.
The main weapon gain here is Incinerate, a flame-based attack. Take it as soon as the route presents it, then use its damage and reach where groups or narrow dungeon platforms make basic sword strings awkward. Incinerate is a combat tool, but it also changes how comfortably you can clear the rooms between bonfires.
Restore every Glyph bonfire you pass. Slumbering Depths is the kind of area where losing a run after pushing too far can cost much more time than stopping for a nearby restoration point. The bonfires also give you clean starting positions for optional Cursed Seal attempts.
Pick up the Salvation and Hatred runes while working through the dungeon. Runes change playstyles, so avoid judging either one from a single difficult room. Equip the one that better supports your current habits: safer spacing and recovery for a cautious approach, or a more aggressive setup if your dodge and parry timing is already stable.
You will also meet trader Trok during this stretch. Remember his location instead of assuming every resource must be spent immediately. A quick trade stop after clearing several dungeon branches is more efficient than leaving a useful upgrade behind and crossing the region twice.
- Follow the escape route until you regain control of the dungeon layout.
- Take Incinerate, then restore every Glyph bonfire on the active path.
- Collect Salvation and Hatred before committing to the next region gate.
- Handle Cursed Seal challenges from the nearest restored bonfire.
- Find Trok and use him before carrying excess resources into the next chapter.
Dim Crossing: Open the Gate With Both Keys
Dim Crossing’s most obvious trap is its locked gate. You need two separate keys to pass it, so do not keep testing the gate after finding only one. Continue clearing the connected side routes until both key items are in hand, then return and open the way in one trip.
Break destructible walls as you explore. They hide resources and are easy to miss if you only follow the main floor path toward the gate. Check suspicious dead ends, thin wall sections near platforms, and rooms that look too small for their surrounding layout.
The pink barrier is another hard stop until you defeat the local spiked beasts. Clear the beasts before trying to route around the barrier; the encounter is the condition that removes it. Keep enough room to dodge away from their forward pressure, then punish after their committed attacks rather than trading hits at close range.
Dim Crossing also includes a platform combat encounter that awards a progression item. Clear the enemies methodically instead of rushing the highest platform. Enemies that can knock Fjor off a ledge are more dangerous than their raw damage suggests, because a fall can reset the room’s pacing and force you to repeat the setup.
Trok returns in Dim Crossing. Check his stock after the barrier and platform encounters, when you are more likely to have a meaningful amount of resources to spend. His return also makes this region a good place to adjust your approach before the next ability-gated branch.
Use Runes and Combat Mobility for the Fights That Block the Route
Divinum’s combat supports aerial attacks, weapon combos, dodges, parries, and Rune-driven build changes. Keep those systems tied to the route rather than treating them as separate chores: mobility gets you to the next gate, while a Rune setup and a reliable defensive response get you through the encounter guarding it.
For any boss or elite enemy that stops your progress, use a learning attempt first. Watch for the telegraphed opener, identify the attack that leaves the longest recovery, and save your strongest response for that window. Moving early is safer than reacting late, especially around attacks that cover both a platform edge and the center lane.
- Against fast pressure: favor Dash, short punishes, and spacing over long sword strings.
- Against extended weapon attacks: evade through or around the committed swing, then use Impale or a brief combo.
- Against clustered enemies: use Incinerate to avoid being locked into close-range basic attacks.
- Before a difficult room: restore the nearest Glyph bonfire and equip the Rune setup that best matches your defensive comfort.
Route Checklist Before Leaving Dim Crossing
- Prologue combat fundamentals learned and the next movement ability pursued first.
- Gray Chasm cleared with Hero Sacrament, Manastone Shard, Cursed Seal, a restored Glyph, and Impale from Rufus.
- Slumbering Depths escaped with Incinerate, Salvation, Hatred, restored Glyph bonfires, and Trok located.
- Dim Crossing’s two keys collected and its locked gate opened.
- Destructible walls searched, spiked beasts defeated, and the pink barrier removed.
- Platform combat encounter cleared and Trok checked again before advancing.
If a later route appears blocked, backtrack with your newest movement ability before farming damage. Divinum’s island progression is built around reopening old paths, and that return sweep is where missed resources, shortcuts, and the next viable route usually sit.
FinalBoss // Gear
Level up your setup
01Top-rated gaming headsetson Amazon→02High-refresh gaming monitorson Amazon→03Gaming chairson Amazon→04Discounted game keyson Kinguin→Affiliate links · As an Amazon Associate, FinalBoss earns from qualifying purchases.
Want to Level Up Your Gaming?
Get access to exclusive strategies, hidden tips, and pro-level insights that we don't share publicly.
Ultimate Guide Strategy Guide + Weekly Pro Tips