

If you have already turned several pipes and the pumphouse still refuses to activate, reset the loop before trying again. The Intake 1 adjustment depends on its original orientation; continuing from a scrambled layout makes that reference harder to follow.
The clean route through Fixing the Lake Pumphouse is to start from the original valve positions, follow the machinery’s alignment reference, and watch the flow indicator before confirming the repair. Restoring power opens the gate toward the Old Church courtyard.
Table of Contents (4)
Reach the Lake Pumphouse and inspect the machinery
Travel west from Refuge toward the lake, then enter the pumphouse. Inspect the engineering logs near the machinery before rotating anything. They provide the intake and valve-alignment requirements, while the displayed image gives you the arrangement to match.
Keep the starting layout as your reference. If you have already changed it and lost track of the original positions, use the loop reset to begin a fresh attempt. You can manually end the current loop rather than waiting for the timer to expire.
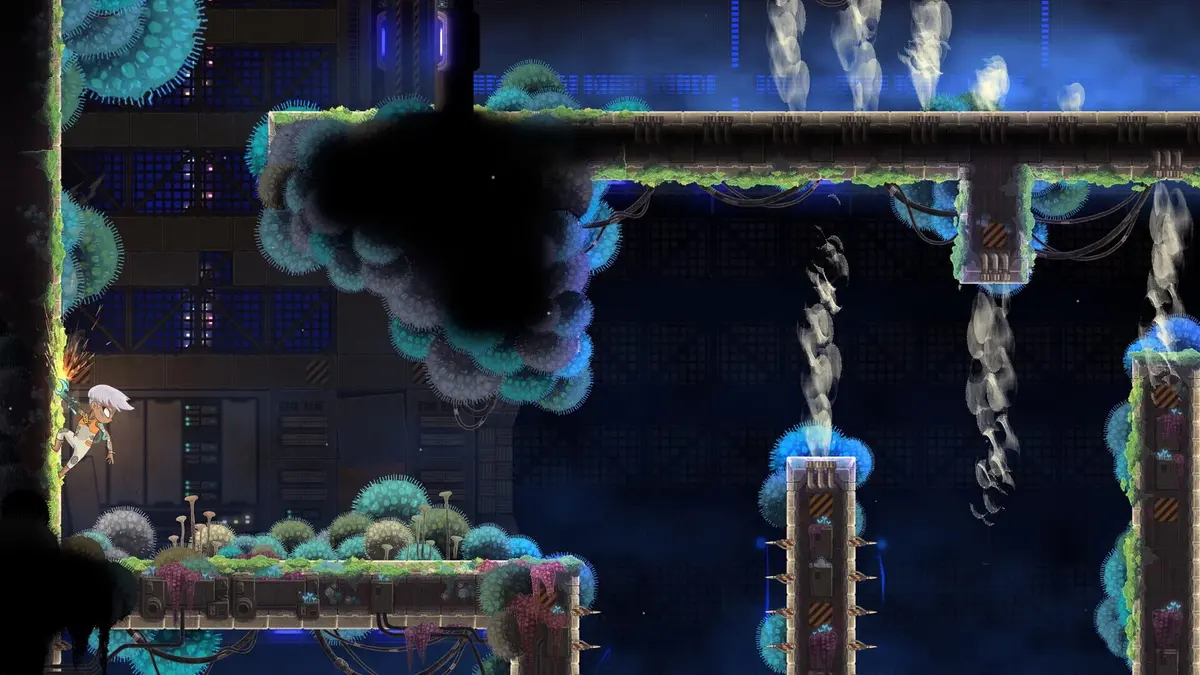
Lake Pumphouse pipe-puzzle solution
- Set Intake 1 to 2× its starting orientation. Make this adjustment from the original state, using the engineering logs as your reference. The instruction applies to Intake 1; do not apply the same adjustment to every pipe.
- Align the remaining pipes with the displayed image. Rotate or reconnect the valve connectors to match that arrangement. Use the image to judge each segment rather than guessing a universal rotation sequence.
- Watch the far-left valve. It keeps its position when rotated. Check its relationship to the displayed layout instead of assuming that another input has moved it into place.
- Check the flow indicator. Continue aligning the connectors until the feedback normalizes and the system shows stable flow. This is the check that matters before you finish the repair.
- Confirm the repair. Once flow is stable, complete the repair interaction to restore electricity to the surface lines.
If the pumphouse will not activate
If the mechanism still fails to activate, reset the loop and repeat the adjustment from the original valve positions. Avoid adding more rotations to a layout whose starting state you can no longer reconstruct. On the next attempt, check Intake 1 first, then work through the remaining connectors against the displayed image.
If the loop timer is cutting your attempt short, collect blue crystals near the starting area before returning to the lake. They extend the loop, giving you more room to reach the machinery, align the pipes, and confirm the repair.
Old Church courtyard access and the Village Supplies box
After restoring power, return toward the church and take the newly opened church-courtyard gate. If that powered route remains closed, return to the pumphouse and check that you completed the repair after achieving stable flow.

For the Village Supplies box, speak to Vos, who gives you the code 1. Enter that code at the box. Keep the two progression checks separate: the pumphouse repair opens the courtyard route, while Vos provides access to the supplies box.
Before leaving the machinery, finish the confirmation step. Stable flow followed by a completed repair is your checkpoint for moving on to the church courtyard; Vos’s code is the detail to carry to the Village Supplies box.
FinalBoss // Gear
Level up your setup
01Top-rated gaming headsetson Amazon→02High-refresh gaming monitorson Amazon→03Gaming chairson Amazon→04Discounted game keyson Kinguin→Affiliate links · As an Amazon Associate, FinalBoss earns from qualifying purchases.
Want to Level Up Your Gaming?
Get access to exclusive strategies, hidden tips, and pro-level insights that we don't share publicly.
Ultimate Guide Strategy Guide + Weekly Pro Tips