
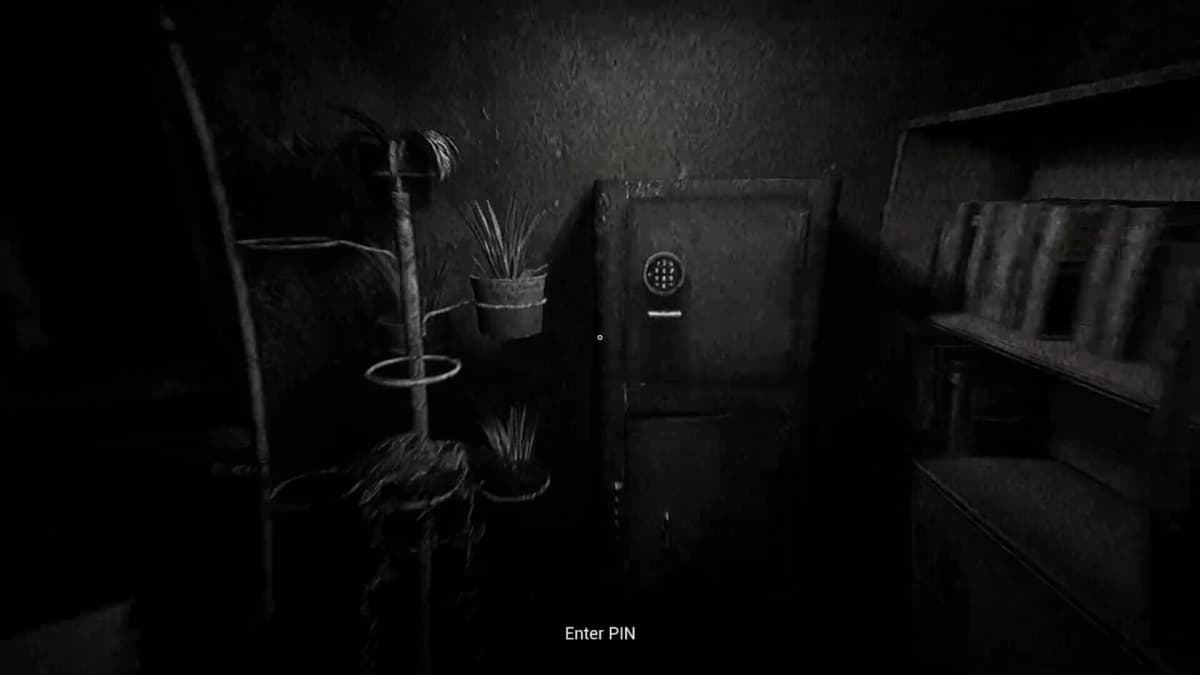
Run this stretch in a strict forward order: the Second-Floor labyrinth, the first Sanctuary trial, the Second Sanctuary, the Trail of Daggers, Relic Hall, Taran, the later Sanctuaries, the Final Trial seals, the boss chain, and Sacred Mountain Temple. The expensive mistake is treating the Final Trial seals as optional cleanup or pushing into the mountain route while earlier Sanctuary progress is still unresolved.
For Part 4, Kirito is most comfortable around level 14-18. Level 12 can work if your damage, Sword Skill timing, and survival play are already reliable, but the first Sanctuary boss gives you much less room to recover from missed dodges. Before Part 5’s repeat encounters and the new Troll-type boss, aim closer to level 18-22.
Table of Contents (19)
Parts 4-6 Route at a Glance
- Part 4: Second-Floor labyrinth → first Sanctuary trial → first major boss clear
- Part 5: Second Sanctuary → Trail of Daggers → Relic Hall → boss encounter → route into Taran
- Part 6: The Diva I/II follow-up → later Sanctuaries → Final Trial seals → boss chain → Sacred Mountain Temple → the Order’s next objective
Keep this order even if an earlier zone looks worth fully clearing. Echoes of Aincrad can send you through familiar enemy groups and long corridors more than once, so the efficient route is to finish the active story gate, take the next unlock, and only return to an earlier combat loop if you need levels for the next boss.
Part 4: Clear the Second-Floor Labyrinth Before Chasing Side Routes
Part 4, Kirito on the Second Floor, is the first major labyrinth stretch. Your priority is reaching and completing the first Sanctuary trial, not turning the labyrinth into a full exploration pass. Clear the enemies and branches that sit directly on the objective route, collect what is immediately on the way, and keep moving toward the Sanctuary progress beat.
Step 1: Enter the Labyrinth at the Right Level
Level 14–18 is the smooth range because it gives Kirito enough damage to keep routine fights short while leaving a workable margin for the Sanctuary boss. If you arrive at level 12, approach the labyrinth as a clean-execution run: avoid unnecessary hits in ordinary encounters, do not spend healing carelessly, and use the same Sword Skill strings you can activate consistently under pressure.
The level check matters more here than a complicated setup. Echoes of Aincrad’s real-time fights reward clean combo timing, duo support, and sensible use of AI allies, but a low-level character still turns every repeated corridor fight into a drain on healing and attention.
Step 2: Treat the First Sanctuary as the End of the Route, Not a Detour
The first Sanctuary trial is the progression target for this section. Finish the labyrinth route, complete the Sanctuary objective, and prepare for the boss immediately after it. Do not leave the trial half-finished to search the rest of the Second Floor unless you are specifically returning for experience; it creates extra backtracking without moving the story gate forward.
Before starting the boss, make sure you can enter the fight with your usual combat rhythm intact. A dependable short combo followed by a safe reset is more useful than committing to long attack strings whenever the boss gives a narrow opening. Save Sword Skills for moments when the boss is committed to recovery rather than spending them at the first possible chance.
First Sanctuary Boss: How to Avoid Burning Attempts
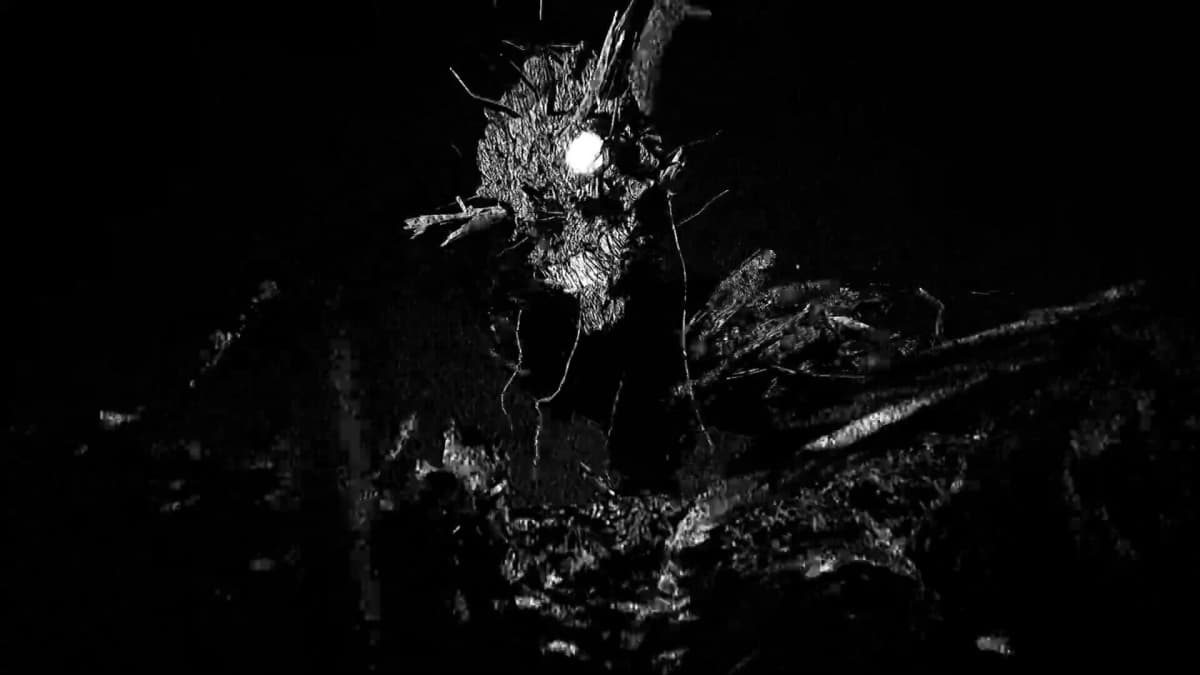
Use the first portion of the fight to identify the boss’s full attack sequence. The goal is to find the recovery window after its committed attacks, then punish that window with a controlled Sword Skill or short combo. Trying to keep constant pressure usually creates the same failure loop: Kirito is still locked in an attack when the boss begins its next sequence.
- Stay close enough to capitalize on a recovery, but do not force attacks during an active sequence.
- Use duo attacks and AI support when the boss has already committed to an animation.
- Heal after creating space, rather than attempting to recover in the middle of a punish window.
- If the fight feels like an endurance battle at level 12, return to the direct Second-Floor combat route until you are closer to the mid-teens.
Part 5: Second Sanctuary to Taran
Part 5, Swordsman of Salvation, has a clearer route than the labyrinth: complete the Second Sanctuary, move through the Trail of Daggers, clear the Relic Hall objective and its boss encounter, then follow the story route into Taran. This is where players lose time by returning to old sections after every objective. Keep the chain moving forward until Taran becomes the active destination.
Step 1: Finish the Second Sanctuary First
Enter Part 5 with Kirito around level 18–22 if possible. This section raises the pressure through boss rematches with additional mechanics, so beating the earlier version of an encounter does not mean you can repeat the same attack pattern unchanged. Watch for what the new version adds before deciding when to punish.
A repeat boss is most dangerous when you play from memory. Start cautiously, confirm the updated sequence, and adjust your dodge-and-punish timing around the added mechanic. The familiar parts of the fight are useful for preserving health; the changed part is what decides whether the rematch stays controlled.
Step 2: Follow the Trail of Daggers Into Relic Hall
Once the Second Sanctuary objective is complete, the Trail of Daggers is the route forward. Treat it as a progression corridor leading to Relic Hall, rather than a signal to return to the earlier Sanctuary route. Clear the encounters that block your advancement and conserve enough healing for the Relic Hall sequence.
The new Troll-type boss is the fresh match-up in this run. Give it the same respect as a first-time boss even if the rest of Part 5 has already included familiar enemies. Learn its pace before committing your strongest attacks, keep Kirito out of extended animations when the boss is able to respond, and use companions to maintain pressure only when the boss has given you a real opening.
Step 3: Clear Relic Hall, Then Commit to Taran
Relic Hall is the final major stop before the route turns toward Taran. Once its boss objective is finished, follow the newly opened story direction into Taran instead of circling back through the Second Sanctuary or the labyrinth. If you need levels, use the route you already know and then return to the current story destination; avoid turning every older branch into mandatory cleanup.
Part 6: Later Sanctuaries and the Final Trial Seal Route
Part 6 begins after The Diva I/II and shifts the route from single dungeon objectives into a connected endgame sequence. The intended progression is to clear the later Sanctuaries, complete the Final Trial seal requirements, then prepare for the boss chain and Sacred Mountain Temple. Keep the seal route as your main checklist; the Temple progression depends on this sequence being complete.
Final Trial Order
- Complete the active later Sanctuary objective.
- Resolve the Final Trial seal tied to the current progression route.
- Move to the next Sanctuary and repeat until the required seal sequence is complete.
- Enter the Final Trial boss chain only after the seal work is finished.
- Carry the completed trial progression into Sacred Mountain Temple.
- Use the Temple route to reach the Order’s next objective.
The important part is finishing the seals as a sequence. Do not treat one completed seal as a reason to abandon the remaining Sanctuary route and force the next major encounter early. The Final Trial is built as a chain of progress gates followed by connected boss pressure, so incomplete seal work leaves you retracing ground instead of advancing.
Prepare for a Boss Chain, Not One Standalone Fight
The Final Trial should be approached as a sequence that tests consistency. Go in with healing available, a Sword Skill routine you can use without overcommitting, and enough levels that normal enemies on the approach do not cost you resources intended for bosses. If an early encounter leaves Kirito depleted, reset your preparation rather than forcing the next fight with no margin left.
Companion tools remain useful here because Echoes of Aincrad supports duos and AI assistance, but do not let allied pressure convince you to attack into unsafe openings. Use the boss’s committed recovery windows as your signal. The later encounters are where repeated boss behavior, extra mechanics, and accumulated resource loss can turn a manageable route into several failed attempts.
Sacred Mountain Temple: Keep the Objective Route Moving
Sacred Mountain Temple is the payoff for the Final Trial route. Enter it after completing the Sanctuary and seal progression, then focus on advancing toward the Order’s next objective. At this stage, old labyrinth branches, unfinished routine encounters, and repeated enemy groups are only worth revisiting if they solve a direct level problem.
The game’s combat remains at its best when you are handling a meaningful boss or trial encounter, so keep your preparation focused on those gates. A short level catch-up before the Temple is more efficient than repeatedly attempting a boss chain while underleveled, especially if earlier attempts are ending because Kirito runs out of healing before the decisive fight.
Common Route Problems in Parts 4–6
You Are Stuck at the First Sanctuary Boss
Check Kirito’s level first. The intended smooth range is level 14–18, while level 12 is the lower-end challenge route. If your damage is too low or every mistake costs most of your healing, return to the direct Second-Floor combat route for a small level increase, then come back with a safer resource buffer.
A Repeat Boss Suddenly Feels Much Harder
The Part 5 rematches add mechanics. Do not follow the earlier boss script blindly. Relearn the encounter’s changed sequence, wait for confirmed recovery windows, and only then commit to Sword Skills or duo pressure.
You Finished Relic Hall and Do Not Know Where to Go
The forward route after Relic Hall leads into Taran. Avoid spending time backtracking through the Second Sanctuary unless you are deliberately leveling before continuing.
The Final Trial Route Is Not Advancing
Return to the later Sanctuary sequence and verify that the required Final Trial seals have been completed. The Temple route follows the completed trial progression; clearing only part of the seal chain sends you back into unnecessary loops.
Parts 4–6 Boss Route Recap
- Part 4: reach the first Sanctuary through the Second-Floor labyrinth and fight the boss around level 14–18.
- Part 5: clear the Second Sanctuary, Trail of Daggers, and Relic Hall before moving into Taran at roughly level 18–22.
- Part 6: complete later Sanctuaries and every required Final Trial seal before taking on the boss chain.
- Finish the sequence at Sacred Mountain Temple to reach the Order’s next objective.
FinalBoss // Gear
Level up your setup
01Top-rated gaming headsetson Amazon→02High-refresh gaming monitorson Amazon→03Gaming chairson Amazon→04Discounted game keyson Kinguin→Affiliate links · As an Amazon Associate, FinalBoss earns from qualifying purchases.
Want to Level Up Your Gaming?
Get access to exclusive strategies, hidden tips, and pro-level insights that we don't share publicly.
Ultimate Guide Strategy Guide + Weekly Pro Tips