
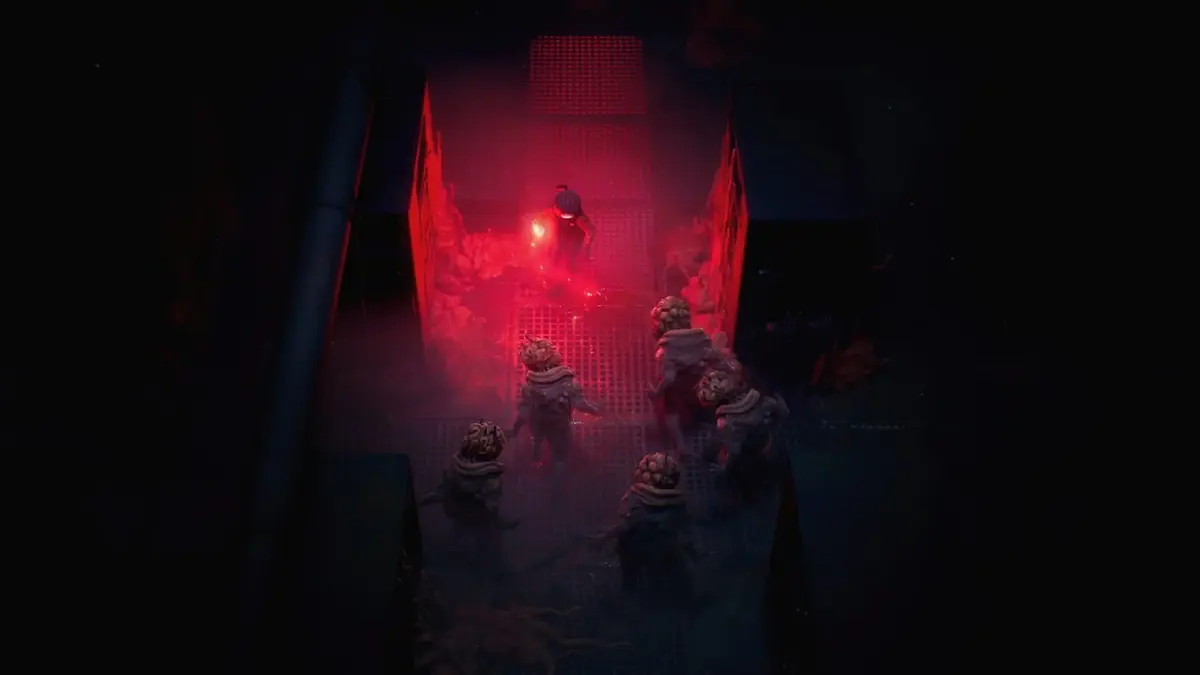
The Radiation Protection Suit Mod costs four Energy Cells to install, and collecting it does not automatically protect Cel. Equip it at a Restoration Pod before exploring the Containment Sector. That preparation is the biggest early priority: without the mod, radiation continuously drains health while you work through the sector’s traversal puzzles.
Table of Contents (7)
Reach the Containment Sector through Waterworks
Start at the eastern Safe Room in Waterworks. Its SCU needs to be active before continuing. If you left it unfinished, stop the water flow, reach the lower SCU room and activate its control panel first.
The eastern Waterworks route uses two switches to change the crossing and water level. The easy step to miss is returning to the first switch after using the second.
- Head to eastern Waterworks and activate the first switch.
- Cross the extended bridge and activate the second switch.
- Return to the first switch and activate it again to change the water level.
- Climb down the ladder, cross the previously flooded section and continue into the Containment Sector.
Collect the Basement Keycard and install radiation protection
On entering the Containment Sector, head toward the connection to Factory East. Find the body near the retractable bridge and collect the glowing item beside it: the Basement Keycard.
Use the nearby panel to extend the bridge. This opens a shortcut back to Factory East, where the keycard unlocks the southern room on B2. Clear the lockdown encounter inside, then enter the west-side room to collect the Radiation Protection Suit Mod.
Take the mod to any unlocked Restoration Pod and install it using four Energy Cells. Do this before returning to the Containment Sector’s side corridors or deeper route; exploring while unprotected spends healing resources before the boss encounters even begin.
Get the Grappling Hook and cross the F2 anchor route
Return to the Containment Sector Safe Room with radiation protection equipped. Follow the main route through the irradiated area and clear the encounters blocking your progress. After the lockdown sequence, check the east-side room for the Grappling Hook.
The hook is required for the deeper traversal section. Extend the ladders and use the levers that activate anchor points, then follow the grappling route across the gaps on F2. If a crossing looks unusable, check the associated lever before searching for another entrance: the anchor needs to be activated.
Continue along F2 and drop through the floor where the route leads downward. This takes you toward Radiation Host, the boss standing between you and the SCU control area.
Beat Radiation Host and activate the Containment Sector SCU
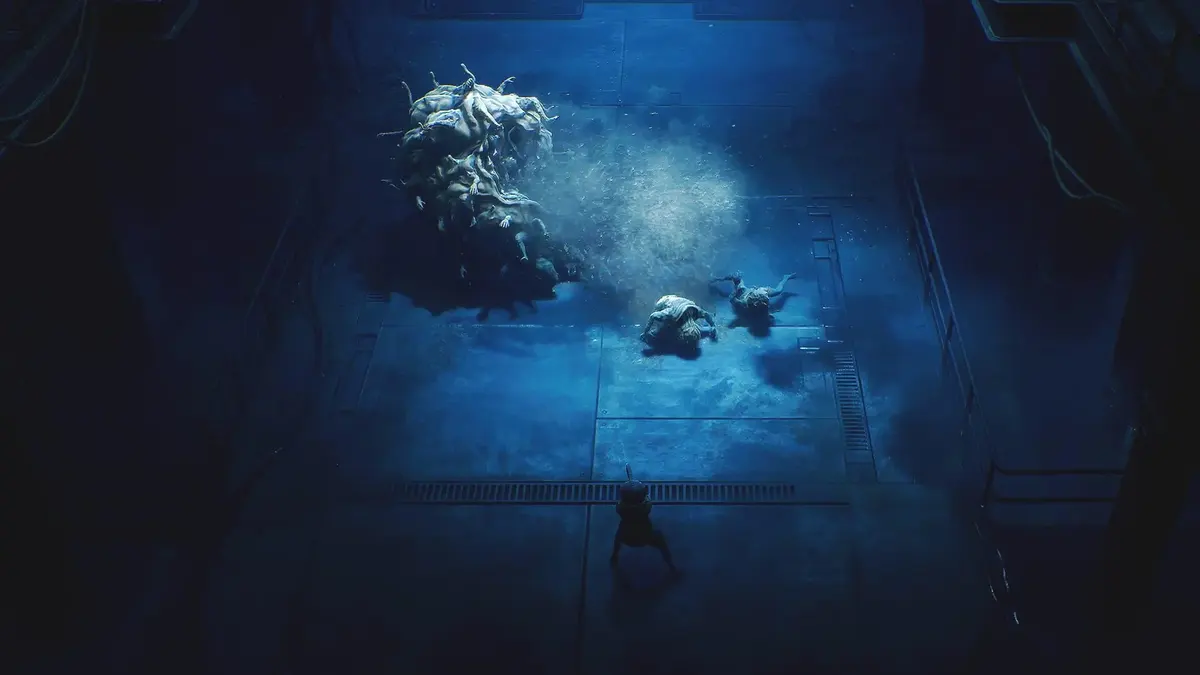
Radiation Host’s important warning is its charge-up attack, which creates a radiation zone that damages you while you remain inside it. Leave the affected area rather than trying to finish an attack string. The suit mod makes sector traversal manageable, but you still need to avoid this boss hazard.
Keep enough distance to read the approach and leave room for a sideways dodge. Avoid letting the boss push you against a wall: take a short damage opportunity, then reposition toward open space. If hazards crowd your escape route, move to a clear section before attacking again.
After defeating Radiation Host, take the eastern exit to the control area and override the Containment Sector SCU. Killing the boss alone does not complete this step; use the control before leaving.
Return to Factory East F1 and use the Central Elevator. All three SCUs must be active to descend to the Lower Levels. If progression is still blocked, check that you activated the Containment Sector control and finished the Waterworks SCU rather than merely reaching their rooms.
Lower Levels: reach the Mainframe and release Protocol A
After the descent and cutscenes, Cel receives the Unknown Signal objective. Follow the transition route, take the west door and continue to the Mainframe on B3.
For Protocol A, leave the Mainframe room and travel west, then north toward the Energy Node Door. The nodes you need are in the room before the door, so scan that room before trying to proceed.
- Scan the preceding room to locate the Energy Nodes.
- Shoot the nodes and clear the resulting lockdown encounter.
- Open the Energy Node Door.
- Pull the lever beyond it to release Protocol A.
The release sequence requires two Release Protocols; Protocol A is only one part of that objective. Continue along the newly accessible route and use the Incinerator where required. Keep it ready for organic obstructions: it is needed for the growth blocking Failed Experiment’s approach, and later for the Parasitic Spire on the route to the Infirmary Key.
Failed Experiment: open the route and preserve escape space
Leave the Lower Levels’ eastern Safe Room and follow the route through the northwest, west and northern passages. Use the Incinerator on the Parasitic Growth covering the north wall. The passage behind it leads directly to Failed Experiment.
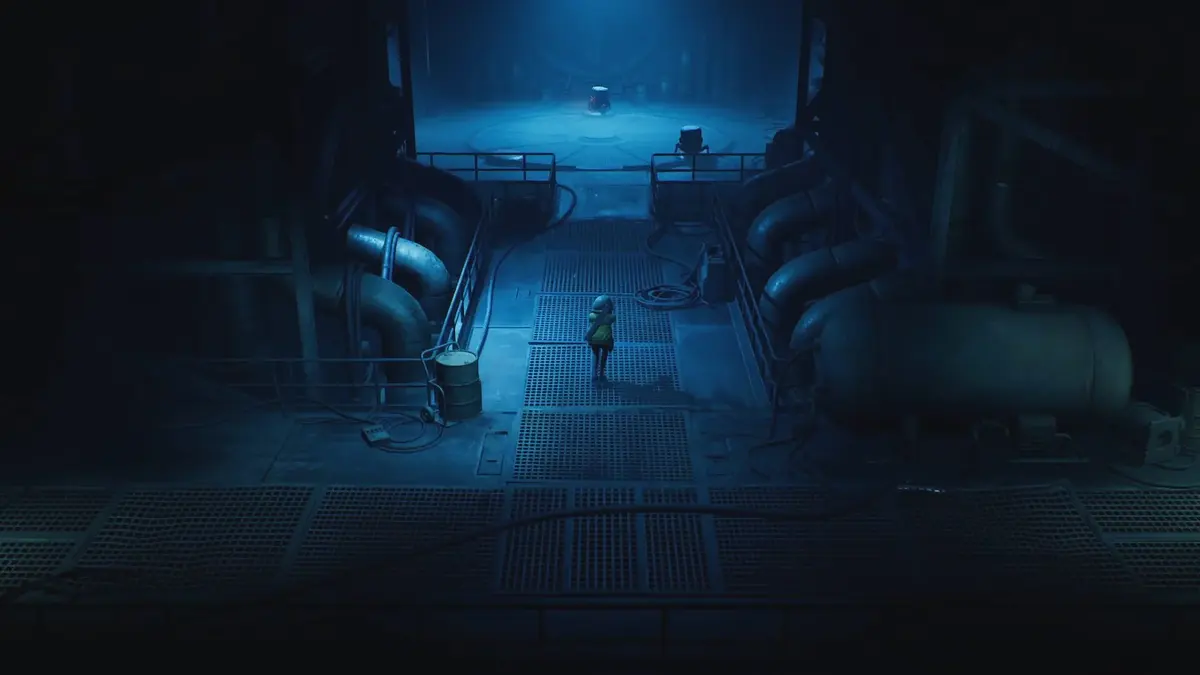
Keep Failed Experiment near the center of the arena while maintaining enough distance to see its approach. The fight becomes harder when you retreat into a wall and lose the room needed for lateral dodges.
- Bait a committed attack: hold enough space to read the approach rather than starting a long attack within striking range.
- Dodge sideways: use the open arena to move across its attack line.
- Punish briefly: take a quick damage opportunity, then reset your position before the next approach.
- Clear immediate threats: if hazards or additional enemies crowd your escape route, deal with that danger before resuming boss damage.
After the boss falls, enter the room west of the arena and collect the access card. Do not leave this room unchecked: the card opens the next locked door on the return route.
Fractured Being: dodge across attacks and shorten phase punishments
Backtrack with the access card and open the previously locked door. Before heading north toward Fractured Being, stop at the Safe Room on the east side to restore health and prepare equipment. Enter with your healing supply ready.
Begin at mid-range and wait for a committed attack. Favor lateral movement and short diagonal dodges over repeatedly backing away. Moving across the attack line helps you escape lingering hitboxes without surrendering all the space behind you.
Attack after the boss finishes its recovery, then create distance before committing to another long animation. A successful dodge can still leave you directly in front of the boss, where a follow-up can cover the same lane. Reposition before taking another shot.
When the phase changes or the attack tempo accelerates, stop attacking briefly and read the new timing. Shorten your punishments and leave enough room for consecutive dodges. If an area hazard appears, leave it first; damage can wait until you have a usable escape route again.
Move around the outer portion of the arena without hugging its walls, preserving a circular route. For this final fight, the safer trade is a smaller punish with space left to dodge — not an extra hit that traps you against the edge.
FinalBoss // Gear
Level up your setup
01Top-rated gaming headsetson Amazon→02High-refresh gaming monitorson Amazon→03Gaming chairson Amazon→04Discounted game keyson Kinguin→Affiliate links · As an Amazon Associate, FinalBoss earns from qualifying purchases.
Want to Level Up Your Gaming?
Get access to exclusive strategies, hidden tips, and pro-level insights that we don't share publicly.
Ultimate Guide Strategy Guide + Weekly Pro Tips