
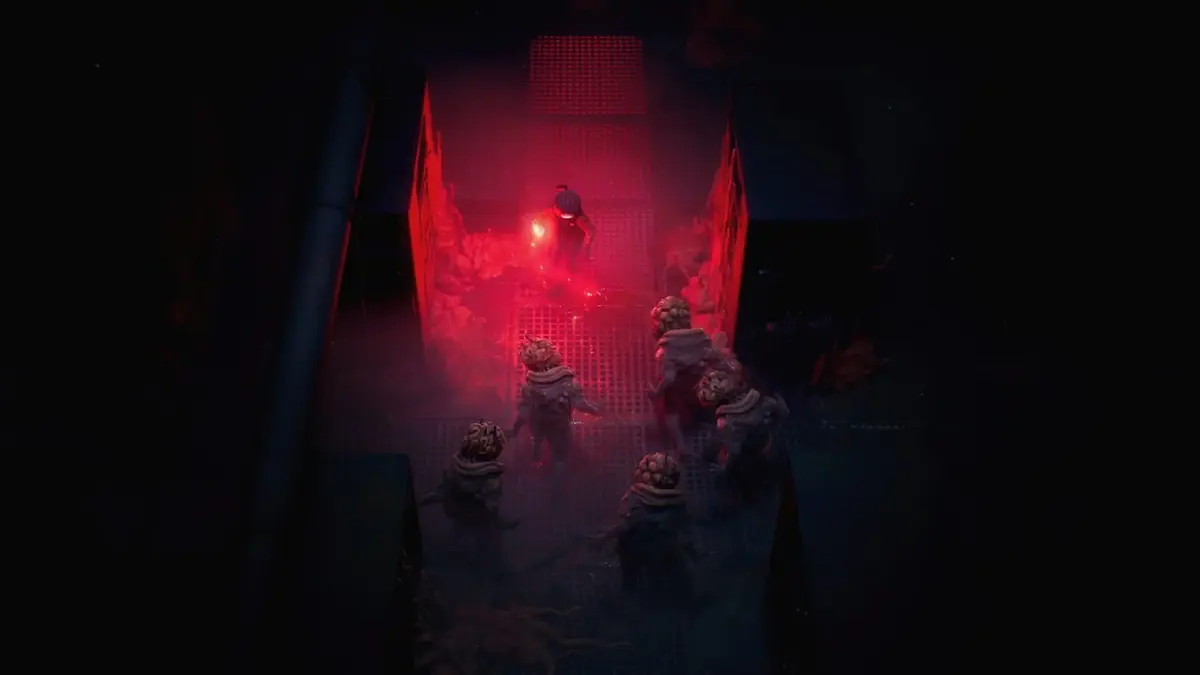
Clear Outer methodically, use Habitation to activate the Reactor’s three power cores, then search the shuttle-port security section for the Security Rifle. This route keeps your healing and ammunition intact for the Centipede Husk and the facility’s first tougher rooms.
In Outer, scan and clear every accessible side room before following the central objective. That gives you the power cells, ammunition, healing items, Fragments, and AI control-box activations that open the route into Habitation. If you sprint straight at the marker, you reach the Reactor sequence and the Centipede Husk under-equipped.
Table of Contents (7)
Early route: Outer to Habitation to the Security Rifle
- Use the Scanner in Outer before entering each room, especially storage spaces and narrow corridors.
- Collect power cells, ammunition, medical supplies, Fragments, and any loot containers on the available branches.
- Activate every reachable AI control box before returning to the main route.
- Use the restored beacon or elevator route to enter Habitation.
- Clear Habitation’s first connected rooms, then inspect terminals, Security Doors, and elevator controls.
- Follow the route toward the Reactor and manually activate its three power cores.
- Prepare at a Safe Room pod before the Centipede Husk arena, remembering that the pod restores health and medical supplies but respawns nearby enemies.
- Continue through the newly powered facility route toward the shuttle-port security area.
- Use the Security System terminal in that section to unlock the Security Doors, then search the security storage and equipment rooms for the Security Rifle.
Outer: scan first, then collect the power items
The Scanner prevents the most common early mistake: walking into an occupied room blind, spending ammo from a bad angle, then missing the container that made the fight worth taking. Scan doorways before crossing them. Prioritize enemy positions, loot containers, power-related objects, locked doors, and routes pointing toward the facility’s central systems.
Outer holds the resources that make the next sector manageable. Sweep the accessible rooms around the starting route before committing to the beacon or elevator objective. Power cells matter more than an early ability-gated passage because they drive the facility forward. Leave blocked routes alone for now; they are return paths, not failed objectives.
- Open with spacing: keep medium range from Infected Workers and strafe sideways instead of backing down a straight corridor.
- Wait for committed attacks: let a larger enemy begin its swing or lunge, dodge away, then fire during recovery.
- Do not heal under pressure: create a gap after a dodge or stagger first.
- Check corners after combat: containers and power objects are easy to miss once a room is quiet.
Fragments are worth scooping up during these sweeps because they do not reset when Cel dies. A rough side-room fight can still pay for itself, but do not turn that into a license to burn every healing item before the next arena.
Habitation: clear the branches before chasing the Reactor
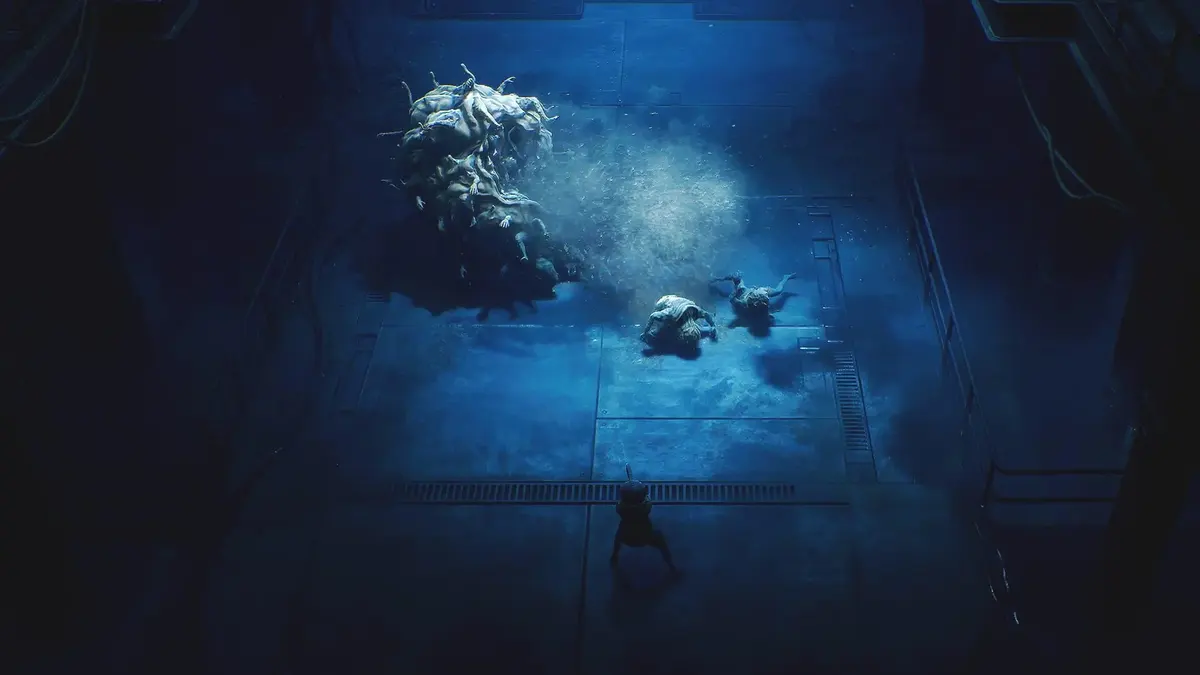
Habitation is where the route starts looping through terminals, doors, and newly powered access points. Clear the rooms around each new entrance before you press deeper. That gives you space to read where an elevator, terminal, or Security Door reconnects to the main path instead of trying to solve the layout with enemies still on top of you.
When you reach Security System access, use the terminal there to unlock the Security Doors. Treat every unlocked room as a supply check: enter, scan, clear the threat, and look for ammunition, healing, or a control interaction before returning to the objective route.
The Ventilation Tunnels are especially valuable before a difficult stretch. Defeat the Parasitic Fleas there and loot the Health Booster. It lets Cel heal twice, which is a much bigger upgrade before the Reactor approach or a boss arena than it is in routine corridor fights.
How to activate the Reactor’s three power cores
The Reactor does not come online from one switch. You have to manually activate three power cores, and each activation changes your path through the area. If the central controls are still inactive, the missing step is usually in a nearby branch, not somewhere far back in Outer.
- Enter the Reactor route from Habitation and scan the first room for terminals, hostile positions, and side exits.
- Use any available AI control box or terminal before assuming a closed door is a dead end.
- Find and activate the first power core, then follow the newly opened adjacent route instead of backtracking immediately.
- On that next branch, clear the rooms, check the side spaces, and activate the second power core.
- Use the next newly powered route to reach the final branch and activate the third power core.
- Return to the central Reactor controls once all three cores are online, then take the elevator, door, or facility route that restored power opens.
Do not leave the Reactor after the first successful activation. The progress feedback can make it feel finished, but the facility needs all three cores online. A quick sweep of each newly powered branch after every core keeps the route clean and saves you from pointless backtracking through respawned enemies.

Centipede Husk: beginner-safe fight plan
Fight the Centipede Husk at medium distance and make every damage window follow one of its committed attacks. The arena is safest when the boss stays near the middle of your screen, where you can read its movement and still see escape space on both sides.
- Reload before crossing into the arena and enter with as much health as possible.
- Stay off the walls and arena edges; that is where a dodge turns into a collision and a free follow-up hit.
- Roll away from the Husk’s attack commitment, then fire controlled bursts during recovery.
- Stop shooting the moment the boss starts another animation. Emptying a magazine at the wrong time removes your response window.
- When smaller enemies appear, move first. Clear anything that can surround Cel, then return to the boss rhythm.
- Use a Safe Room pod before the arena only when you are ready to attempt the fight. It restores health and medical supplies, but nearby enemies come back.
The Pulse Gun is enough for this encounter if your dodge timing stays disciplined. Charged Shot is worth using only when the Husk has fully committed and you have room to release it. If the boss starts closing distance, cancel the idea and reposition.
Where to find the Security Rifle
The Security Rifle sits on the shuttle-port security side that opens up after the Reactor sequence restores the facility’s next route forward. It is an armor-piercing, long-range weapon, and the key mistake here is treating the shuttle-port area like a straight line. Do not rush to the obvious exit.
- Finish the Reactor sequence and take the route opened by restored power.
- Advance into the shuttle-port area and clear the immediate rooms first so you can search without pressure.
- At the Security System access point in this section, use the terminal to unlock the Security Doors.
- Go through the security-side rooms before pushing farther ahead on the main route.
- Check the security storage, weapon racks, and adjacent equipment rooms.
- Pick up the Security Rifle and equip it from the weapon-selection interface.
The rifle gives Cel a long-range answer to enemies that are dangerous to approach and a better option against armored targets. Use it when a room gives you sightlines and time to create distance. Switch back to the Pulse Gun when fights collapse into a cramped scramble and you need faster follow-up shots.
If the route stops progressing
- The Reactor will not activate: recheck the adjacent branches for a missed power core, a skipped AI control box, or an untouched power interaction.
- A Security Door stays locked: return to the Security System terminal in the current section before searching farther ahead.
- You are short on healing: clear the Ventilation Tunnels for the Health Booster, then use a Safe Room pod only when you are prepared to deal with respawned enemies.
- The Security Rifle is missing: comb the shuttle-port security rooms, racks, and storage spaces before leaving the area’s main route.
FinalBoss // Gear
Level up your setup
01Top-rated gaming headsetson Amazon→02High-refresh gaming monitorson Amazon→03Gaming chairson Amazon→04Discounted game keyson Kinguin→Affiliate links · As an Amazon Associate, FinalBoss earns from qualifying purchases.
Want to Level Up Your Gaming?
Get access to exclusive strategies, hidden tips, and pro-level insights that we don't share publicly.
Ultimate Guide Strategy Guide + Weekly Pro Tips