

Follow the route in this order: Outer and Habitation sectors for the Security Rifle, Reactor for power cells and the elevator route, Factory West for the Sentinel and its SCU, then Waterworks for the Drowned Husk and the final SCU activation. The Scanner is the tool that keeps this sequence moving: use it on every door, console, weak structure, suspicious wall, and flooded obstruction before leaving an area.
Table of Contents (7)
The progression order that avoids dead ends
End of Abyss uses branching facility corridors, locked access points, powered systems, and later tools to turn earlier routes into return destinations. A sealed path is usually a note for later, not a door you need to solve immediately. Scan it, leave the tag on your map, and continue through the route that is currently open.
- Part 1: Outer Sector and Habitation Sector — learn the scan-and-return loop and collect the Security Rifle.
- Part 2: Reactor — find power cells, restore facility systems, activate the beacon or elevator route, and save.
- Part 3: Factory West — prepare for the Sentinel, then activate the Factory West SCU from the nearby control infrastructure.
- Part 4: Waterworks — clear the Drowned Husk encounter, search the altered arena and control rooms, then activate the Waterworks SCU.
Keep returning to Save Cubes, especially before bosses and directly after major activations. A save locks in your progress, but it also resets enemies. That makes a Save Cube valuable after a shortcut or SCU has opened, while saving too early before an optional resource run can repopulate corridors you had already cleared.
Part 1: Get the Security Rifle before deeper combat routes
The Security Rifle is the first major pickup to prioritize. It gives Cel an armor-piercing, long-range answer to targets that waste too much time and pistol fire. Search around the shuttle port and adjacent security spaces during the opening facility investigation; scan the rooms, security hardware, nearby doors, and interactable objects before committing to the next combat branch.
Do not treat the rifle as your new default weapon. The starting pistol has unlimited ammunition and should remain your routine tool for ordinary enemies, isolated targets, and long attrition fights. Rifle ammunition is better spent on armored threats and enemies you can safely engage at range. Save shotgun shells for emergencies, reliable stagger opportunities, and boss pressure.
- Scan every side room before advancing through the main facility route.
- Collect Fragments and other supplies from optional spaces while the early areas are manageable.
- Use doorways and narrow corridors to turn groups into a single-file fight instead of burning limited ammunition in open rooms.
- Mark locked doors, grapple points, and weak structures. Do not repeatedly search for an immediate solution when the route is clearly ability-gated.
The early trap is pushing past the shuttle-port and security spaces without the rifle, then trying to force later armored encounters with the pistol or shotgun. Backtracking for it is possible, but getting it on the initial pass preserves ammunition and makes the next sectors cleaner.
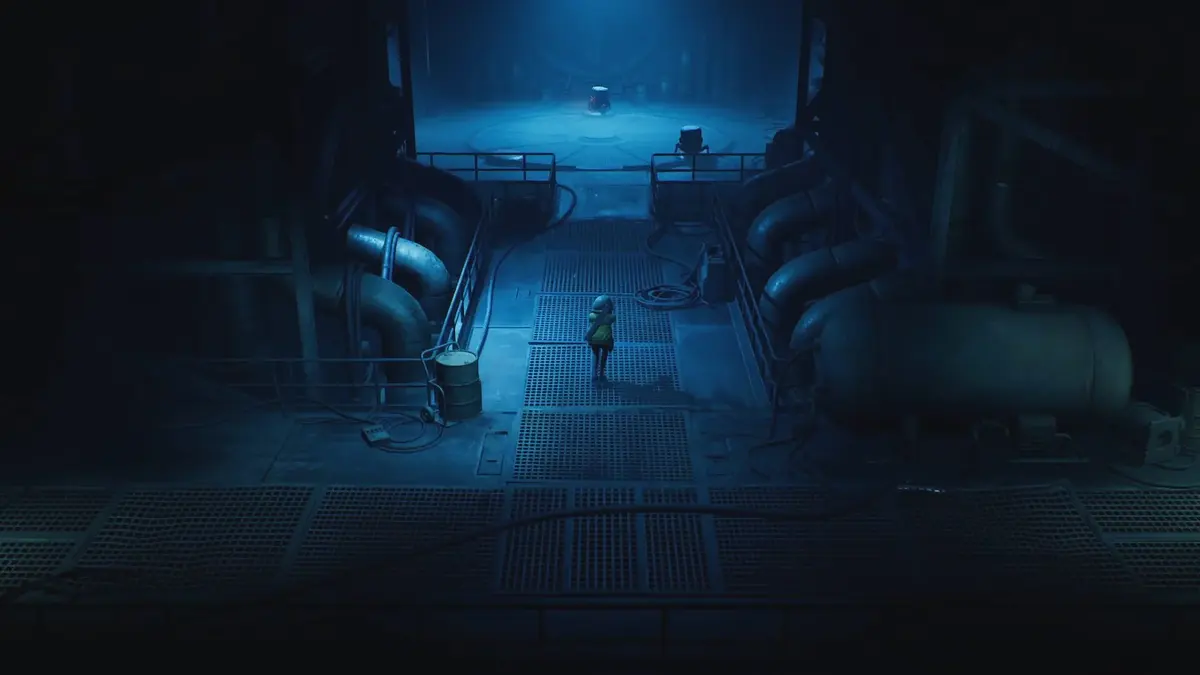
Part 2: Power the Reactor and open the correct return route
The Reactor sequence is a power-cell route, not a full-clear order. Your job is to identify the paths containing power cells, bring them back to the required systems, then use the newly powered infrastructure to reach the next section. A locked elevator or inactive beacon points to a missing cell, AI control box, or powered console nearby; it is not a permanent dead end.
- Scan the Reactor approach, including sealed doors, consoles, and the available side corridors.
- Take open side paths for power cells, Fragments, healing supplies, and ammunition.
- Return to the Reactor infrastructure after each key pickup instead of assuming every branch must be completed first.
- Install the cells in the designated power or beacon systems.
- Use the active controls and check for the elevator or newly opened route.
- Save before crossing into the combat area unlocked by the restored power.
Craft benches can turn Fragments into ammunition and weapon upgrades, but do not empty your supply before the Reactor is active. The next mandatory combat stretch can punish a player who converts every Fragment into one weapon’s ammunition and arrives without healing or a fallback reserve.
After activating the Reactor, reopen your map and look at every earlier scanned gate. Power restoration often changes a previously useless door, console, or elevator into the actual progression route. It can also leave some doors locked behind a later tool, so follow newly active machinery first rather than assuming all red gates should now open.
Part 3: Beat the Sentinel and activate Factory West SCU
Factory West is built around its SCU activation, with the Sentinel as the major combat gate. Enter the region with a working reserve of rifle rounds, shotgun shells, healing items, and unspent Fragments if a nearby craft bench can still improve your position. Do not drain those resources on every optional fight between the entrance and the arena.
- Scan Factory West’s entrance rooms, machinery, consoles, exits, and blocked paths.
- Follow the accessible route toward the SCU infrastructure while marking doors that need power or a later ability.
- Find the nearest Save Cube before triggering the Sentinel sequence.
- Use the pistol when distance and space allow sustained fire; it keeps limited ammunition available for decisive moments.
- Use the Security Rifle on armored or distant targets that would otherwise consume too much pistol time.
- Hold shotgun shells for close emergencies and stagger windows rather than opening the encounter with them.
- After the fight, search the arena and every adjacent control room for the Factory West SCU interaction.
Defeating the Sentinel does not automatically complete Factory West. The common stall comes from leaving after the arena is clear without checking the newly accessible machinery or terminal. Rescan the exits, control panels, power interfaces, and nearby doors. If the SCU prompt is still absent, the final interaction is in the surrounding control route rather than in the boss kill itself.

Activate the Factory West SCU, then save immediately. This is the clean point to rescan the region for routes that changed state and to decide whether a previously marked obstruction has become accessible.
Part 4: Clear Waterworks, defeat the Drowned Husk, and find the SCU
Waterworks requires more discipline than the earlier sectors because the Drowned Husk is only one part of the objective. The complete pass is: navigate the flooded corridors, locate and clear the encounter, inspect the altered arena and adjacent control spaces, then activate the Waterworks SCU from the correct interface.
- At the entrance, scan flooded corridors, machinery, doors, and submerged obstructions.
- Mark routes blocked by an ability or access requirement and take the currently open path.
- Locate the Drowned Husk arena before spending your strongest ammunition on routine enemies.
- Identify a retreat corridor and avoid fighting with your back to a corner.
- Use the pistol for controlled attrition where the arena gives you room to reposition.
- Spend rifle or shotgun ammunition when it creates a clear stagger or damage opportunity, rather than firing it during unsafe panic movement.
- After the Drowned Husk is defeated, search the arena, side rooms, terminals, breakers, and power machinery before leaving.
- Trigger the Waterworks SCU interface, activate it, and save at once.
The safe Waterworks approach is to preserve a lane behind you. Flooded corridors and tight rooms make panic-sprinting dangerous because you can lose the space needed to reload, heal, or line up a stronger shot. Keep the Drowned Husk in front of you, retreat through the route you already scanned, and use bottlenecks to stop surrounding enemies from turning the approach into an ammunition drain.
If the Waterworks SCU will not activate
Work through the area in this order before backtracking far across the facility.
- Confirm that the Drowned Husk encounter has fully ended and the arena has changed state.
- Search the cleared arena again, including its edges and any newly opened exit.
- Check adjacent rooms for a terminal, breaker, power interface, or control panel.
- Make sure you reached the Waterworks control room rather than a nearby locked door or inactive piece of machinery.
- Scan the SCU and approach its interface from the accessible side until the interaction prompt appears.
- Revisit the arena after interacting with surrounding controls, because the required route can open only after its state changes.
If Waterworks still has a blocked passage after those checks, return to the last major progression point at the Reactor or Factory West and inspect the scan tags you left behind. A gate that cannot be opened from the Waterworks side is often a later-return route tied to restored power, an activated SCU, or a tool acquired beyond the current section.
Resource rules for the full four-part route
- Scanner: Use it before combat where possible. It identifies points of interest, weak structures, hidden caches, interactable machinery, and ability-gated obstacles.
- Save Cubes: Save before the Sentinel and Drowned Husk, then again after Reactor and SCU activations. Expect enemies to reset when you save.
- Fragments and craft benches: Spend enough to enter mandatory encounters prepared, but retain a reserve for ammunition or healing before boss gates.
- Pistol: Use it for routine enemies because its ammunition is unlimited.
- Security Rifle: Reserve it for armored enemies and long-range threats where armor-piercing damage saves more resources than it costs.
- Shotgun: Keep shells for close-range emergencies, stagger windows, and the moments when a boss gives you a safe high-damage opening.
- Locked routes: Scan, mark, and leave them. Progress comes from power restoration, SCU activation, and new tools, not from forcing every obstruction on first contact.
With Waterworks SCU active, the campaign’s four major early progression gates are complete: Security Rifle acquired, Reactor powered, Factory West activated, and Waterworks activated. Use the newest scan tags and unlocked facility systems to choose the next accessible route instead of re-clearing every prior corridor.
FinalBoss // Gear
Level up your setup
01Top-rated gaming headsetson Amazon→02High-refresh gaming monitorson Amazon→03Gaming chairson Amazon→04Discounted game keyson Kinguin→Affiliate links · As an Amazon Associate, FinalBoss earns from qualifying purchases.
Want to Level Up Your Gaming?
Get access to exclusive strategies, hidden tips, and pro-level insights that we don't share publicly.
Ultimate Guide Strategy Guide + Weekly Pro Tips