Esoteric Ebb: How to Clear Days 1–2 & Get Speak with Dead
Game intel
Esoteric Ebb
ESOTERIC EBB is a single-player CRPG inspired by the freedom of tabletop adventures. Unravel a political conspiracy with your goblin sidekick. Roll dice in ten…
Why Follow This Route for Your First Playthrough
After spending my first 10 hours fumbling around Tolstad, missing quests, and locking myself out of a Feat, I restarted Esoteric Ebb and mapped a clean Day 1-2 route. This walkthrough is that route: one complete playthrough path that prioritizes clues for the tea shop “murder”, early Feats, faction introductions, and-most importantly-unlocking Speak with Dead by the end of Day 2.
This isn’t the only way to play. It’s the path that gave me the most information, the most XP, and the most narrative leverage going into Day 3, without wandering into endgame-dangerous areas like the City Below too early.
Step 0 – Building Your Cleric (Stats, Background, Proficiencies)
Esoteric Ebb uses a D&D 5e-style 27-point buy across six stats: Strength, Dexterity, Constitution, Intelligence, Wisdom, and Charisma. On my first run I spread points too thin and failed half the early checks. On my second, I built specifically for investigation and conversation, and the game opened up.
For this walkthrough route, I recommend leaning into:
- Wisdom – Your core cleric stat: perception, intuition, and many esoteric checks.
- Intelligence – For lore, forensic-style investigation, and some spell checks.
- Charisma – For politics, faction talk, and squeezing extra info out of suspects.
A baseline that worked well for me in 27-point buy:
- Strength: 8–10 (you’re not here to powerlift)
- Dexterity: 12 (enough for basic defense and the odd nimble check)
- Constitution: 12 (don’t dump your HP completely)
- Intelligence: 14
- Wisdom: 16
- Charisma: 14
The game also gives you 18 Background Focus options. These are basically mini-origins that add separate bonuses and unlock extra inner-voice commentary. For this route, a Focus that reinforces investigation and social play is ideal, such as anything oriented around bureaucracy, scholarship, or prior police work. In my run, taking a “bureaucrat-adjacent” Focus gave me frequent bonus rolls on paperwork and faction-admin checks during Day 2’s political quests.
Finally, pick proficiencies that match how you want to investigate:
- Insight / Perception – To catch lies and environmental details.
- Religion / Arcana – Crucial in the Temple of Urth and the crypts.
- Persuasion – For keeping both Freestriders and Azgalists talking.
Don’t make my early mistake of grabbing niche combat skills “just in case”. Most of Days 1–2 are about what you notice and how you talk, not how hard you hit.
Questing Tree, Chimes, and Taking Root – How Your Choices Lock In
Before we step out into Tolstad, you need to understand three core systems that quietly shape your run:
- Questing Tree – Instead of a flat quest log, you get branching “boughs” that show not just active quests but how you’re approaching them (hardline law, compromise, radical sympathy, etc.). You’ll see Minor and Major Branches; the latter usually mark big moral or political pivots.
- Chimes – Little tonal choices in dialogue and inner monologue. Consistently choosing certain “voices” (pious, cynical, authoritarian, compassionate) nudges your Cleric’s personality and quietly opens or closes options later.
- Take Root – After resolving a Major Branch, you can often “Take Root”, turning that choice into a Feat. These Feats mirror what you did: protect the powerless, bend the rules, serve the state, etc.
On my first run I clicked through Chimes like they were flavor text and ended up with a personality that didn’t match the Feats I wanted. On this route, we try to stay curious, professional, and slightly empathetic, which lines up nicely with investigation-friendly Feats when you Take Root on Day 1 and Day 2 arcs.
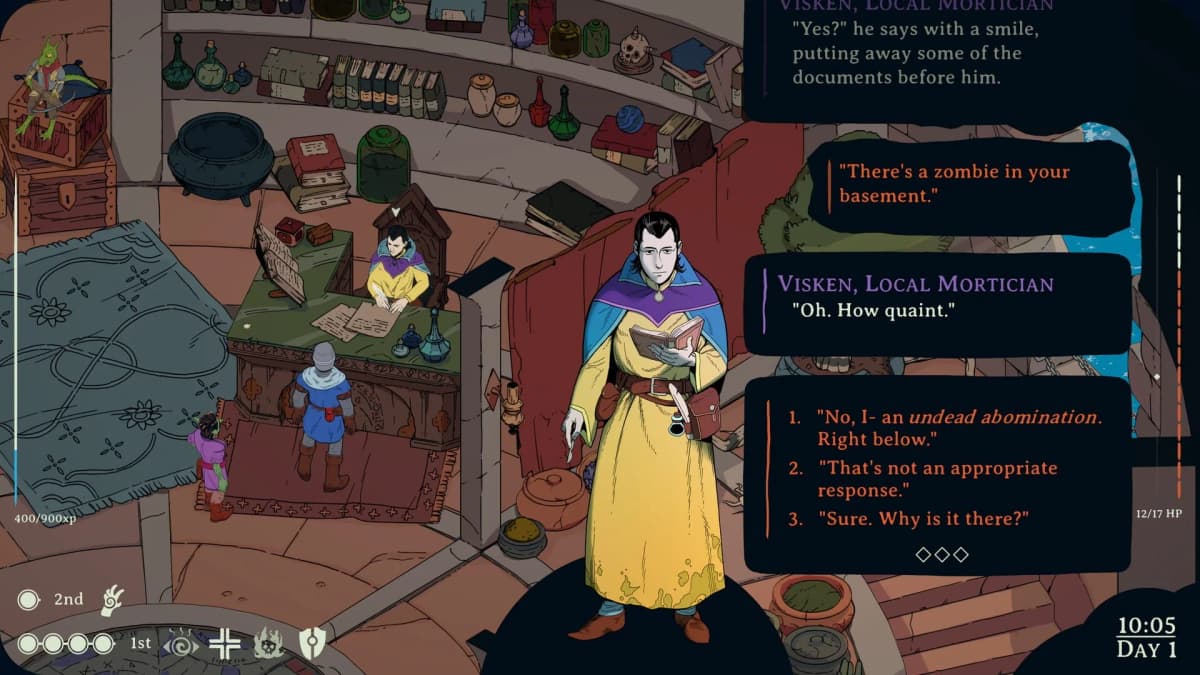
Day 1 – From the Lichhouse to Tolstad
Waking in the Lichhouse and Meeting Jor
Esoteric Ebb opens with you resurrecting in the Lichhouse. This is your tutorial lab for two things: stat checks in dialogue and early loot/spells.
What I do here:
- In your first conversation with Jor, deliberately test different Chimes. When a skill check appears, hover and read the flavor text; fail a couple on purpose just to see how the game reacts. There’s no real fail state here, only characterization.
- Explore every interactable shelf and slab. You can scrape together some basic gear, healing draughts, and your first low-level cleric spells.
- Pay attention to any Wisdom- or Intelligence-gated thoughts about the nature of your resurrection; these foreshadow later Feat directions tied to faith vs. state power.
When you’re done, exit to Tolstad proper. You’ll get your first glimpse of the Questing Tree as the Tea Shop explosion case formally begins.
First Steps in Tolstad: Establishing the Murder Mystery
Outside, talk to the closest city officials and bystanders about the explosion. In my run, I made a point of exhausting every dialogue branch before moving on. This front-loads clues for later checks and flags a few Minor Branches on the Questing Tree related to how seriously you treat the victims.
Resist the temptation to sprint directly to the most dramatic location on the map. The efficient loop that worked best for me on Day 1 is:
- Tolstad streets around the tea shop
- Goblin Garden
- Temple of Urth
- The Drunk Sphinx and nearby Waterlane
- Darrow’s Manor and associated side quests
This keeps you close to the main case while picking up the side quests and Feat opportunities that the game expects you to see early.
FinalBoss // Gear
Level up your setup
01Top-rated gaming headsetson Amazon→02High-refresh gaming monitorson Amazon→03Gaming chairson Amazon→04Discounted game keyson Kinguin→Affiliate links · As an Amazon Associate, FinalBoss earns from qualifying purchases.
Day 1 – Tolstad Hub, Goblin Garden, and Temple of Urth
Goblin Garden – Seeds of Politics and Lady Sageleaf
Head to the Goblin Garden next. Here you’re introduced to Tolstad’s class tension and the goblins’ precarious position in the city.
What to focus on:
- Talk to every goblin organizer you can find. Several conversations plant the seeds for the Primal Kin and Young and Dumb side quests, which will matter more on Day 2 when the Garden crisis escalates.
- Be respectful but probing in talks about Lady Sageleaf. You won’t trigger her true dragon reveal yet, but showing interest now unlocks more nuanced options when you return on Day 2.
- Keep an eye out for hidden checks highlighting shards or subtle wards. If your Wisdom/Intelligence is high enough, you’ll notice early signs that magic around Tolstad isn’t behaving “normally”.
Temple of Urth – Crypt Access and Early Faith Feats
From the Garden, move to the Temple of Urth. This is a big hub for your cleric identity and the place you’ll eventually need for the Crypt Keeper quest and Speak with Dead on Day 2.
On Day 1 here, your goals are:
- Introduce yourself to the temple hierarchy and express how you see your duty-obedient instrument, skeptical agent, or compassionate mediator. Your Chime choices here influence later Take Root Feats tied to faith and authority.
- Ask specifically about the crypts beneath the temple. You probably won’t be allowed deep down yet, but flagging your interest makes it easier to get the Crypt Keeper’s attention on Day 2.
- Complete any small errands or rites the priests offer; in my run these gave early XP and nudged the Questing Tree towards a “dutiful investigator” branch.
Make a mental note of where the stairs or elevator to the crypts are. That saves time later when you’re rushing to unlock Speak with Dead before the day ends.
🎮 Get This Game at the Best Price
Compare prices instantly and save up to 80% on Steam keys with Kinguin — trusted by 15+ million gamers worldwide.
*Affiliate link — supports our independent coverage at no extra cost to you

The Drunk Sphinx, Waterlane, and Darrow’s Manor
Circle back through Waterlane and the Drunk Sphinx tavern next. This cluster houses a lot of social and factional content.
Here’s what I prioritize:
- At the Drunk Sphinx, speak with patrons involved in the Circle Square Conflict and Coinlord’s Meet. Don’t rush to “solve” anything here yet—just gather perspectives and keep the tone professional. These threads intersect heavily with the city’s election politics.
- On Waterlane, look for opportunities tied to Pillars of Jor. Using knowledge from your opening conversation with Jor in the Lichhouse often unlocks extra lines.
- When you finally reach Darrow’s Manor, treat it as a contained investigation: thoroughly inspect rooms, test Arcana/Religion checks, and avoid making irreversible accusations unless you’re comfortable owning them in your Questing Tree.
Areas to Treat as Dangerous on Day 1
By the time night approaches, you’ll probably be tempted to dive deeper into the city’s underbelly. This is where I wasted an evening on my first run.
- City Below – Treat this as a “later” zone. The enemies, checks, and consequences here are tuned for a more established Cleric. Poking your head in for flavor is fine; committing to fights or big choices is not.
- Pickpocketing high-profile NPCs – Yes, it’s tempting. But getting caught can dramatically alter faction relationships and derail the clean investigative arc this route aims for.
End Day 1 by checking your Questing Tree. You should see several Minor Branches filled in and at least one Major Branch related to how you approached the tea shop case and Tolstad’s power players. If offered, Take Root in a Feat that enhances investigation or social resilience rather than raw damage.
Want to Level Up Your Gaming?
Get access to exclusive strategies, hidden tips, and pro-level insights that we don't share publicly.
Ultimate Guide Strategy Guide + Weekly Pro Tips
Day 2 – Advancing the Murder Mystery and Factions
Revisiting the Tea Shop and the Tower
Day 2 starts with you having more freedom and higher stakes. Head back to the Tea Shop first. Fresh dialogue options and checks should appear as the investigation updates.
Focus on:
- Confirming the victim’s identity as an elf via physical evidence and witness testimony. High Intelligence and Perception checks help here.
- Picking up on hints that multiple high-level spells were used during the explosion. Push Arcana/Religion lines to learn which schools of magic might be involved.
- Following leads that point you toward the Tower. There, you’ll encounter more formal authority figures and possibly your first hard confrontation between legal procedure and esoteric truth.
In the Tower, stay calm, respectful, and precise. Don’t overstate your conclusions; the more careful you are here, the more seriously factions will take you when you start poking at their secrets later in the day.
Goblin Garden, Again – Lady Sageleaf’s True Dragon Form
By midday on Day 2, return to the Goblin Garden. Events will have escalated, and this is when you’ll have to deal with Lady Sageleaf’s true dragon form.
From my experience, two broad approaches emerge:
- De-escalation and empathy – Lean on Wisdom and Charisma checks, plus any prior sympathetic Chimes you chose on Day 1, to calm tensions and negotiate.
- Authority and threat – Invoke your official status and hint at consequences. This route can impress some law-and-order factions, but may sour you with goblins and more radical groups.
Whichever way you go, the confrontation with Lady Sageleaf usually registers as a Major Branch on the Questing Tree. Think about what kind of Feat you want later—stoic law enforcer, draconic confidant, or something in between—and pick Chimes that match.

Freestriders vs Azgalists and “Ruffled Feathers”
Day 2 is where the faction conflict between the Freestriders and the Azgalists really comes into focus. You’ll feel their presence across multiple locations, but the Guild Warehouse and the quest “Ruffled Feathers” are key.
My advice:
- Stay non-committal in early talks—ask questions, listen, but avoid swearing loyalty.
- In “Ruffled Feathers”, prioritize gathering testimony from all involved parties (workers, overseers, outside agitators) before deciding who, if anyone, to pin blame on.
- Remember that both factions are watching you. Even small comments can shift hidden reputation values that will matter on later days.
Alongside this, there are several substantial side quests—the griffon, Askanii-Reeds Trading Company, Lisa the hag in the Northern Caverns, Strings of Divination, Capital Dominion document delivery. For this walkthrough, treat them as secondary: pick them up where convenient, but don’t let them delay the critical goal of securing Speak with Dead before the day ends.
Unlocking Speak with Dead – The Crypt Keeper Quest
This is the pivot of the whole Day 2 route. Speak with Dead radically changes how you can interrogate the tea shop victim and other corpses later on, and it’s easy to miss or delay if you don’t prioritize the “Crypt Keeper” quest in time.
Here’s the flow that worked for me:
- Return to the Temple of Urth in the afternoon of Day 2.
- Use any new authority or respect you’ve earned to press again about the crypts. If you were dutiful and respectful on Day 1, a dialogue path should open that introduces you to the Crypt Keeper.
- Accept the “Crypt Keeper” quest, which sends you down into Urth’s crypts to deal with unrest among the dead and lingering magical disturbances.
The crypts are one of the trickier early-game dungeons:
- Expect tougher text-based combats and high-DC Wisdom/Religion checks.
- Keep an eye out for hidden shards and environmental clues; your earlier investigative focus pays off here.
- Stay cautious with any Chimes that suggest desecration or reckless experimentation—the Crypt Keeper and Urth’s clergy remember your attitude.
Completing the quest—resolving the disturbance in a way that respects both the dead and the temple’s doctrine—rewards you with access to the Speak with Dead spell. In my playthrough it became available as part of my cleric’s prepared spells after a short conversation and ritual with the Crypt Keeper.
Before you leave the temple, make sure you actually prepare Speak with Dead in your spell loadout. I once forgot, went back to the crime scene, and had to trudge all the way back to the temple to fix it.
Ending Day 2 – What You Should Have Accomplished
If you follow this route, by the time you lay your Cleric’s head down at the end of Day 2 you should have:
- A Wisdom/Intelligence/Charisma-focused build that’s already paying off in checks.
- A Questing Tree populated with early decisions around the tea shop case, Goblin Garden, and faction tensions.
- At least one Take Root Feat aligned with investigation or social resilience.
- Key side quests in motion: Circle Square Conflict, Primal Kin, Young and Dumb, Coinlord’s Meet, Pillars of Jor, and some Day 2-specific arcs like Ruffled Feathers.
- First serious contact with both Freestriders and Azgalists without fully committing to either.
- Speak with Dead unlocked and prepared, ready to use on the tea shop victim and other corpses in later days.
The next in-game days build heavily on everything you’ve set up here. With the spell in hand and your Questing Tree branches firmly rooted, you’re no longer just a resurrected government goon—you’re the one person in Norvik who can ask the dead what really happened. If I could clear all this on a second attempt after bungling my first run, you absolutely can nail it on your first structured playthrough with this route.