
Audrey’s journal gives Alfred’s journey along the American Pacific Coast its structure: destinations to reach, photographs to take and memories to revisit. Read the current journal objective, finish the required conversations, and complete the associated interaction before moving on. Leaving after the first conversation or overlooking a requested photograph can leave a scene unfinished.
This walkthrough follows the bedroom opening through Woolson Falls, the roadside stops, Williamina Peak and the epilogue. Expect roughly four to five hours for the main story, with additional exploration for memories and achievements. Full story spoilers follow.
Table of Contents (10)
Before you start: photographs, memories and progression
Alfred’s instant camera serves two purposes: completing photography objectives and collecting pictures for Audrey’s journal. At chapter-end selection points, you can keep up to four recent photographs. Some areas limit printable photographs to 12, so capture required subjects before spending the available shots on extra compositions.
Optional memories have their own exploration cues. Look for scattered petals and photograph memory-related objects before finishing an area’s final task. Audrey’s favorite flower, the desert mariposa lily, appears in red-crimson form in flashback spaces. Completing the last required objective can move the story forward immediately and close off the location.
- When dialogue seems finished: interact with the character again. Some scenes require more than one conversation before the next objective becomes available.
- When the route seems unclear: reopen Audrey’s journal, then inspect the object or speak to the person named by the current objective.
- When walking feels slow on PS5: hold L1 to increase Alfred’s walking speed.
- During the rowing sequence: the scene continues progressing after you stop rowing. You do not need to keep forcing inputs to carry the scene forward.
- When stopping a session: remember that saving uses automatic checkpoints rather than manual saves. Avoid starting a new game if you want to preserve your current completion.
Checkpoint 1: Bedroom opening and Woolson Falls
The opening teaches the camera controls before handing you the journal-led road trip. Complete the requested shots as they appear; simply examining the bedroom objects does not replace photographing them.
- Examine the manual in the bedroom to learn the controls.
- Photograph the teddy bear on the bed, the pictures beside the study table and the calendar.
- When the scene draws your attention to the window, look outside and photograph the person posing.
- During the drive, take the requested photograph and continue the conversation. Photograph the Woolson Falls sign when it is pointed out.
- At the falls, crouch near the flowers and photograph them. Follow Audrey along the trail and keep speaking with her.
- After the final photograph with Audrey, let the time-shift sequence finish. Shake the developed photograph, open the journal and place the picture inside.
Progression result: placing the photograph in the journal establishes the next destination, Karl’s Pump ’n’ Mart. If the opening has not moved on, check whether the developed picture still needs to be added to the journal.
Checkpoint 2: Karl’s Pump ’n’ Mart
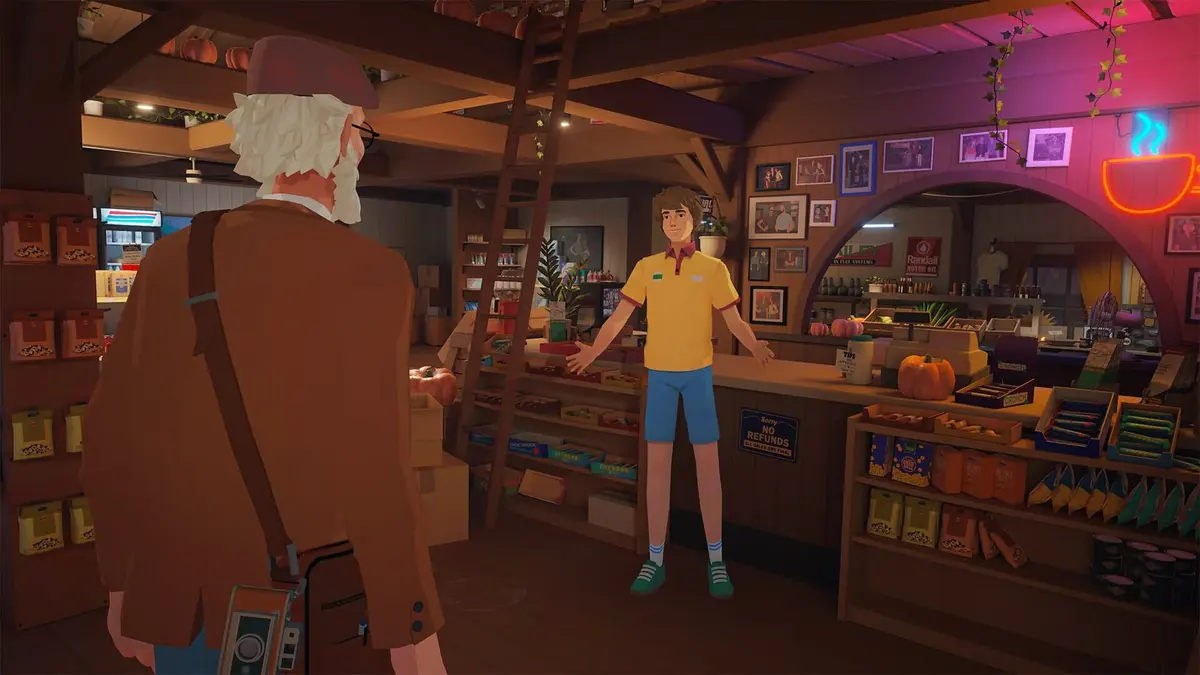
Leave the van and enter the gas station. This stop combines stocking up for the journey with a conversation about Alfred and Audrey’s past, so complete both parts before returning to the vehicle.
Inspect the shop and obtain the supplies required by the objective. Speak with Milton, the attendant, and ask for the old photograph of Audrey, Karl and Alfred. Continue interacting with him until the available dialogue is exhausted, then finish any remaining shop interaction recorded in the journal.
Progression result: completing the supply stop awards “Before I Forget Myself” and sends the journey toward Highway Star Diner. Returning to the van before resolving the supplies and attendant conversation leaves the stop incomplete.
Checkpoint 3: Highway Star Diner
Enter the diner, inspect the main room and speak with the people inside. Maddy, the waitress, requires a small task before allowing Alfred to use the booth. Finish her request, then use the booth when she permits it.
Work through the conversations rather than treating the first exchange as the end of the visit. Inspect the story-relevant objects and take any photographs you want before completing the diner’s final task. Return to the van only when the objective directs you to leave.
Progression result: the story enters the “Trip’s Cancelled” section, with Alfred considering abandoning the journey. The next step is the road sequence after leaving the diner.
Checkpoint 4: On the Road Back Home
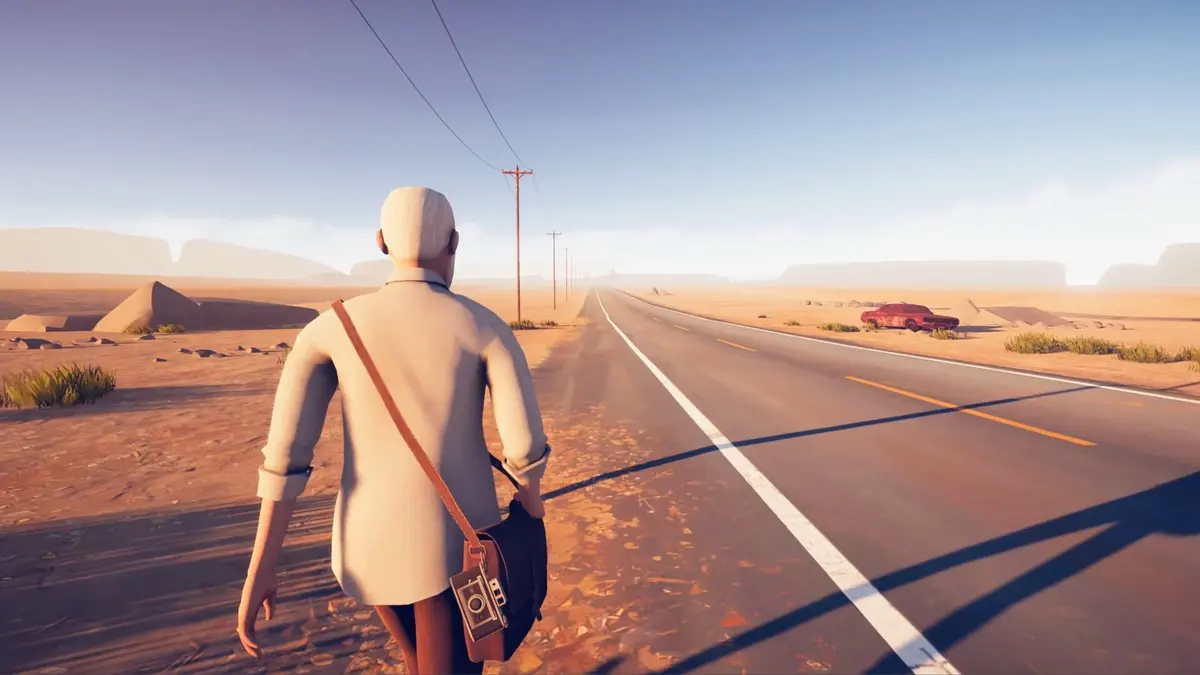
Follow the route back and allow the driving conversation and memory scenes to play out. Progress here depends on resolving Alfred’s decision about the journey, so stay with the dialogue and complete the interaction that gives him a reason to continue.
Use the journal to identify the active interaction when the scene reaches the decision to stop or carry on. Searching for another destination before that conversation is resolved will not advance the road trip.
Progression result: Alfred recommits to Audrey’s route and reaches the “Back On The Road” story milestone. The next section introduces Sam and the detour.
Checkpoint 5: Sam’s detour and naming the dog
Stay with Sam’s detour instead of trying to return immediately to the main road. Sam helps repair the van by supplying gaskets; follow the repair objective and finish the conversations surrounding it.
Continue through the plant-watering and dog interactions with Sam, inspecting nearby objects before the scene moves on. These activities introduce the dog’s place in Alfred’s journey. When the naming prompt appears, enter a name to complete that step.
If the naming prompt has not appeared, return to Sam and finish the remaining dialogue or local task. The prompt comes after the surrounding sequence has established the dog’s role.
Progression result: naming the dog awards “What’s In A Name” and opens the route to Captain Marley & The Buccaneers’ Retreat.
Checkpoint 6: Captain Marley & The Buccaneers’ Retreat
At the pirate-themed resort, start at the entrance booth. Speak with the person inside, obtain a day ticket from the ticket booth and present it to enter. Trying to proceed without the ticket leaves the entrance objective unresolved.
Inside, follow the journal’s current objective through the attraction. The resort’s progression tasks include these specific interactions:
- Locked routes: find the bolt cutter within the resort and use it to break the locks required for progression.
- The arcade objective: play the Guardian Lord arcade machine to complete its task.
- The lighting interaction: pull the lever inside the relevant building to turn on the lights.
- The closing sequence: finish the required dialogue and environmental interactions as the objective advances.
Complete your optional exploration and photographs before the final resort interaction. The area closes when the chapter ends, so this is a particularly important place to check for petals and memory-related objects before advancing.
Progression result: the resort sequence develops Alfred’s relationship with the dog and opens the journey toward Winslow Lighthouse.
Checkpoint 7: Winslow Lighthouse
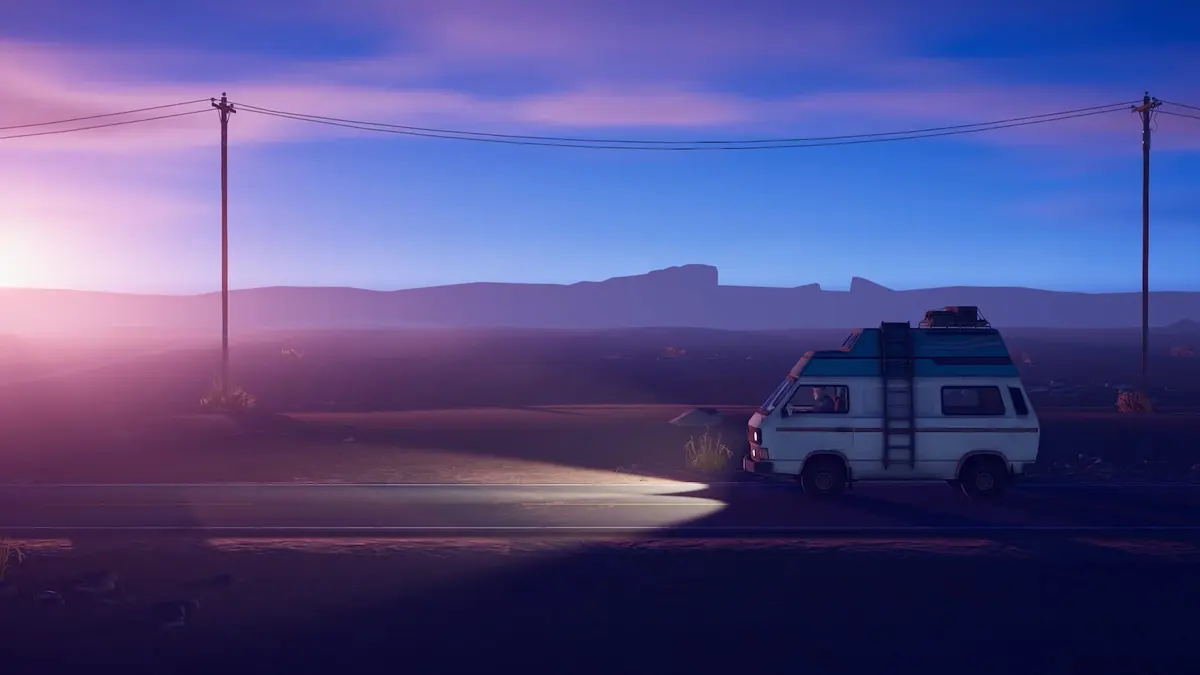
Follow Charles near the lighthouse and continue speaking with him during the walk. Complete the full approach rather than looking for a shortcut to the final interaction: the walk and its conversations are part of the progression requirement.
Search the approach and lighthouse grounds for flowers, objects and photograph opportunities before beginning the closing sequence. During the photo sequence with Charles, the camera switches automatically; follow the sequence’s cues as it changes.
Finish the lighthouse interaction, allow the memory scene to play and continue until the walk is formally complete. Reaching the lighthouse building alone does not finish this checkpoint.
Progression result: completing the walk awards “Alright, First Coffee”. Audrey’s route then leads to Williamina Peak, Alfred’s final destination.
Checkpoint 8: Williamina Peak
Follow the marked route toward the snowy peak, then check Audrey’s journal for the final objective. Complete the required environmental interactions and conversations along the route. Arriving at the destination without resolving that objective will not trigger the ending.
Before performing the concluding action, photograph any remaining memory objects you want to retain. Once the peak sequence begins, let the final memory and ending scenes play through.
Progression result: reaching Alfred’s destination awards “You Can’t Plan Life” and completes the main road trip. Continue past the credits to reach the epilogue.
Checkpoint 9: Epilogue
After the credits, explore the house. If you are completing the epilogue’s pumpkin objective, find all seven pumpkins throughout the home. One is in Odie’s office; search the other rooms and spaces for the remaining six.
Complete the journal’s final photo arrangement and let the closing sequence finish. The photographs selected throughout the journey feed into this final presentation, giving the earlier chapter-end choices their narrative payoff.
After finishing the story, use chapter select to revisit missed collectibles and achievements. You do not need to start a new game to return for optional exploration.
FinalBoss // Gear
Level up your setup
01Top-rated gaming headsetson Amazon→02High-refresh gaming monitorson Amazon→03Gaming chairson Amazon→04Discounted game keyson Kinguin→Affiliate links · As an Amazon Associate, FinalBoss earns from qualifying purchases.
Want to Level Up Your Gaming?
Get access to exclusive strategies, hidden tips, and pro-level insights that we don't share publicly.
Ultimate Guide Strategy Guide + Weekly Pro Tips