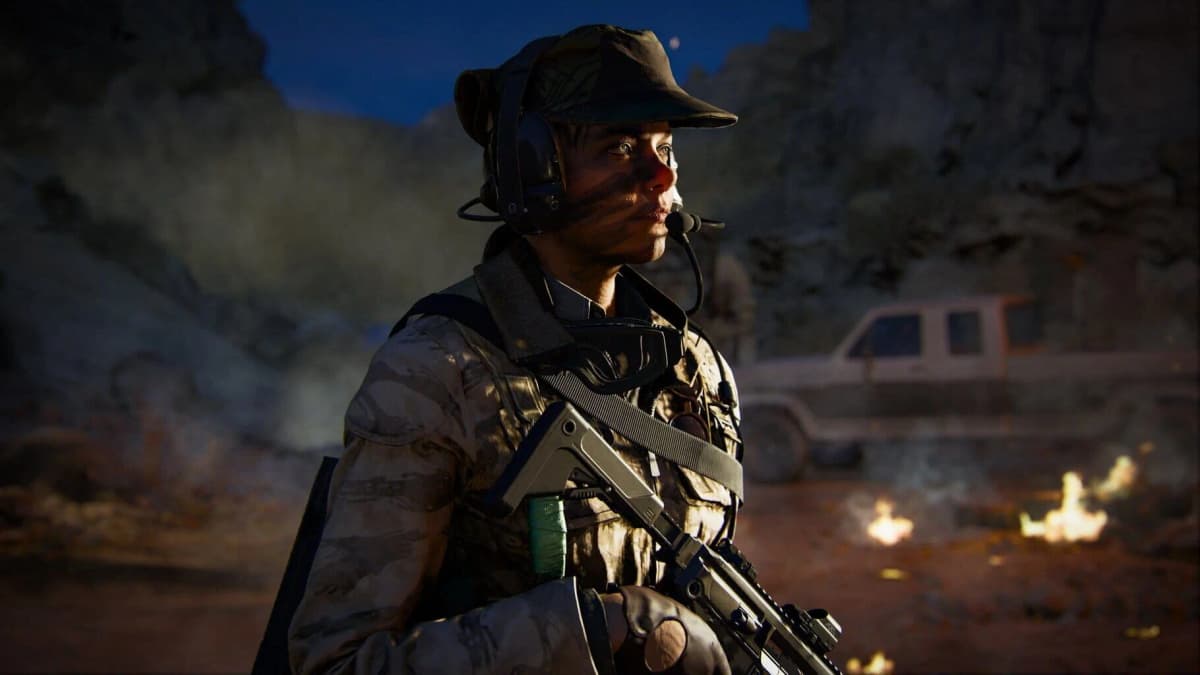
Free Perks and Loot on Reckoning (BO6 Zombies): My Route
Game intel
Call of Duty: Black Ops 6
Call of Duty: Black Ops 6 is signature Black Ops across a cinematic single-player Campaign, a best-in-class Multiplayer experience and with the epic return of…
Why This Route Matters (and How I Figured It Out)
After spending a weekend grinding Reckoning, I finally locked in a consistent early-game route that nets me a free self-revive, 1,500 essence, upgrade materials, and a free ammo mod-often before round 6. The breakthrough came when I stopped trying to brute-force rounds and started chaining the map’s mini-objectives efficiently. Don’t make my mistake of wandering for “one more door” and bleeding time; this guide shows the exact path and tricks I now run every match.
Loadout, Timing, and Quick Checklist
What I bring and why:
- Primary with decent ADS (I use a fast AR/SMG) + a low-recoil secondary for precision (Marksman/Sniper for the target mini-game).
- Field upgrade that buys time while you path (Energy Mine or Healing Aura both work).
- Sensitivity tuned to flick quickly but not over-aim-critical for the 9-second target challenge.
Estimated time: 8-12 minutes for the full loop if doors are opened smartly and zombies are controlled between objectives.
- Free self-revive via the 1-1-5 billiard trick (Director’s Office T1).
- 1,500 free essence by restoring three canvases (Director’s Office T2).
- Upgrade mats and extras from trash cans and smashed vending machines.
- Free ammo mod from the lobby shooting challenge.
- Bonus: Mr. Peeks parachute challenge for extra loot and a chance at more essence/mods.
- Team play: trigger a free Fire Sale by activating all map power-ups in one sweep, then grab free/discounted perks.
Step 1 – Free Self-Revive: The 1–1–5 Billiard Trick
I struggled with this until I realized the order and angle matter. Head to T1 Director’s Office. Behind the pool table, look at the small wooden shelf with the billiard balls. Shoot them top to bottom in the exact sequence: 1, 1, then 5. When done correctly, you get two rewards: a self-revive and the “Samantha’s Soul” remix playing in the background.
- Inputs:
ADSand tap your precise firearm. Avoid shotguns or hip-fire spread. - Tip: If aim assist pulls too hard, toggle it down temporarily in
Start → Options → Controller. - Pitfall: Shooting out of order or clipping the wrong ball soft-locks the attempt until next round—reset fast by kiting the last zombie.
Co-op tip: One player reads the numbers while another shoots. It removes the hesitation that caused me to miss the second “1” more than I’d like to admit.
Step 2 — 1,500 Free Essence: Restore the Three Canvases
This is the best early-game bank on Reckoning. Your goal is to pick up three missing canvases scattered around the facility and place them back in T2 Director’s Office (right by the Arsenal). Each restored canvas pays 500 essence.

- Canvas #1: T1 Project Janus Reception → Teleporter room (unlocked after you open the Director’s Office). The canvas is behind the door. If the prompt won’t appear, go
proneand inch closer; I had to lie down to grab it in two out of three runs. - Canvas #2: T2 Level 10, sitting along the balustrades. It blends with the railings—sweep slowly left to right.
- Canvas #3: T2 Android Assembly, near the teleporter, tucked behind a cleaning cart.
Return all three to T2 Director’s Office wall mounts beside the Arsenal. Inputs: Hold Square / X / F to place. I like to grab two canvases, clear stragglers, then place all at once to avoid backtracking during high spawn density.
- Pitfall: Opening extra doors too early spawns new paths and eats essence. Keep your route tight until this step is done.
- Co-op Split: One player routes T1 Reception teleporter room and Level 10; the other hits Android Assembly and holds zombies. We finish this in ~2 minutes as a duo.
Step 3 — Free Resources: Trash Cans and Vending Machines
On Reckoning, the usual Aether crystals are functionally replaced by tall metal trash cans (they look like narrow, cylindrical ashtrays). Interact with them for crafting materials, attachments, and occasionally perk cans or other loot.
- Inputs:
Hold Square / X / Fto search. Each can is generally one-and-done per match. - Pathing: Hit cans on your way between canvases to avoid detours.
Next, buy a Melee Macchiato, then crack open the map’s vending machines. Not just perk dispensers—the regular drink/snack machines too. With the melee boost from Melee Macchiato, you can break them quickly and they have a high chance to drop an upgrade crystal that saves 1,500 materials on your weapon upgrade.
- Inputs:
Buy Melee Macchiato → Melee (R3 / Right Stick / V)the machines. - Do this when the area is safe; a broken machine is loot you may drop mid-fight if you panic-move.
- Pitfall: Don’t waste the perk and time mid-round on high spawns. I pop this right after restoring the canvases.
In a trio, we fan out and each clears two to three machines, regrouping for a craft-station upgrade with the saved materials.

Step 4 — Free Ammo Mod: 9-Second Lobby Shooting Challenge
This mini-game sounds simple and took me more tries than I’m proud of. In the central reception, aim a sniper/marksman at the very center of the big display and fire to start the challenge. You have ~9 seconds to shoot all spawned targets—some appear behind you.
- Loadout: A low-magnification optic on a marksman rifle felt perfect. Snipers can be too slow unless you build for ADS.
- Route: Start facing forward, sweep left wall → center → right wall → 180° turn for the behind-you target(s).
- Settings: Consider a temporary bump to ADS sensitivity, then revert after. Toggle in
Start → Options → Controller → ADS Sens. - Timing: Hold the last zombie and avoid distractors. If a co-op teammate kites safely, you’ll land this in 1–3 tries.
Reward is a free ammo mod. I’ve had Cryo and Napalm drop from this; both are clutch for control and damage over time. If you fail, reset next round and try again—don’t sink the whole match into this one step.
Want to Level Up Your Gaming?
Get access to exclusive strategies, hidden tips, and pro-level insights that we don't share publicly.
Ultimate Guide Strategy Guide + Weekly Pro Tips
Step 5 — Mr. Peeks Parachute Challenge (Bonus Loot)
Mr. Peeks is on Reckoning, and his challenge is worth the minute it takes. Go to T2 Presidential Suite and look toward the precipice—spot him perched atop a white vat/tank. Shoot him; he pops up, dances, and starts a parachute course.
- Goal: Glide from high up to the reception of the first tower, crossing two full floors. Use tap-to-cut and re-deploy to thread tighter lines.
- Inputs:
Deploy Parachute (X / A / Space)→Cut (X / A / Space)→ re-deploy as needed. - Pitfalls: Smacking ledges will kill your momentum. I keep a shallow angle and only cut when I see a straight corridor below.
- Combat Tip: Do this between rounds or with a teammate running a train elsewhere; stray zombies can body-block your landing.
Rewards vary—essence, salvage, and I’ve snagged an ammo mod once. Treat it as a nice bonus layered into the route; if it’s too hot mid-round, bail and come back later.

Team Play: Trigger a Free Fire Sale and Rush Perks
This is where coordination pays off. On Reckoning, if you activate all the map’s power-up stations (the interactables that spawn temporary effects like Insta-Kill, Double Points, Zombie Blood, Nuke, Max Ammo) in quick succession, you’ll trigger a free Fire Sale event. When we did this in a single sweep during round 5–6, we got roughly 60 seconds of Fire Sale where perk machines didn’t charge us essence—perfect for filling two perk slots for free.
- Roles: Split the team into pairs. Each pair handles a cluster of power-up consoles and calls “popped” on comms.
- Timing: Start with Double Points and leave Nuke for last so you don’t accidentally wipe your train mid-sweep.
- Route Planning: Finish near your target perk machines. I end at a Speed-type and an armor-related perk spawner to lock survivability early.
- Solo Variation: It’s harder but doable. I kited a slow train and hit stations in a figure-eight path; just be ready to sprint to your first perk as the Fire Sale banner appears.
Pitfall: Activating these across two rounds didn’t give us the Fire Sale. Keep it tight in one push. If you’re desynced in co-op, reset and try again next round with a countdown.
Putting It All Together: My Efficient Early-Game Loop
- Open to T1 Director’s Office → do the 1–1–5 billiard shot for free self-revive.
- Grab Canvas #1 (T1 Reception teleporter room, prone if needed).
- Move to T2 Level 10 (Canvas #2) → T2 Android Assembly (Canvas #3).
- On the way, interact with two to three trash cans and note vending machine locations.
- Place all canvases in T2 Director’s Office to bank 1,500 essence.
- Buy Melee Macchiato → smash identified vending machines → scoop upgrade crystals/materials.
- Return to central reception → complete the 9-second target challenge for a free ammo mod.
- If the area is calm, swing by T2 Presidential Suite and trigger Mr. Peeks’ parachute challenge.
- Coordinate power-up activations for a free Fire Sale → rush perk machines during the window.
Troubleshooting and Pro Tips
- Missed a billiard shot: Don’t spam bullets. Reset next round; swapping to a semi-auto pistol or DMR made my hits consistent.
- Canvas prompt not appearing: Go prone and line up dead center on the interact icon; tap forward while holding the interact key.
- Target challenge fails: Lower your magnification, pre-aim to likely spawn spots, and practice a single 180° turn instead of multiple micro-turns.
- Too many zombies while looting: Leave one slow walker. In co-op, one player trains while the other loots; swap every minute.
- Vending machine whiffs: Machines are finite. Prioritize ones on your route, not deep in unopened wings.
- Fire Sale didn’t trigger: Ensure all power-up consoles were activated in one continuous push and that none were missed. We mapped them by assigning zones and calling each activation.
Final Thoughts
Once this clicked, my early game went from scrappy to stable. A free self-revive, ammo mod, banked essence, and mats by round 6 gives you breathing room to start objectives and upgrade your build without panic-purchasing. If you’re solo, prioritize the canvases and the target mini-game; if you’re in a squad, coordinate the power-up sweep and double-dip the Fire Sale for perks. Stick with the route for two or three matches—your muscle memory will take over, and you’ll wonder how you ever started Reckoning any other way.