
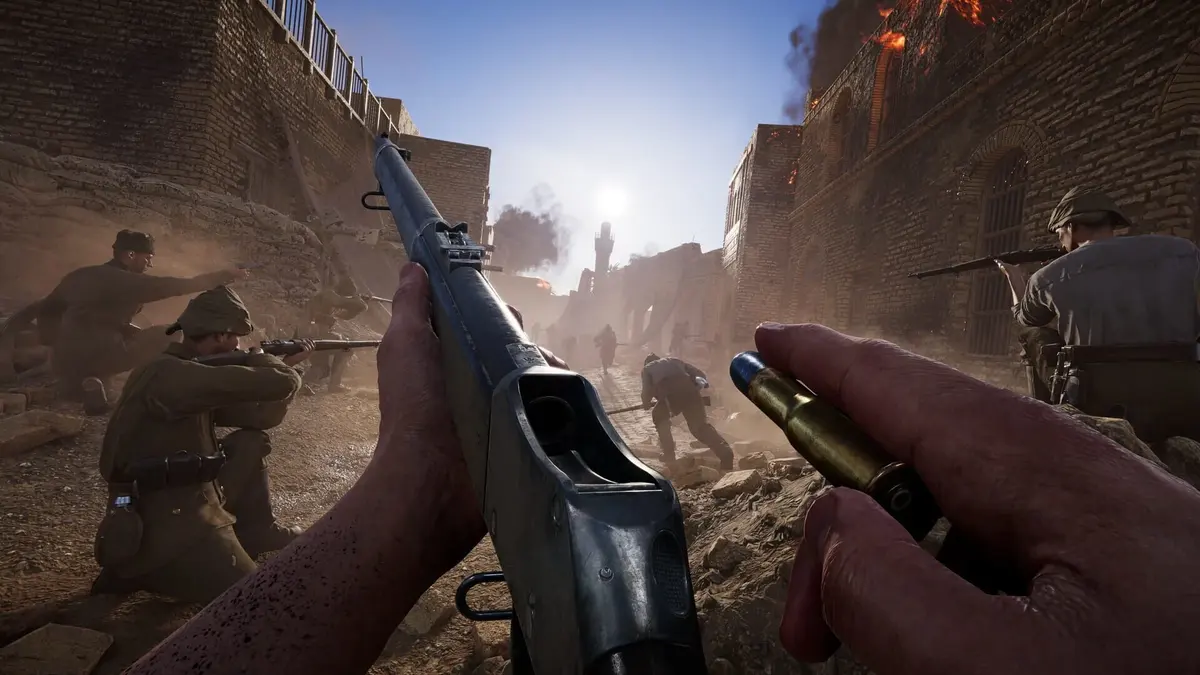
Gallipoli is won by moving the frontline and keeping your squad functional, not by chasing a high kill count. In 25v25 Expedition matches, Ottoman attackers must capture and secure Headquarters objectives across successive sectors, while British defenders win by delaying the advance until attacker momentum runs out. Your fastest route to useful first matches is simple: spawn with a squad, fill a missing support class, check the active sector before moving, and play close enough to the objective to revive, build, or clear an approach.
Gallipoli supports full cross-play across PC, PlayStation 5, and Xbox Series X|S, so the objective flow and class responsibilities remain the same regardless of platform. The game is the fourth standalone entry in the WW1 Game Series, taking its large-scale trench warfare to the Ottoman Fronts with beaches, towns, trenches, and desert approaches that punish anyone who treats open ground as a shortcut.
Table of Contents (10)
Understand Expedition Before You Leave Spawn
Expedition is Gallipoli’s main attack-versus-defence mode. A round moves through several map sectors, each built around one or more Headquarters objectives. Attackers need to take ground quickly enough to preserve momentum; defenders need to stall, reset captures, and force attackers into repeated costly pushes.
Read the objective HUD every time you spawn. It tells you which sector is active, how the capture is progressing, and whether the sector has a special condition such as a construction requirement. Spawn locations also need to be selected again after every death, and available points can change as sectors are captured or lost. A spawn near the active Headquarters or your squad is usually far more valuable than a distant point that gives you a long, exposed run.
- Reach the objective: Use trenches, gullies, shell holes, dunes, buildings, and smoke or dust cover to get close without feeding defenders easy rifle shots.
- Establish a foothold: Once your squad reaches the perimeter, clear the nearest trench corners, dugouts, windows, and firing positions that can shoot into the cap area.
- Secure the sector: Stay inside the objective area long enough to fill the control bar, protect engineers during construction tasks, and prepare for the defender counter-push.
- Move forward after the capture: Attackers should set up on the next approach rather than remain behind for low-value kills. Defenders should immediately occupy the next prepared line instead of trickling into a lost sector.
The common first-match error is attacking an inactive point or running directly across a beach or desert lane while the squad is using cover elsewhere. Gallipoli’s firefights are fast and lethal. Every few metres of safe progress matter more than one isolated elimination away from the Headquarters.
Choose a Class That Helps the Current Sector
Each side has five teams, with up to five players in each team during a full 25-player side. Gallipoli has 10 historically inspired classes, and class availability is limited. Snipers are particularly restricted, with only one or two slots depending on team population. If the sniper slot is unavailable, that is usually a sign the team needs a frontline role more urgently anyway.
| Class or role | Best job on attack | Best job on defence |
|---|---|---|
| Officer | Keep squad pressure near the active sector, place orders, and use supported artillery or off-map strikes to break entrenched positions. | Anchor fallbacks, mark choke points, and save support calls for a real massed push. |
| Stretcher Bearer | Revive the first wave from cover and keep officers, engineers, and machine gunners in the fight. | Restore defenders during a capture contest so the line does not collapse from one burst of casualties. |
| Engineer | Cut or bypass wire, build forward cover, and complete Build to Secure requirements. | Place wire and sandbags to funnel attackers into predictable firing lanes. |
| Infantryman or Rifleman | Hold the capture area, clear short approaches, and keep specialists supplied with ammunition. | Form the bulk of the defensive line and rotate onto threatened Headquarters points. |
| Bomber or Assault | Use explosives to clear trenches, dugouts, and machine-gun positions before the squad enters. | Break up attackers who bunch in trench entrances, buildings, or wire breaches. |
| Heavy Machine Gunner | Suppress defenders watching the beach, gully, trench, or town approach your squad needs. | Cover a pre-sighted approach from protected overwatch behind sandbags or an emplacement. |
| Sniper | Remove enemy officers, engineers, machine gunners, and exposed defenders covering the objective. | Watch long sightlines and protect friendly engineers, medics, and machine-gun positions. |
| Spotter | Scout the next sector, mark defenders, and enable officer support strikes. | Identify flanks, advancing engineers, and assault groups before they reach the wire. |
For a first round, Engineer, Stretcher Bearer, Infantryman, or Spotter usually offers more immediate value than waiting for a specialist kill role. A squad with a medic and engineer can keep an attack alive through wire, bleeding, and construction tasks; five players trying to snipe from the rear cannot capture an HQ.
How to Attack as the Ottoman Team
Attackers need to protect momentum. Captures are the main way to keep the advance moving, while revives preserve downed teammates and enemy supply caches or Beacon structures can provide small momentum gains. The practical priority remains the same: make the active Headquarters playable for your squad before worrying about side targets.
Open Two Approaches Instead of Feeding One Kill Zone
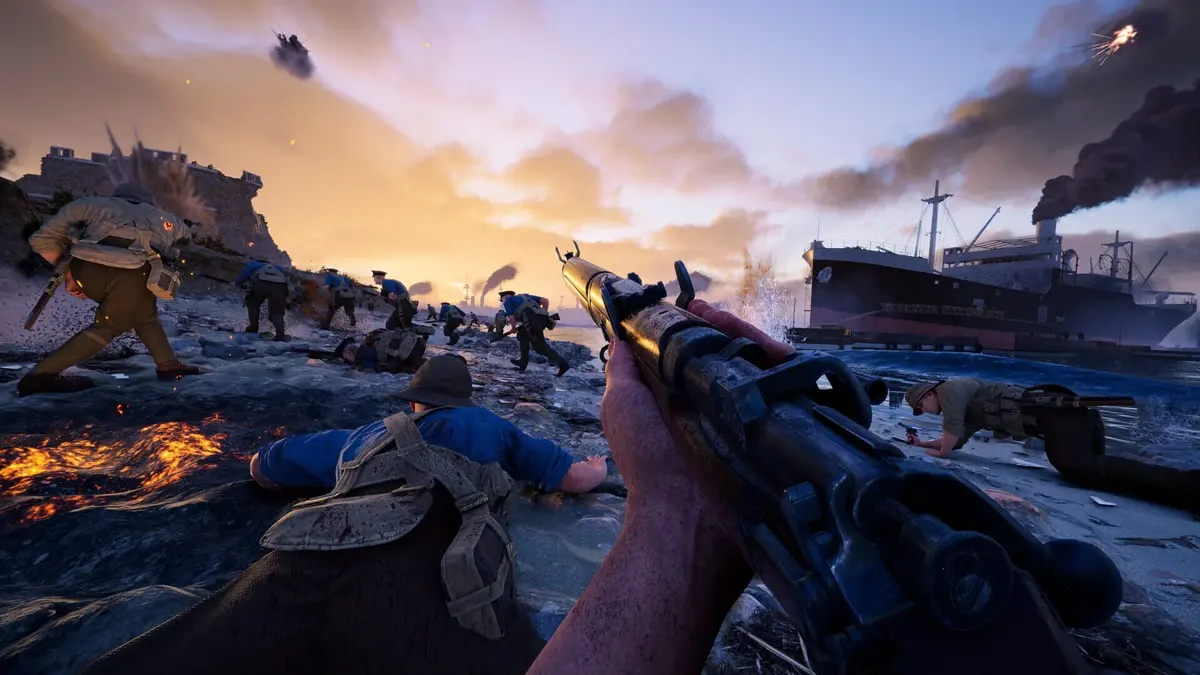
At the start of a sector, identify a main route and a secondary route. On coastal maps, that may mean a beach trench line plus a side gully. In towns, it can mean a street approach plus a building or trench flank. Splitting the whole team evenly is unnecessary; one squad can pressure the secondary route while the main force advances under suppression. The point is to force defenders to divide their rifles, machine guns, and artillery attention.
- Let Heavy Machine Gunners and snipers suppress the positions overlooking the approach.
- Send engineers and bombers toward wire, blocked trench entries, and fortified corners.
- Move infantry into the opening immediately after the breach, rather than leaving the engineer exposed at the obstacle.
- Keep Stretcher Bearers one covered room, trench bend, or terrain feature behind the front wave rather than at the very front of it.
Build the Foothold the Moment You Reach the HQ
Once attackers enter the objective perimeter, the job changes from crossing ground to surviving the defender response. Engineers should use valid green highlighted construction spots to place cover where the squad needs to hold. Sandbags at the edge of a captured area can turn an exposed foothold into a firing position, especially when an HMG can watch the approach defenders use for their counterattack.
Some sectors use Build to Secure objectives. These require attackers to construct three structures at randomly designated spots before the sector can be fully secured. Treat those marked structures as the objective itself: clear the immediate area, cover the engineer, and have nearby teammates contribute to construction when possible. Several players can work on the same fortification, which makes urgent building much faster than leaving one engineer alone under fire.
Explosions can leave sand and dust clouds hanging in the air for several seconds. Use that temporary visual cover to cross a gap, retrieve a downed ally, or rotate into the capture area. Do not stand inside the dust without a destination; defenders can still fire into a likely path.
How to Defend Without Giving Up the Next Sector
British defenders do not need to wipe out every attacker to win. A delayed push, a reset capture bar, or a forced respawn run all drain the attackers’ ability to maintain pressure. The strongest defence is layered: wire to steer attackers, cover to protect defenders, and overlapping rifle, sniper, and machine-gun fire covering the openings.
- Build wire where it funnels enemies: Place it around the edge of a likely route, not across a path your own team must use to rotate or counterattack.
- Set machine guns behind the first line: An HMG exposed on the front lip may score briefly, then gets sniped or bombed. A protected position watching a trench entrance is harder to remove.
- Target utility classes: Engineers opening wire, Stretcher Bearers reviving, officers holding squad coordination, and bombers approaching a trench are higher-value targets than random distant riflemen.
- Counter-push near the end of a capture: A coordinated push just before a sector falls can reset the pressure. A premature charge into open ground usually gives attackers easier revives and a clearer route.
- Fall back quickly after a loss: Save the next sector. Engineers and officers should already be thinking about its wire, cover, and firing lanes.
Construction cannot be reversed once completed, so poor sandbag or wire placement can obstruct your own sightlines and movement for the rest of that sector. Before building, check whether teammates need to pass through the gap and whether the structure gives the enemy an unintended piece of cover.
Stop Bleeding, Revive Safely, and Protect Momentum
Bleeding and injury reduce movement ability and gun control, so bandaging is an immediate survival task. On keyboard, press B to use bandages and stop bleeding; console players should use their assigned bandage input. Avoid saving the bandage for a “better” moment when your weapon handling is already compromised and the next fight is close.
When downed, call for help to alert nearby teammates. Allies can revive a downed player by reaching them, equipping bandages, and using them on the casualty. Stretcher Bearers are the dedicated revive and healing class, but every revive matters in Expedition because attacker revives preserve momentum instead of turning a successful push into another full respawn run.
- Revive from behind a trench bend, sandbag, shell hole, wall, or smoke and dust cover whenever possible.
- Clear or suppress the shooter first if the casualty is lying in an open lane. Two downed players in the same sightline help nobody.
- Prioritise officers, engineers, HMGs, and players already inside the HQ when the sector is contested.
- As a Stretcher Bearer, stay close enough to reach the assault group but far enough back that one grenade or rifle burst does not remove the whole support chain.
Reloading a World War I rifle takes long enough to lose a close-range duel. If an enemy appears at short range and you have a handgun, switching to it is often safer than committing to a reload in the open. Rifles differ in fire rate, handling, and ammo capacity, so learn how many rounds your chosen weapon holds before taking a long flank.
Use Movement and Wire-Cutting Correctly
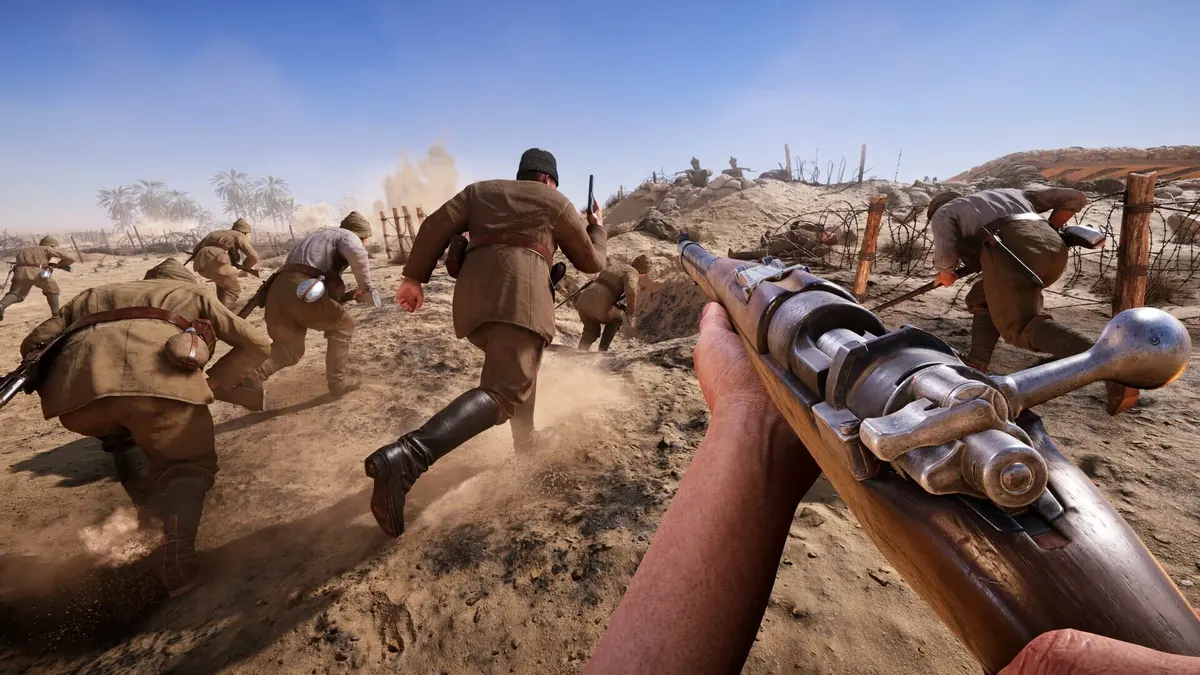
Gallipoli allows sprinting while crouched or prone, which helps you reposition through shallow cover without standing fully upright. You can also keep sprinting after stamina is depleted, although at a slower pace, while full stamina gives a short period of faster movement. Use that faster burst to cross a dangerous gap only when the next piece of cover is clearly reachable.
Rifles with bayonets and melee weapons can trigger a charge that gives a burst of speed. A bayonet charge is strongest when closing the final few metres into a trench, room, or wounded enemy position. Charging across a long open beach or desert stretch makes you predictable and easy to shoot.
Barbed wire is a real obstacle, not scenery. Walking into it injures you and leaves you exposed. Engineers should identify wire before the main push arrives, use wire cutters to open a usable passage, and signal the breach through squad movement and objective pressure. Infantry should follow through the cleared route quickly; lingering at the wire gives defenders an easy grenade and machine-gun target.
Practice the Right Skills With AI Bots
Gallipoli supports single-player and custom matches with AI bots filling the lobby. Use these matches to learn maps and class tools without spending a full public round repeatedly running back from spawn. Bot practice is especially useful for learning where each sector’s natural cover, trench entrances, wire hazards, and long sightlines are located.
- Engineer practice: Find green construction points, test sandbag and wire placement, and learn which openings need wire-cutting before an assault can move through.
- Stretcher Bearer practice: Rehearse reaching downed allies through trench bends and cover, then learn which open lanes are too dangerous for a revive attempt.
- Officer practice: Learn the rotation from one sector to the next and identify safe forward positions for a squad to regroup.
- HMG practice: Test positions that cover approach lanes while keeping your body and weapon team behind protection.
- Sniper and Spotter practice: Map the sightlines that watch HQ entrances, wire breaches, and likely engineer routes.
First-Match Checklist
- Check the active sector and capture state before leaving spawn.
- Spawn with your squad or near the active Headquarters whenever that option is available.
- Fill Engineer, Stretcher Bearer, Spotter, or Infantryman if the team lacks support roles.
- Advance through terrain and trenches instead of sprinting across exposed ground.
- Cut wire or clear the obstacle before asking the squad to push through it.
- Build only at useful green construction spots and avoid blocking friendly routes.
- Bandage bleeding immediately and revive from cover whenever possible.
- After a capture, move toward the next sector before defenders rebuild their line.
FinalBoss // Gear
Level up your setup
01Top-rated gaming headsetson Amazon→02High-refresh gaming monitorson Amazon→03Gaming chairson Amazon→04Discounted game keyson Kinguin→
Affiliate links · As an Amazon Associate, FinalBoss earns from qualifying purchases.
Want to Level Up Your Gaming?
Get access to exclusive strategies, hidden tips, and pro-level insights that we don't share publicly.
Ultimate Guide Strategy Guide + Weekly Pro Tips