
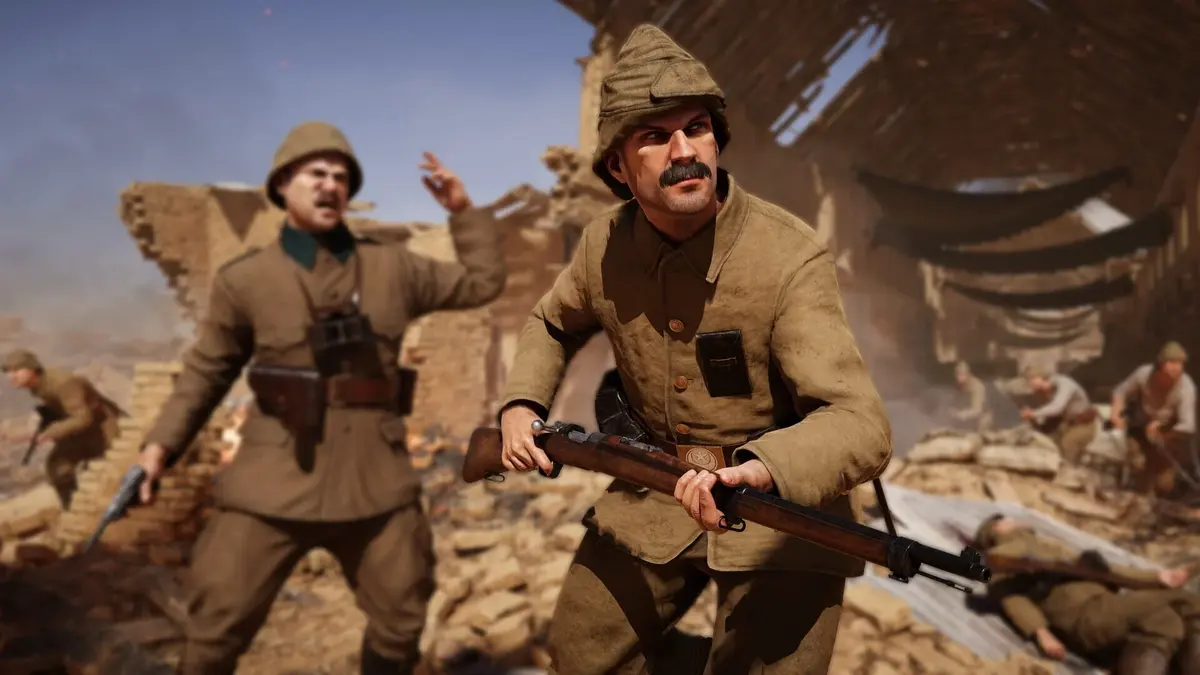
Your first Expedition priority in Gallipoli is to keep attackers on the current objective long enough to secure the sector. Kills matter because they open routes, revive teammates, and protect builders or bomb planters; a high kill count away from the Headquarters does not move the battle forward.
The trap for new players is treating every objective as a permanent capture point. Each sector has a mandatory Headquarters (HQ) and an optional Support Objective. Taking the HQ starts the important part: attackers must immediately secure it through construction or a bomb plant before defenders can reset the fight.
Table of Contents (7)
Understand the Expedition loop before chasing kills
Expedition is Gallipoli’s 50-player attack-and-defend mode, usually played as 25 attackers against 25 defenders. The battlefield is divided into sectors between the two teams’ spawns. Attackers capture sectors in sequence; defenders stall the advance, drain the attackers’ shared Momentum, and retake objectives before they are permanently secured.
- HQ: The mandatory objective. Attackers must capture it, then secure it to lock down the sector permanently.
- Support Objective: Optional for progression, but valuable because it can restore extra Momentum, create a forward spawn, and provide fire support such as artillery, mortars, or field guns.
- Momentum: The attackers’ shared life-and-pressure resource. Every attacker death consumes it, so repeated solo rushes can lose a sector before the team gets a serious HQ attempt.
- Overtime: If Momentum reaches zero while attackers are still contesting an objective, they get a limited final window to finish the job. Stay inside the objective zone during this phase; a late kill outside it will not save the push.
Objective locations are randomized between matches, so memorizing one “best” trench route will only take you so far. Learn the pattern instead: identify the current HQ, check whether Support gives a safer approach or forward spawn, then commit enough players to hold the capture zone.
Use the right opening: Support first or HQ first
Support is optional, yet it frequently determines whether an early attack has enough Momentum and spawn pressure to reach the HQ. The strongest beginner habit is to make the choice based on the sector instead of automatically running at the nearest marker.
- Take Support first in open or punishing sectors. If the HQ approach is exposed, Support can create a forward spawn and give the team fire support before the main push. This cuts the distance between deaths and the objective, keeping attacking waves together.
- Hit the HQ first when Support is a death trap. Some Support locations are too exposed or too far from the actual capture route. If the squad already has a clean approach to HQ, use that timing before defenders fully establish machine-gun lanes and wire.
- Reset after a failed landing or trench push. A trickle of one or two attackers at a time burns Momentum without forcing defenders to turn. Fall back into cover, wait for more teammates, then hit the same entrance with a Bomber, Gunner, and Stretcher Bearer nearby.
- Change your spawn deliberately after every death. Gallipoli asks you to select a spawn each time you respawn. The closest option is not always the best one; choose the spawn that puts you behind your active HQ or Support push rather than spawning into a flank that has already collapsed.
When the Ottoman side is attacking in a given scenario, apply the same tempo rule. Support-first is especially strong after the opening assault has already drained Momentum. Most Expedition setups frame British or ANZAC forces as the attackers and the Ottoman side as defenders, so check the current match role rather than assuming the faction always uses the same plan.
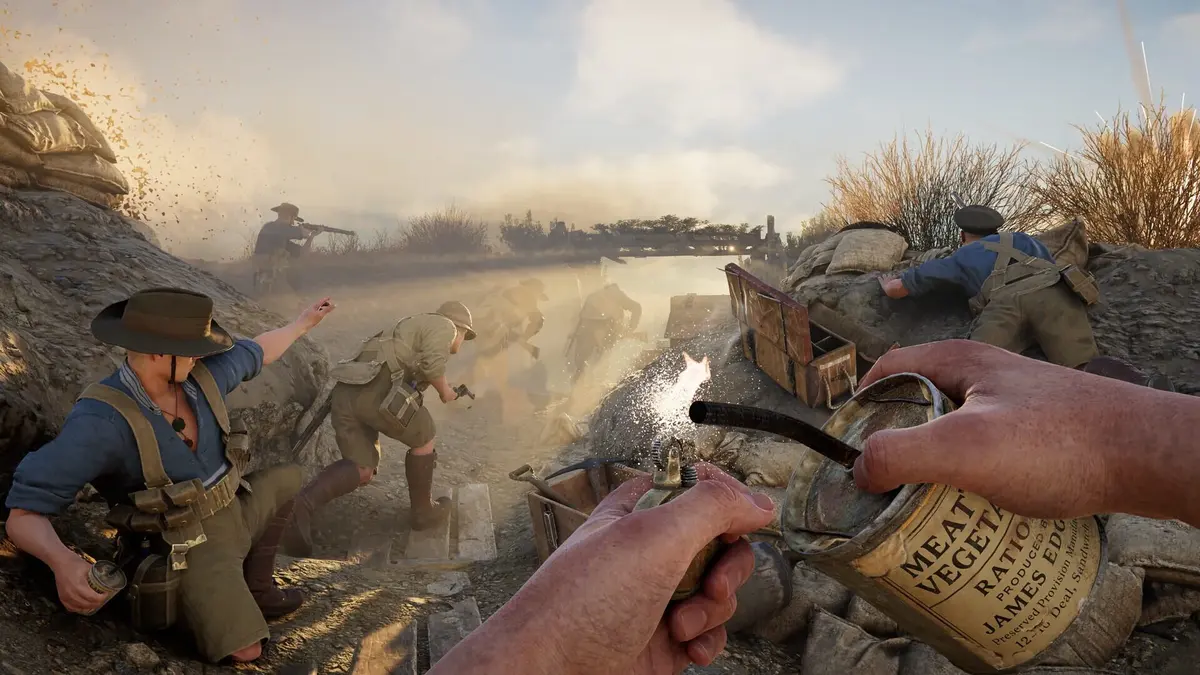
Capture the HQ, then secure it immediately
An HQ capture only creates an opening. Defenders can still recapture the point until attackers complete one of the secure actions. This is the moment where a coordinated squad wins sectors that a scattered team loses.
- Fortification route: Multiple attackers can build in the HQ area at once. Construction progress cannot be reversed, which makes several players building together extremely efficient. It only continues while attackers control the HQ, so put riflemen and an HMG on the likely counter-push routes.
- Bomb route: Plant the bomb, then defend it until detonation. The planting team becomes an obvious target, so clear the room or trench first and keep a Stretcher Bearer close enough to recover downed defenders of the point.
- After the secure: The HQ cannot be retaken and the sector becomes permanently controlled by attackers. Move toward the next sector instead of leaving half the team behind guarding an objective that is already locked.
The common failure is to chase defenders immediately after the capture. Leave enough players inside or around the HQ to complete the build or defend the bomb. A defender escaping through a side trench is less dangerous than a defender who gets a clean route back onto the objective.
Play your class around the objective
Gallipoli has 10 historically inspired classes, with class limits across the team. A class choice changes your weapon, equipment, and job in the push. Snipers and specialist weapons are limited, so adapt to the role slots that are available instead of waiting for one preferred loadout.
| Class or role | Best Expedition job | Beginner mistake to avoid |
|---|---|---|
| Officer | Set the active objective focus, call bombardments, and keep the squad organized around HQ or Support. | Taking the first contact. Officers cannot use a rifle, and losing one during a push removes valuable direction and fire support. |
| Stretcher Bearer | Revive key players, bandage wounded teammates, and keep the first two ranks of an assault alive. | Running alone into an open revive. Wait for cover, smoke, suppression, or a teammate watching the lane. |
| Heavy Machine Gunner | Lock down HQ approaches, protect builders, and deny defender counter-pushes. | Deploying too far behind the fight. Your fire lane needs to cover an entrance defenders must use. |
| Bomber | Clear trenches, rooms, wire positions, and dense defensive groups before the team enters the objective. | Throwing explosives after allies have already stacked the capture zone. |
| Ammo or Support role | Keep HMGs, explosive specialists, and entrenched defenders supplied from protected positions. | Trying to play like a front-line rifleman while carrying a weaker support weapon. |
| Rifleman, Gunner, or Scout | Cover medium-range approaches, stop flanks, and remove defenders who can contest the point. | Sniping or roaming so far from the objective that the team loses its capture presence. |
Officers should stay close enough to direct the push without becoming the first player around every corner. Bombardments, squad markers, and clear objective focus are more valuable than an Officer trying to top the scoreboard with a handgun.
Revives protect Momentum and keep a push alive
Gallipoli’s one-shot-one-kill lethality makes revives central to Expedition. A downed attacker who receives help stays near the objective and avoids another long spawn run. A dead attacker costs the team Momentum and can split the assault into weak, staggered waves.
- Call for help when downed. Nearby allies can see that you need assistance, which matters most in the confusion around a captured HQ or bomb site.
- Revive with cover first. A Stretcher Bearer should use trenches, sandbags, dust, suppression fire, or a teammate covering the lane before moving in with bandages.
- Prioritize valuable roles. Officers, HMG gunners, Bombers, and players already holding the HQ are usually worth more than a risky revive far from the objective.
- Bandage early when wounded. Injuries and bleeding reduce movement ability and gun control. A player trying to sprint or hold a rifle while badly wounded becomes an easy follow-up kill.
On defense, revives create the same attrition advantage in reverse. Keeping an HMG or rifle line alive around a choke point forces attackers to spend more Momentum for every few meters gained. Defenders should revive from protected trench corners rather than exposing two players to recover one.
Survive the approaches to HQ and Support
Expedition rewards movement with a purpose. Sprinting while crouched or prone helps you shift between trenches and low cover, while a bayonet or melee charge gives a short burst of speed for closing a small gap. Save that charge for the last few meters into cover or an objective entrance; using it across a machine-gun lane is an easy way to donate Momentum.
- Respect wire. Walking into wire injures you immediately. Use wire cutters to open a route for the team instead of forcing repeated damaged pushes through the same fence.
- Use blast dust as temporary concealment. Explosions leave sand and dust clouds for several seconds. Move during that visual disruption, but expect defenders to keep firing into the likely route.
- Reload from safety. World War I rifles take significant time to reload. If a defender appears at close range, switching to a handgun is faster than trying to reload in the open.
- Hold crossfires instead of single angles. Two defenders watching the same trench entrance from different positions are much harder to clear than two players standing shoulder-to-shoulder behind one sandbag.
Defend as the Ottomans by draining time, not chasing the spawn
Ottoman defenders win Expedition by making every attacker commit expensive. Protect the HQ approaches, use defensive construction and wire to channel attackers, and keep enough players near the objective to recapture it when their first wave runs out of bodies.
- Place HMG fire where it covers the HQ entrance and a likely Support flank, rather than aiming down empty open ground.
- Let attackers overextend after taking Support, then hit their builders or bomb defenders before the HQ is secured.
- Use Bombers and Gunners to clear the capture zone when attackers stack inside it.
- Once a sector is permanently secured, reset quickly at the next line. The old HQ cannot be retaken, so lingering there only gives attackers room to establish their next push.
Gallipoli supports full cross-play across PC through Steam and Epic Games Store, PlayStation 5, and Xbox Series X|S, so simple objective calls matter more than platform-specific communication. “Support first,” “hold HQ,” “build now,” and “revives left trench” are enough to turn a loose 25-player side into a team that can actually secure sectors.
For a lower-pressure start, use bot-supported or custom matches to learn how spawn locations shift after a sector changes hands, where wire blocks the obvious routes, and how close a Stretcher Bearer needs to stay to an HQ assault. The transferable skill is reading the current sector quickly, preserving Momentum, and committing as a group when the capture window opens.
FinalBoss // Gear
Level up your setup
01Top-rated gaming headsetson Amazon→02High-refresh gaming monitorson Amazon→03Gaming chairson Amazon→04Discounted game keyson Kinguin→
Affiliate links · As an Amazon Associate, FinalBoss earns from qualifying purchases.
Want to Level Up Your Gaming?
Get access to exclusive strategies, hidden tips, and pro-level insights that we don't share publicly.
Ultimate Guide Strategy Guide + Weekly Pro Tips